How to Scald Milk in the Microwave: Quick & Easy Guide
Are you tired of standing over the stove waiting for your milk to scald? Imagine saving time and effort by using your microwave instead.
Scalding milk might seem like an old-fashioned technique, but it’s the secret ingredient to elevating your baking and cooking. Whether you’re crafting the perfect custard or making a silky-smooth sauce, scalded milk can make all the difference. In this blog post, you’ll discover a quick and hassle-free method to scald milk in the microwave.
Get ready to revolutionize your kitchen routine and unlock the potential of your culinary creations. Keep reading to learn how you can easily master this technique and impress your taste buds with every dish.
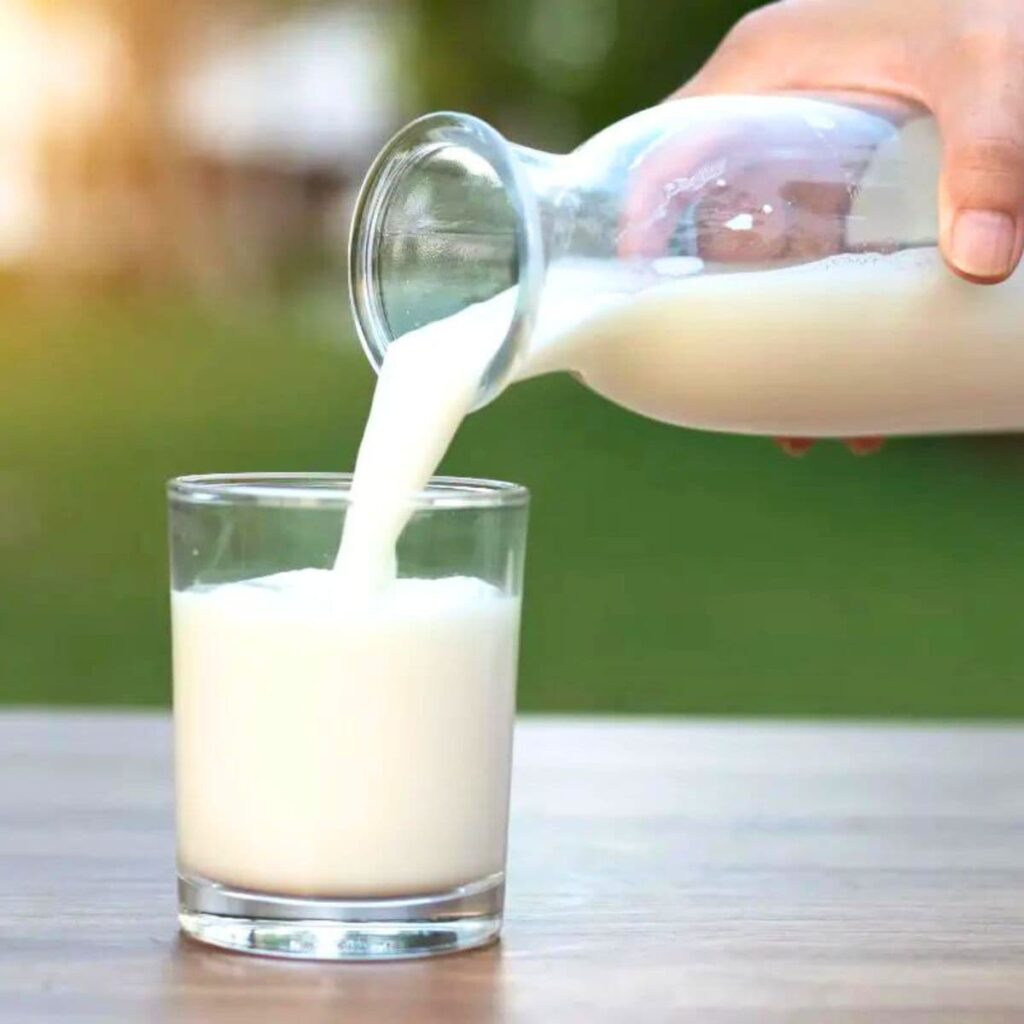
Credit: cookpad.com
What Is Scalded Milk
Scalded milk is one of those kitchen techniques that might sound intimidating, but once you get the hang of it, you’ll see how simple and useful it can be. Essentially, scalded milk is milk that has been heated to just below boiling point. This process alters the milk’s composition and can enhance the flavors in your recipes. You might be wondering why anyone would go through the trouble of scalding milk when you can just use it as is. Well, scalded milk can make a significant difference in baking, especially in recipes like bread and custards. It helps dissolve sugar and melt butter more efficiently, and it can also improve the texture and rise of baked goods. So next time you reach for milk, consider giving it a quick scald for that extra boost!
What Is Scalded Milk?
Scalded milk is milk that has been heated to approximately 180°F (82°C). At this temperature, tiny bubbles begin to form around the edges of the pot, but the milk is not boiling. Heating milk to this point serves multiple purposes. It can kill off unwanted bacteria, deactivate enzymes that could affect your recipe, and make the milk taste richer. Are you ready to elevate your cooking game with this simple technique?
Scalding milk was a common practice before pasteurization became widespread. Though pasteurization now handles bacterial concerns, scalded milk remains relevant for its impact on baking and cooking. For instance, have you ever noticed the difference in texture when you make a custard with scalded milk versus regular milk? The process can make your custard smoother and creamier. It’s these small changes that can take your cooking from ordinary to extraordinary.
But there’s more to scalding milk than just heating it up. As the milk warms, you’ll notice a distinct aroma—a sweet, nutty scent that can add depth to your dishes. This aroma is part of what makes scalded milk so unique. Have you ever wondered why grandma’s bread tasted so much better? Chances are, she knew the secret of scalding milk to enhance the flavors. Why not give it a try and see for yourself?

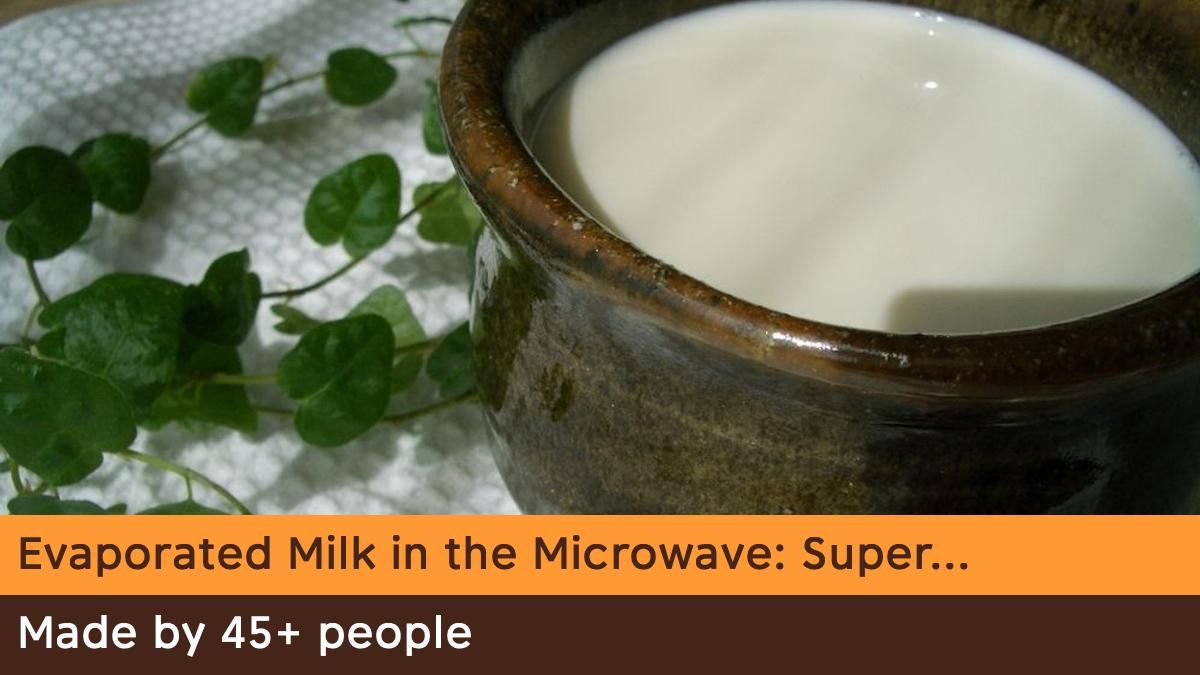
Credit: www.instagram.com
Benefits Of Scalding Milk
Scalding milk in the microwave is quick and easy. It helps improve the texture of baked goods, enhancing flavor. This method reduces cooking time and minimizes the risk of burning the milk.
Scalding milk might seem like an old-fashioned kitchen trick, but it carries several surprising benefits that can elevate your cooking and baking endeavors. Whether you’re preparing a rich custard or baking a fluffy cake, understanding why scalded milk can be an essential step can transform your recipes and enhance the final outcome. Let’s delve into the benefits that make scalding milk a worthwhile technique to master.Enhanced Flavor
Scalding milk intensifies its natural sweetness, adding depth to your recipes. As the milk heats, its sugar content breaks down slightly, resulting in a more complex, caramel-like taste. Think back to your childhood when you indulged in warm milk before bed—scalding enhances that comforting flavor, making it perfect for desserts and beverages alike.Improved Texture In Baking
Ever wondered why some baked goods have a soft, tender crumb? Scalded milk can be the secret ingredient. By altering the proteins in milk, scalding helps create a finer texture in cakes and bread. This simple step can be your key to baking success, turning ordinary recipes into bakery-quality treats.Killing Bacteria
Safety first! Scalding milk eliminates potential bacteria, ensuring your dishes are safe to consume. Especially if you’re using raw milk, this step is crucial. But even with pasteurized milk, scalding provides peace of mind, particularly when preparing food for young ones or those with compromised immune systems. Have you ever wondered how many recipes rely on this for hygiene without compromising taste? By understanding these benefits, you can elevate your cooking skills and ensure your dishes are both delicious and safe. So, next time you reach for the milk, consider giving it a quick scald in the microwave—your taste buds will thank you!Microwave Vs. Stovetop Method
Scalding milk is essential for many recipes, enhancing texture and flavor. The microwave offers a modern alternative to the traditional stovetop method. Each has its advantages and drawbacks, making it essential to choose the right method for your needs.
Time Efficiency
The microwave method is quick. It heats milk in minutes, saving time. Busy cooks prefer this speed. The stovetop method is slower, requiring constant attention. It demands more patience. For those in a rush, the microwave wins.
Ease Of Use
Microwaves are simple. Just set the timer and wait. No stirring is needed. Stovetops need more effort. Stirring prevents burning. You must watch the milk closely. The microwave is easier for beginners.
Safety Considerations
Microwaves reduce the risk of burns. The container stays cool. Stovetop scalding can be dangerous. Hot pots can cause accidents. Milk can boil over, creating messes. The microwave is safer for families.

Credit: www.facebook.com
Tools Needed For Scalding Milk
Microwave-safe bowl and a kitchen thermometer are essential for scalding milk in the microwave. A whisk helps in stirring to prevent skin formation.
Scalding milk in the microwave is a simple process with the right tools. Each item plays a crucial role in ensuring the milk is heated properly and safely. Let’s explore the essential tools you’ll need to scald milk effectively.Microwave-safe Container
Choose a container that can handle heat without cracking. Glass and ceramic containers are ideal. They don’t react with the milk and can withstand high temperatures. Avoid using plastic containers as they might melt or release chemicals into the milk. Ensure the container is large enough to prevent overflow during heating.Thermometer
A thermometer is vital to check the milk’s temperature. Scalded milk reaches around 180°F (82°C). This tool helps ensure you achieve the correct temperature. Digital thermometers are precise and easy to read. They offer quick measurements, helping avoid overheating or underheating the milk.Spoon Or Whisk
Stir the milk occasionally while heating. This prevents the formation of a skin on the milk’s surface. Use a spoon or whisk to gently mix the milk. Stirring helps distribute the heat evenly, ensuring consistent scalding. Whisks are particularly effective for this purpose, creating a smooth texture.Steps To Scald Milk In The Microwave
Scald milk quickly in the microwave by pouring it into a microwave-safe container. Heat on medium power for 30 seconds, then stir. Repeat until tiny bubbles form around the edges and steam rises. Avoid boiling to maintain taste and texture.
Perfect for cooking and baking needs.
Scalding milk in the microwave can be quick and simple. This technique saves time and effort. With just a few steps, you ensure perfectly scalded milk. Follow these instructions for the best results.Measure The Milk
Begin with measuring your milk. Use a measuring cup for accuracy. This ensures you heat the right amount. Too much milk might overflow. Too little may scald too fast.Pour Into Container
Transfer the milk into a microwave-safe container. A glass or ceramic bowl works well. Ensure it’s large enough to prevent spills. Leave some space at the top.Set Microwave Power
Adjust the microwave to medium power. High power can cause boiling. Medium ensures gentle heating. This preserves the milk’s quality.Monitor Temperature
Heat the milk for 30 seconds, then check. Stir it gently and repeat heating. Use a thermometer if available. The milk should reach 180°F. This prevents bacterial growth. Following these steps ensures perfect scalded milk. It’s simple and effective. Enjoy your cooking!Tips For Perfectly Scalded Milk
Scalding milk in the microwave is quick and easy. Use a microwave-safe bowl and heat on medium power. Stir every 15 seconds until small bubbles form around the edges.
Scalding milk in the microwave is a handy skill that can elevate your cooking and baking. Whether you’re preparing a creamy sauce or crafting the perfect homemade bread, the right technique is essential. Here are some practical tips to ensure you achieve perfectly scalded milk every time.Avoid Boiling
Boiling milk in the microwave can lead to a mess and unwanted flavors. Keep an eye on the microwave and use short intervals, typically 15 to 30 seconds. This will allow you to control the temperature and prevent it from reaching a rolling boil. Consider setting a timer on your phone as a reminder to check it frequently. What might seem like a small detail can save you from a big cleanup and wasted ingredients.Stirring Regularly
Regular stirring is crucial to evenly distribute heat throughout the milk. Each time you pause the microwave, give the milk a gentle stir with a spoon. This not only helps in preventing the milk from forming a skin on the surface but also ensures that the temperature is consistent throughout. Imagine the satisfaction of knowing each part of your milk is perfectly scalded.Using A Thermometer
Using a thermometer can take the guesswork out of scalding milk. Aim for a temperature of about 180°F (82°C). A kitchen thermometer is a small investment that can make a big difference in your cooking precision. If you don’t have one, consider the opportunity to upgrade your kitchen tools for better results. Feel free to experiment with these tips and find what works best for your microwave and needs. Have you ever tried scalding milk in unconventional ways? Your kitchen adventures might inspire others!Common Mistakes To Avoid
Scalding milk in the microwave might seem straightforward, but several common mistakes can turn this simple task into a kitchen disaster. The good news? By being aware of these pitfalls, you can avoid them and achieve perfectly scalded milk every time. Let’s dive into these mistakes and ensure your milk remains smooth and delicious.
Overheating The Milk
One of the most frequent errors is overheating the milk. Microwaves can heat liquids unevenly, causing the milk to boil over before you realize it. To prevent this, use a microwave-safe container and heat in short bursts. Check the milk’s temperature frequently. Aim for it to be hot but not boiling. Setting a lower power level can also help manage the heat more effectively.
Ignoring Hot Spots
Microwaves often create hot spots, leading to uneven heating of the milk. These hot spots can cause parts of the milk to scald while others remain cool. To tackle this, always use a microwave-safe glass or ceramic container. These materials help distribute the heat more evenly. Do you want to risk burning your milk? Probably not. So, make sure to check and stir the milk regularly.
Skipping Stirring
Skipping the stirring step is another common oversight. Stirring is crucial to distribute the heat evenly and prevent a film from forming on the surface. After every 20-30 seconds of heating, give the milk a good stir. This ensures that the temperature is consistent throughout the liquid. Remember, a few seconds of stirring can save you from a scorched mess.
By keeping these pointers in mind, you can master the art of scalding milk in the microwave. Which mistake surprised you the most? Share your thoughts or any tips you’ve learned along the way!
Uses For Scalded Milk
Scalding milk in the microwave is simple and quick. Heat milk until bubbles form around the edge without boiling. Scalded milk enhances bread texture and flavors custards, ice cream, and sauces.
Scalded milk might seem like an old-fashioned kitchen trick, but it’s a game changer in many recipes. By heating milk to just below boiling, you can transform its texture and flavor. This simple step can elevate your cooking, whether you’re baking, making custards, or preparing hot beverages.Baking Recipes
In baking, scalded milk can make a big difference. It enhances the texture of baked goods, making them softer and fluffier. This is especially true for bread and pastries. The process helps to dissolve sugar and butter more effectively, creating a smooth batter. Next time you’re baking a cake, try using scalded milk and notice the improved rise and crumb.Custards And Puddings
Custards and puddings can benefit immensely from scalded milk. Scalding helps thicken these desserts, giving them a creamy, velvety consistency. It also prevents the eggs from curdling, ensuring a smooth texture. This can be particularly useful in recipes like crème brûlée or vanilla pudding. Have you ever struggled with a lumpy custard? Scalded milk could be your solution.Hot Beverages
Hot beverages like coffee and tea take on a richer flavor with scalded milk. The process caramelizes the milk’s sugars, adding a subtle sweetness. It also creates a frothy texture that baristas strive for in lattes and cappuccinos. Have you ever wanted to recreate that café experience at home? Scalded milk is your secret weapon. Add it to your morning cup, and you’ll never go back to regular milk.Frequently Asked Questions
Can You Scald Milk In The Microwave?
Yes, you can scald milk in the microwave. Use a microwave-safe container and heat in short intervals. Stir frequently to prevent overheating. This method is quick and convenient, ensuring the milk reaches the required temperature without burning or boiling over.
How Long To Scald Milk In Microwave?
Scalding milk in the microwave typically takes 3-5 minutes. Start by heating in 30-second intervals. Stir between intervals to evenly distribute heat and prevent scorching. Adjust time based on your microwave’s power and the milk’s initial temperature.
What Temperature Is Scalded Milk?
Scalded milk reaches around 180°F (82°C). This temperature is ideal for recipes requiring scalded milk. It deactivates proteins that may inhibit yeast and enhances flavors. Use a thermometer to ensure accuracy and avoid boiling.
Why Scald Milk For Baking?
Scalding milk improves baking by denaturing proteins that hinder yeast activity. It enhances dough texture and flavor. This process also helps dissolve sugar and butter quickly, ensuring even distribution in recipes. Properly scalded milk contributes to better baked goods.
Conclusion
Scalding milk in the microwave is quick and easy. First, choose a microwave-safe container. Then, heat on medium power. Stir often to avoid overheating. Keep an eye on the milk to prevent boiling. Use scalded milk in recipes like bread, custards, or coffee.
It’s useful in many dishes. This method saves time and reduces kitchen mess. Remember, practice makes perfect. Try it yourself and enjoy the convenience. With patience, you’ll master this skill. Scalding milk in the microwave is a handy cooking technique.
Give it a try today!

Home Improvement Expert & Senior Writer at HomeFixio
Eliot Granger is a seasoned home improvement expert with years of experience transforming living spaces. Specializing in everything from kitchen renovations to bathroom upgrades, Eliot shares his knowledge through practical, insightful articles. His passion for creating functional, beautiful homes drives him to offer expert tips and solutions for every corner of your house. As a trusted writer for HomeFixio, Eliot is dedicated to helping homeowners make informed decisions and achieve precision in their projects.


