How to Make a Pendant Light: Step-by-Step Guide
Imagine transforming your living space with a touch of creativity and style. A pendant light can do just that, offering both function and flair to any room.
But you don’t need to spend a fortune on designer pieces to achieve this look. By making your own pendant light, you can showcase your personal taste and ingenuity. What if I told you that creating your own pendant light is simpler than you think?
This guide will show you how to craft a beautiful pendant light that’s uniquely yours. With a few materials and some easy steps, you’ll be able to illuminate your home with a personal touch. Dive into this article to discover the secrets to designing a pendant light that will not only brighten your space but also become a conversation starter. Don’t miss out on the opportunity to express your style and impress your guests with your DIY prowess.

Credit: www.snakeheadvintage.com
Choosing Materials
Creating a pendant light involves careful material selection. The right materials ensure safety and style. They also influence the light’s effectiveness and durability. This section guides you in choosing the best materials for your pendant light project.
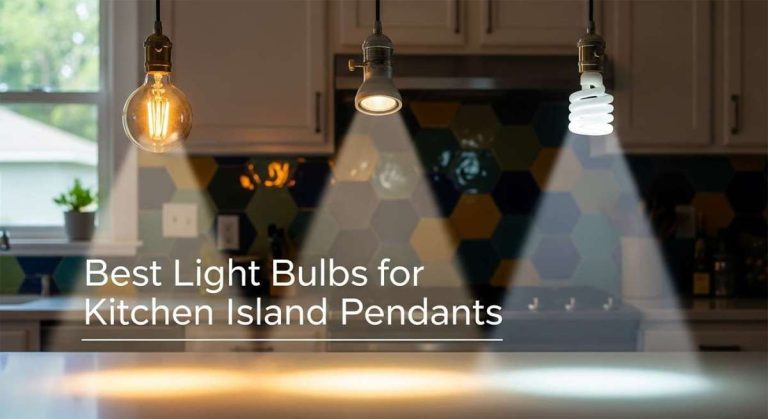
Types Of Bulbs
Choosing the right bulb is crucial. LED bulbs are energy-efficient. They last longer and save money. Incandescent bulbs give a warm glow. They suit traditional designs. Halogen bulbs are bright. Ideal for task lighting. Consider the bulb’s brightness and color.
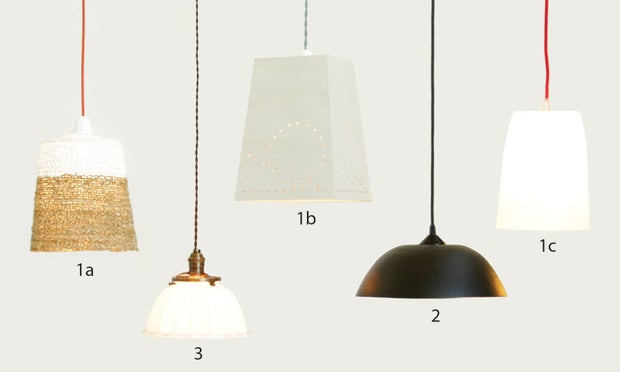
Selecting A Lampshade
Lampshades shape the light’s direction. They also affect the room’s ambiance. Glass shades offer elegance. They diffuse light beautifully. Metal shades direct light downward. Suitable for focused lighting. Fabric shades are versatile. They soften the light. Pick a shade that matches your decor.
Wiring Essentials
Wiring ensures the light functions safely. Use high-quality wires for durability. Ensure the wires are insulated. This prevents electrical hazards. Choose wires that support the bulb’s wattage. Seek professional help if unsure. Safety is paramount in wiring.
Designing The Pendant Light
Crafting a pendant light involves selecting the right materials and tools. Measure and cut the cord to desired length. Assemble the components, ensuring electrical safety for a beautiful and functional fixture.
Designing a pendant light is a fun and creative process. It’s where your ideas come to life, transforming a simple concept into a stunning centerpiece for your room. Whether you’re inspired by modern minimalism or vintage charm, the design phase is your chance to make a statement. Let’s explore some key steps in crafting your unique pendant light.Sketching The Design
Begin with a simple sketch. Grab a pencil and paper, or use a digital tool if you prefer. Visualize the shape and size of your pendant light. Think about the space where it will hang. Is it a large dining area or a cozy reading nook? Your design should complement the room’s style and scale. Don’t worry about artistic perfection. Focus on capturing your vision and detailing any special features you want.Determining The Length
Consider how low your pendant light should hang. This decision impacts both aesthetics and functionality. Measure the height of your ceiling and the space below. For dining tables, a good rule is to leave about 30-36 inches between the table and the light. Imagine yourself in the room. Does the length create an inviting atmosphere or does it feel intrusive? Adjust accordingly to suit your needs.Color And Finish Options
Choose colors and finishes that reflect your personal taste and the room’s decor. Do you want your pendant light to stand out or blend in? A bold color can create a focal point, while neutral tones offer subtle elegance. Think about the materials too. A brushed metal finish exudes modernity, while a wooden finish adds warmth. What mood do you want to set? Designing your pendant light is an opportunity to infuse your personality into your home. What unique touches will you add to make it truly yours?Preparing Tools
Creating your own pendant light can be a rewarding project. To start, you need the right tools. Preparing tools is crucial for a smooth crafting process. This ensures your pendant light turns out beautifully.
Gathering Necessary Tools
First, gather all essential tools. You’ll need a drill for making holes. Wire cutters are needed to trim wires. A screwdriver helps in assembling parts. Use a measuring tape for precise dimensions. Have pliers ready for gripping and twisting. A pencil will mark your drilling spots. Collect these tools before starting.
Safety Gear Checklist
Safety is important when working with tools. Wear safety goggles to protect your eyes. Gloves safeguard your hands from sharp edges. A dust mask keeps you safe from debris. Earplugs can protect from loud drilling noises. Ensure good lighting to see everything clearly. Secure your workspace to prevent accidents. Check this list before you begin.
Credit: www.instructables.com
Assembling The Pendant Light
Creating your own pendant light can be a rewarding experience. It’s a chance to express creativity while adding a personal touch to your home. Assembling the pendant light involves several key steps. Each step ensures your light not only looks great but also functions safely.
Attaching The Bulb Holder
The bulb holder is crucial for your pendant light. Start by selecting a holder that matches your bulb type. Screw the bulb holder into the socket firmly. Ensure it’s securely fastened to prevent any wobbling. Use a screwdriver if necessary for a tight fit. Double-check the holder’s alignment before proceeding.
Connecting The Wiring
Wiring is the heart of your pendant light. Begin by stripping the insulation from the wire ends. Twist the exposed wires tightly to prevent fraying. Connect each wire to its corresponding terminal on the bulb holder. Use a screwdriver to tighten the terminal screws. Ensure all connections are secure and insulated. Safety is a priority here, so take your time.
Securing The Lampshade
The lampshade defines your light’s aesthetic. Position the shade over the bulb holder carefully. Align it with the holder’s attachment points. Use screws or clips to secure the shade in place. Make sure the shade is evenly balanced. A well-secured shade prevents accidental falls and keeps your light fixture looking neat.
Installing The Pendant Light
Installing a pendant light can transform your space with style and functionality. A pendant light not only illuminates your room but also acts as a focal point. It’s surprisingly straightforward to install, and you don’t need to be an electrician to do it. Let’s delve into the key steps: locating the ceiling spot, mounting the fixture, and testing the installation.
Locating The Ceiling Spot
Finding the perfect spot on your ceiling is crucial. Imagine how the light will interact with your space. Will it provide enough illumination? Consider your room’s layout and the light’s purpose. Measure the distance from walls and furniture to ensure symmetry. Using a pencil, mark the spot lightly. This is your starting point.
Personal tip: I once installed a pendant light slightly off-center. It drove me nuts until I moved it. Don’t underestimate the importance of precise placement!
Mounting The Fixture
Once your spot is marked, it’s time to mount the fixture. Gather your tools: a drill, screws, and a ladder. Follow the manufacturer’s instructions for your pendant light. Typically, you’ll need to attach a bracket to the ceiling. Ensure the bracket is secure—wiggle it to test sturdiness.
Think about this: how confident are you with a drill? Practice on scrap wood if you’re unsure. A steady hand makes a difference.
Testing The Installation
The final step is crucial—testing the installation. Connect the wiring as per instructions. Double-check connections before flipping the switch. Does the light turn on? If not, retrace your steps. Ensure wires aren’t loose or incorrectly connected. Safety is paramount.
Remember: sometimes, a flickering light is a sign of loose wires. Stay calm and troubleshoot methodically.
By taking care with each step, you’ll end up with a beautifully installed pendant light that enhances your room. Have you ever thought about how much a simple light fixture can impact your space? It’s fascinating how a small change can make a big difference!
Credit: www.instructables.com
Safety Tips
Creating a pendant light requires careful attention to safety. Always turn off electricity before starting. Wear protective gear like gloves and goggles to prevent injuries.
When creating your own pendant light, safety should be your top priority. It’s easy to get caught up in the excitement of designing and assembling your masterpiece, but overlooking safety can lead to serious issues. Whether you’re a seasoned DIY enthusiast or a beginner, following essential safety tips will ensure a successful and hazard-free project.Handling Electrical Components
Working with electrical components requires caution and precision. Always make sure the power is turned off at the circuit breaker before starting your project. This simple step can prevent electric shocks. Wear rubber-soled shoes and use insulated tools to add an extra layer of protection. If you’re unsure about wiring, consider consulting a professional. It’s better to ask for help than to risk your safety.Ensuring Stability
A pendant light should not only look good but also be securely fixed. Ensure that the ceiling fixture can support the weight of your pendant light. Test the stability by gently tugging on it once installed. Think about the placement. Is it above a high-traffic area? If so, ensure it’s high enough to avoid accidents. A stable installation prevents your light from becoming a hazard in your home.Regular Maintenance
Once your pendant light is up and running, regular maintenance is key. Dust and debris can accumulate, affecting both functionality and appearance. Schedule a regular cleaning routine to keep it looking its best. Check the electrical connections periodically. Are the wires secure? Are there any signs of wear or damage? Catching issues early can prevent potential problems later on. Remember, safety isn’t just about the installation process. It’s an ongoing commitment to ensuring your pendant light remains a safe and stylish feature in your home. Have you thought about what safety measures you’ll prioritize first?Creative Ideas
Creating your own pendant light can be a fun project. It allows you to explore your creativity. Using different materials and designs can make it unique. Adding smart features can enhance its functionality. Below are some creative ideas to inspire you.
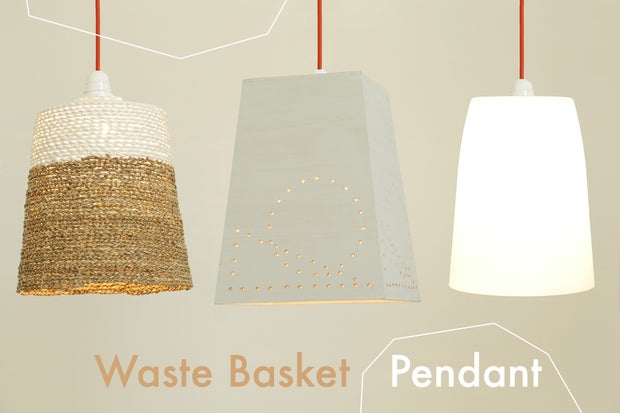
Upcycling Materials
Consider using old items to make your pendant light. Recycled glass jars or bottles can add charm. Metal colanders or wooden bowls can create a rustic look. This approach is eco-friendly and budget-friendly. It turns waste into a beautiful home feature.
Customizing Designs
Personalize your pendant light to match your style. Paint the fixture with colors that suit your room. Add decorative elements like beads or shells for flair. Use different shapes and sizes for a bold effect. This way, your light becomes a piece of art.
Incorporating Smart Features
Modernize your pendant light with smart features. Install dimmable bulbs for adjustable brightness. Use smart bulbs to change colors with ease. Connect it to a smart home system for voice control. These features add convenience and modern touch.
Frequently Asked Questions
What Materials Are Needed For A Pendant Light?
To make a pendant light, you’ll need a light kit, cord, bulb, and shade. Choose a shade that suits your style. Ensure all materials are compatible and safe for electrical use. You might also need tools like a drill, screwdriver, and wire cutters.
How Do You Attach The Light Cord?
Attach the light cord by threading it through the shade’s hole. Secure it with a knot or connector to prevent slipping. Follow the light kit instructions for specific guidance. Ensure the cord is safely attached to avoid any electrical hazards.
How To Choose The Right Light Bulb?
Choose a bulb that matches the pendant light’s style and function. Consider the wattage and light color temperature. LED bulbs are energy-efficient and long-lasting. Ensure the bulb fits the light socket and provides the desired brightness.
Can I Use A Pendant Light Outdoors?
Yes, but ensure it’s rated for outdoor use. Outdoor pendant lights are designed to withstand weather conditions. Check the product specifications for waterproof and weather-resistant features. Proper installation is crucial to ensure safety and durability outdoors.
Conclusion
Creating your own pendant light is rewarding and fun. You gain a unique decor piece. Plus, it saves money and adds personal touch. Follow the steps carefully. Gather all materials before starting. Take your time with each step. Safety is crucial when handling electrical components.
Double-check connections to avoid issues. Enjoy the process and final outcome. Your handmade pendant light will shine bright. It brings warmth and style to any space. Share your experience with friends and family. Inspire them to try DIY projects too.
Celebrate your creativity and craftsmanship. A job well done!

Home Improvement Specialist & Writer at HomeFixio
Caden Rutherford is a seasoned home improvement specialist with extensive hands-on experience in residential construction, renovations, and design. With a keen eye for detail and a passion for transforming spaces, Caden shares practical advice and expert solutions to enhance the functionality and beauty of homes. As a writer for HomeFixio, Caden combines technical knowledge with creative flair, providing readers with informative guides on everything from structural improvements to aesthetic upgrades, empowering homeowners to achieve their ideal living spaces.