How to Hang a Pendant Light With Cord: Step-by-Step Guide
Are you looking to add a touch of elegance and warmth to your home? Hanging a pendant light with a cord might just be the perfect solution.
Imagine transforming your living space with a stylish light fixture that not only illuminates but also enhances the overall ambiance. The best part? You don’t need to be an expert electrician to do it yourself. In this guide, we’ll walk you through the process step-by-step, ensuring you can hang your pendant light with confidence and ease.
By the end of this article, you’ll know exactly how to create a stunning focal point that will captivate anyone who steps into your room. So, are you ready to brighten up your space and impress your guests? Let’s get started!

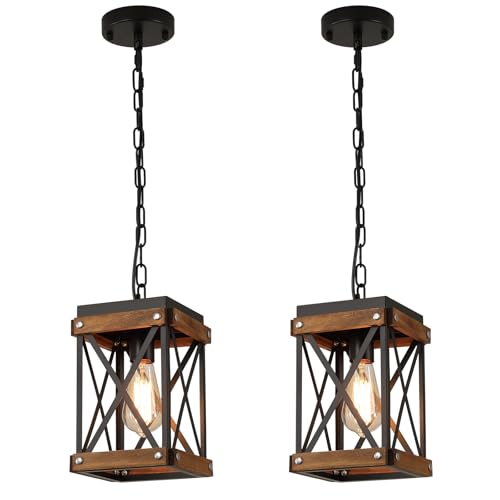
Credit: www.rowabi.com
Tools And Materials Needed
Prepare with a screwdriver, wire strippers, and a voltage tester. Gather electrical tape, wire nuts, and a ceiling hook. Ensure the pendant light, cord, and bulb are ready for installation.
Before you embark on hanging a pendant light with a cord, ensure you have the right tools and materials. This preparation not only makes the process smoother but also ensures safety and precision. Imagine halfway through realizing you’re missing a crucial item; it can be frustrating and time-consuming.
Essential Tools
Start with a screwdriver set. You’ll likely need both flathead and Phillips-head screwdrivers. These are essential for removing and tightening screws, especially when attaching fixtures. A voltage tester is crucial for safety. It helps ensure that the power is off before you start any electrical work. This tool might just save your life. Don’t forget a wire stripper. It’s necessary for safely stripping the insulation off the electrical wires. This ensures a secure and proper connection. A ladder is indispensable unless you have superhuman reach. Choose one that’s stable and the right height for your ceiling.
Materials You’ll Need
First on the list is the pendant light fixture itself. Choose a design that complements your space. Check it includes all necessary parts like the canopy and mounting hardware. You’ll need cord or electrical wire. Ensure it’s the right length for your ceiling height. Having extra is better than running short. Wire connectors are small but mighty. They ensure that the electrical connections are secure and insulated. Make sure you have a few extras on hand.
Safety Gear
Prioritize safety goggles. They protect your eyes from dust or debris when drilling or cutting. Gloves can protect your hands from sharp edges or electrical shocks. Choose a pair that allows you dexterity.
Optional But Handy Tools
A drill can be helpful for making pilot holes in the ceiling. This makes screwing in the fixture easier. Consider a measuring tape for precision. It ensures your light hangs at the perfect height and is centered in the room. Having a level can help you ensure your fixture hangs straight. It’s a small detail that makes a big difference. Now, picture yourself standing on a ladder with tools within arm’s reach, ready to hang your pendant light. Each tool and material mentioned is a step closer to transforming your space. Have you checked off every item on your list?
Choosing The Right Pendant Light
Choosing the right pendant light is crucial for enhancing your space. A well-chosen light fixture adds both functionality and style. Consider the room’s design and your personal taste. This guide helps you select the perfect pendant light for your home.
Considerations For Size And Style
Size matters. Measure the area where you’ll hang the pendant light. Larger spaces need bigger fixtures. Smaller rooms require compact designs. Match the style to your decor. Modern spaces benefit from sleek, minimal designs. Traditional rooms often suit ornate, classic styles. Ensure harmony between the light and the room’s theme.
Selecting The Appropriate Cord Length
Cord length impacts the pendant light’s position. Measure the ceiling height to determine the ideal length. High ceilings need longer cords. Low ceilings require shorter ones. The pendant light should hang at a comfortable height. Consider the function of the space. In dining areas, lights should hang lower. In hallways, they should be higher. Select a cord length that complements the room’s layout.
Safety Precautions
Installing a pendant light with cord involves several steps. Safety is crucial during this process. Taking necessary precautions ensures a smooth installation. Avoid accidents and electrical hazards with proper safety measures.
Turning Off The Power
Always start by turning off the power. This is the most important step. Go to your circuit breaker and switch off the power supply. Verify the power is off by testing the light switch. Double-checking prevents electrical shocks. Don’t skip this critical step.
Using Proper Safety Gear
Safety gear is essential for protecting yourself. Wear insulated gloves to handle wires safely. Use safety goggles to protect your eyes. A sturdy ladder ensures you reach high places securely. Proper footwear gives you a stable grip. These items help avoid injuries during installation.
Preparing The Ceiling
Preparing the ceiling is a crucial step in hanging a pendant light. It ensures the fixture is securely mounted and looks great in your space. Before you start drilling, take a moment to plan and organize your tools. Proper preparation will make the installation process smooth and hassle-free. Follow these simple steps to get your ceiling ready for a pendant light installation.
Locating The Ceiling Joist
The ceiling joist provides the support your pendant light needs. Start by using a stud finder to locate the joist. Move the stud finder slowly across the ceiling until it signals a joist. Mark the spot lightly with a pencil. This will be your anchor point for the pendant light. Avoid drilling anywhere without confirming the joist location.
Marking The Installation Spot
Once you’ve found the joist, decide where the light should hang. Measure the distance from the wall to ensure it’s centered. Mark the exact spot with a pencil for accuracy. Double-check the alignment with your room’s decor. This ensures the pendant light complements your space beautifully.
Attaching The Ceiling Hook
Attaching the ceiling hook is a key step in hanging a pendant light with a cord. Ensure the hook is securely fastened to support the weight of the light fixture. Proper installation prevents accidents and enhances room aesthetics, making your pendant light both functional and stylish.
Attaching the ceiling hook is an essential step in hanging a pendant light with a cord. It provides the necessary support and stability for your light fixture. This process ensures your pendant light hangs securely and safely. Follow these straightforward steps to attach the ceiling hook effectively.
Drilling A Pilot Hole
Start by marking the spot where you want the hook. Use a pencil for accuracy. Next, take a drill with a small bit. Drill a pilot hole into the ceiling. This hole helps guide the hook into place. Ensure the drill bit is appropriate for your ceiling material. It prevents damage and makes drilling easier.
Securing The Hook In Place
Insert the hook into the pilot hole carefully. Twist it clockwise until tight. Ensure it sits flush against the ceiling. A secure hook prevents wobbling. Check the stability by gently pulling on it. If it moves, tighten further. Make sure the hook supports the weight of the pendant light.
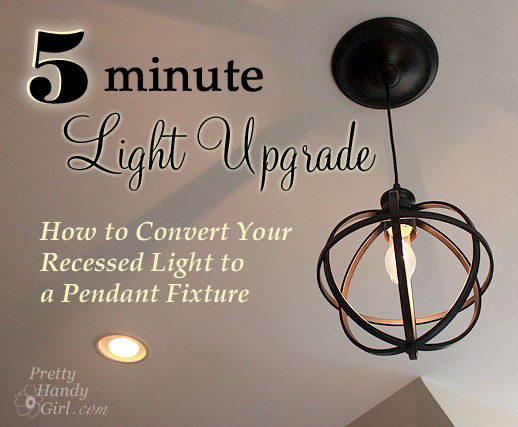
Credit: www.tiktok.com
Wiring The Pendant Light
Wiring a pendant light with a cord may seem challenging. Yet, it’s quite simple with the right guidance. Begin by ensuring the power is off. Safety first. Gather your tools and materials. A screwdriver, wire stripper, and electrical tape are essential. Now, let’s explore the steps to connect and secure the wires.
Connecting The Wires
Locate the wires in the ceiling box. Usually, there are three: live, neutral, and ground. The live wire is often black or red. The neutral wire is white. The ground wire is green or bare. Strip about half an inch of insulation from each end. Connect the pendant light wires to these ceiling wires. Match colors: live to live, neutral to neutral. Use wire nuts for a firm connection. Twist the wires together first. Then, screw on the wire nut tightly.
Securing Wire Connections
Properly secure your wire connections. This step prevents future issues. Wrap electrical tape around each wire nut. This adds an extra layer of safety. Ensure no bare wire is exposed. Now, gently tuck the wires into the ceiling box. Be careful not to loosen the connections. Attach the pendant light fixture to the ceiling as instructed. Double-check each connection for security. This ensures a stable and safe installation.
Adjusting The Cord Length
Adjusting the cord length ensures your pendant light hangs at the perfect height. Simply measure the desired drop, then carefully shorten or extend the cord to match your space’s needs. This step personalizes the lighting to fit the room’s ambiance.
Adjusting the cord length of your pendant light is crucial. It ensures the fixture hangs perfectly in your space. Too long, and the light may interfere with movement. Too short, and it may not provide adequate illumination. Finding the right balance is essential for functionality and aesthetics. Here’s how to adjust the cord length effectively.
Setting The Desired Height
Determine how high you want the light to hang. Measure from the floor to the desired height. This ensures consistency with other fixtures. Consider the room’s purpose. Dining areas may need lower lighting. Workspaces might require higher illumination. Mark the height with a pencil on the wall or ceiling.
Securing The Cord
Once the height is set, secure the cord. Use a wire grip or a cord clamp. This prevents slipping or sagging. Ensure the cord is straight. Avoid twists or kinks for a neat appearance. Trim any excess cord for safety. Ensure the cord length complements the room’s decor.
Testing The Light Fixture
Testing your newly installed pendant light is crucial. It ensures safety and functionality. After installation, follow these steps to test your light fixture effectively. This part is essential for confirming everything works as expected.
Restoring Power
First, restore power to the circuit. Go to your circuit breaker. Flip the switch back to the “on” position. Make sure the room’s main light switch is also on. This step is important before checking the light fixture.
Ensuring Proper Functionality
Next, turn on the pendant light. Observe its illumination. Check for any flickering or unusual behavior. Listen for strange noises. If the light doesn’t shine, double-check connections. Ensure the bulb is correctly installed.
Finally, inspect the light’s cord and fixture. Verify they are secure. Confirm the pendant hangs straight and stable. A properly functioning pendant offers bright, steady light. It enhances your room’s aesthetic appeal.
Final Touches
Final touches bring your pendant light installation to perfection. They ensure the fixture looks polished and functions well. This step includes adjusting the light for aesthetics and cleaning the fixture for a fresh look.
Adjusting For Aesthetics
Start by checking the pendant light’s height. Ensure it hangs at the desired level for your space. This affects the room’s balance and symmetry. Measure the distance from the ceiling to the fixture. Adjust the cord length if needed. Make sure it’s straight and centered. This prevents the fixture from leaning or tilting. Look at it from different angles. Confirm that it complements the room’s design. Use a ladder for easy access. Tweak the position slightly if necessary. This enhances visual appeal.
Cleaning The Light Fixture
Dust and dirt can dull your pendant light’s shine. Cleaning keeps it bright and attractive. Start by turning off the power. Safety comes first. Use a soft cloth to wipe the fixture. Avoid harsh chemicals to protect the finish. Focus on the shade and cord. Clean any smudges or fingerprints. This keeps the light sparkling. Regular cleaning extends its lifespan. Shine the bulb as well. A clean bulb provides better light. Remember to clean fixtures gently. This prevents scratches or damage.
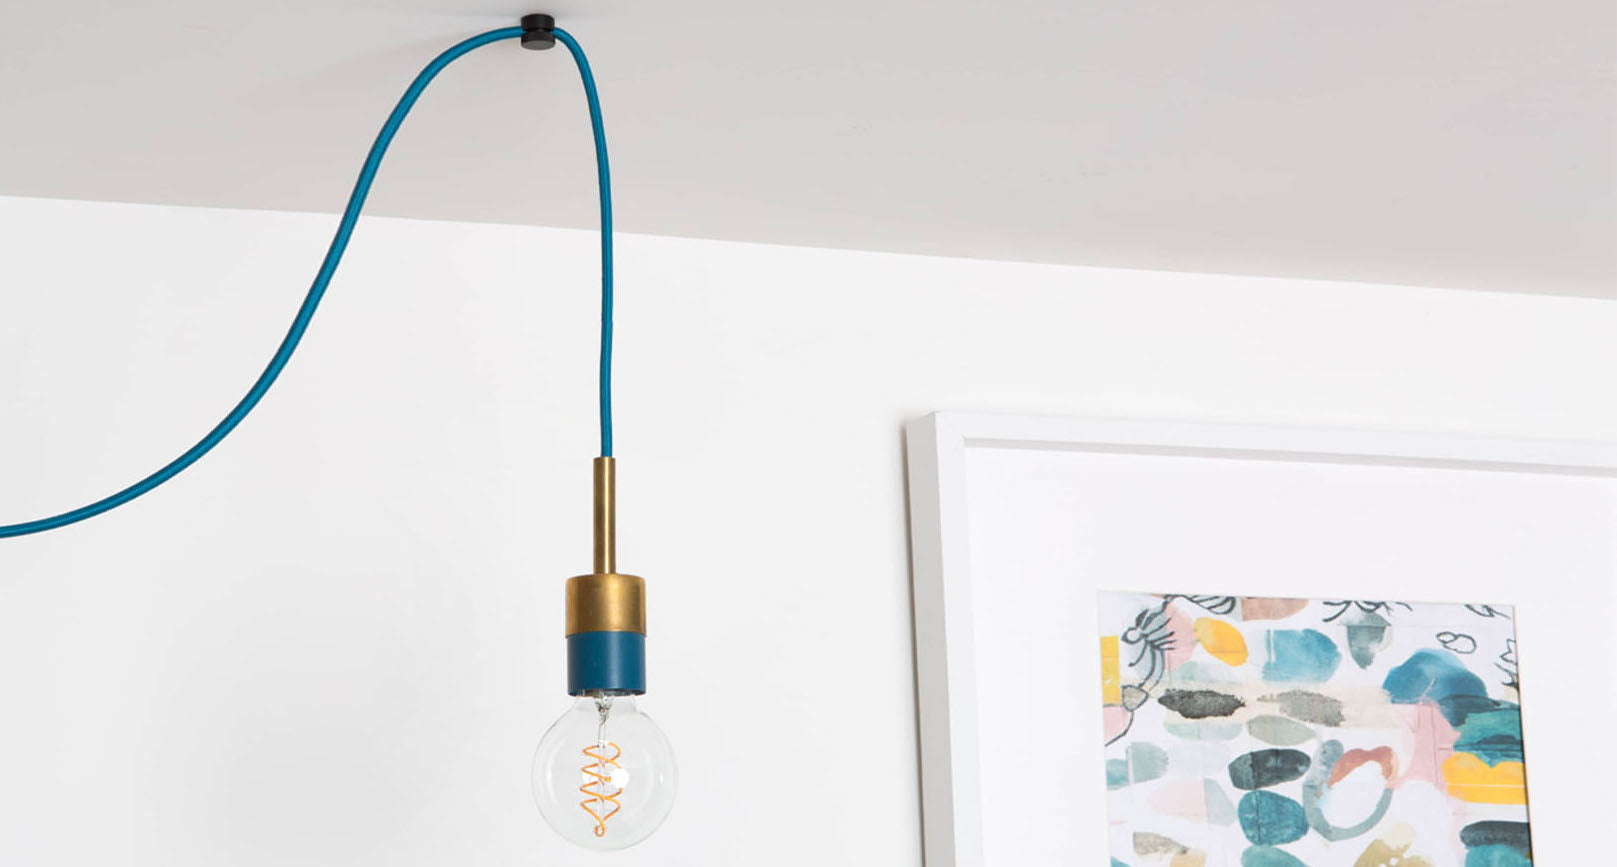
Credit: www.colorcord.com
Frequently Asked Questions
How Do I Choose The Right Pendant Light Size?
Selecting the right pendant light size is essential for balance. Measure your room and consider the height of your ceiling. A general rule is to choose a fixture about 12-20 inches above the table or countertop. For larger spaces, opt for multiple pendants to create a cohesive look.
Can I Install A Pendant Light Without An Electrician?
Yes, you can install a pendant light without an electrician if you’re confident with basic electrical work. Ensure power is off before starting. Follow the manufacturer’s instructions carefully. If you’re unsure about wiring or connections, it’s best to consult a professional to ensure safety and proper installation.
What Height Should Pendant Lights Hang?
Pendant lights should hang 30-36 inches above a countertop or table. This height ensures adequate lighting and avoids obstruction. For rooms with higher ceilings, you may hang them slightly higher. Adjust the cord length to suit your specific space and personal preference for optimal lighting and aesthetics.
Are Pendant Lights Suitable For All Rooms?
Pendant lights are versatile and can be used in various rooms. They work well in kitchens, dining areas, and even bathrooms. Consider the room’s size, style, and function when choosing a pendant light. Ensure it complements the existing decor and provides adequate illumination for the specific area.
Conclusion
Hanging a pendant light with a cord is simple. First, gather all necessary tools. Next, follow the steps outlined in this guide. Ensure the fixture is securely mounted. Safety is key, so double-check connections. A well-hung pendant light transforms a room.
It adds style and brightens spaces. Anyone can achieve this with patience. No need for professional help. Your new lighting feature will impress friends and family. Enjoy the warm glow in your home. Happy decorating!

Home Improvement Specialist & Writer at HomeFixio
Caden Rutherford is a seasoned home improvement specialist with extensive hands-on experience in residential construction, renovations, and design. With a keen eye for detail and a passion for transforming spaces, Caden shares practical advice and expert solutions to enhance the functionality and beauty of homes. As a writer for HomeFixio, Caden combines technical knowledge with creative flair, providing readers with informative guides on everything from structural improvements to aesthetic upgrades, empowering homeowners to achieve their ideal living spaces.