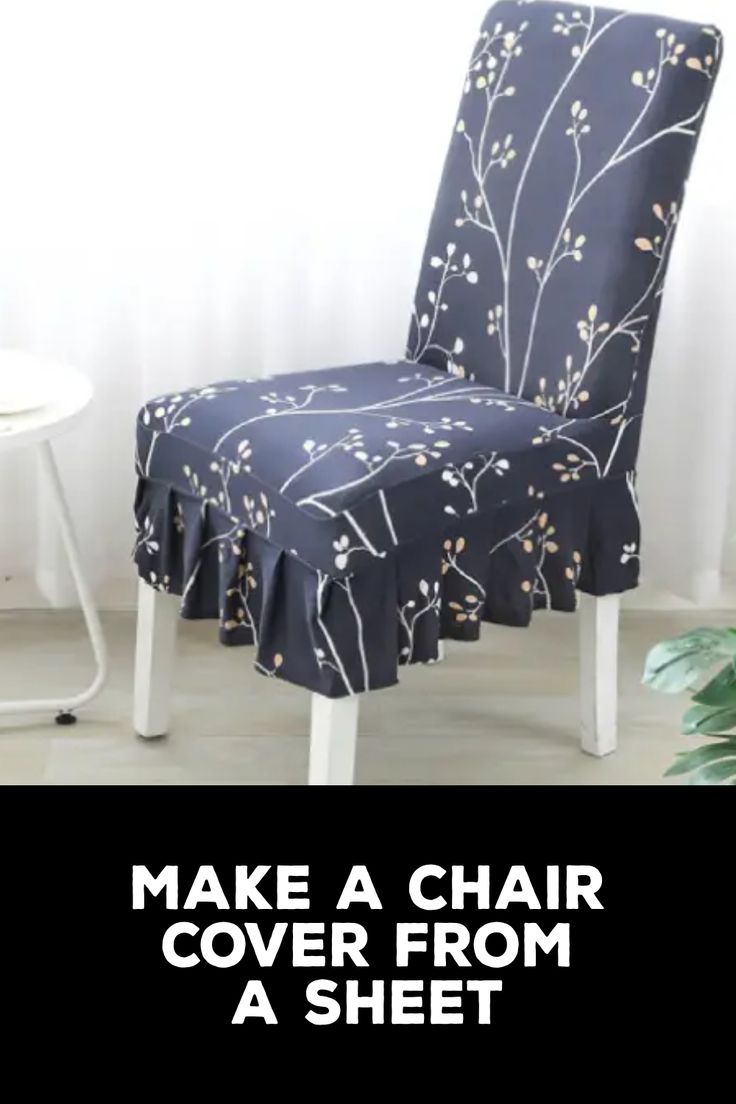
How to Sew a Slipcover: Transform Your Furniture Easily
Are you tired of staring at that worn-out sofa, wishing you could give it a fresh new look without spending a fortune? What if you could transform your living room with just a needle, thread, and a bit of creativity?
Learning how to sew a slipcover can be your ultimate DIY solution. Imagine the satisfaction of crafting something that not only protects your furniture but also reflects your personal style. In this guide, you’ll discover the simple steps to create a custom slipcover that fits perfectly, looks amazing, and can be easily changed whenever you fancy a new look.
Dive in to unleash your inner designer and see just how fun and rewarding sewing a slipcover can be!
Choosing The Right Fabric
Selecting the right fabric is crucial for sewing a slipcover. Opt for durable, washable materials that complement your decor. Consider color and texture to enhance both style and function.
Choosing the right fabric for your slipcover can transform the look and feel of your furniture. It’s not just about aesthetics; the fabric you choose impacts durability, maintenance, and comfort. Whether you’re looking to refresh your living room or protect your favorite armchair, understanding the qualities of different fabrics will guide you to the perfect choice.
Types Of Fabrics
When selecting fabric, consider the environment where the furniture will be placed. Cotton is a popular choice due to its softness and breathability. Linen offers a luxurious feel but may wrinkle easily, adding character to its charm. If you prefer a more robust option, canvas and denim provide durability for high-traffic areas. Velvet exudes elegance, perfect for spaces where you entertain guests, while microfiber is practical for households with pets and children. What’s the primary function of your slipcover—style or protection?
Durability And Maintenance
Durability is crucial, especially if your furniture sees a lot of use. Fabrics like twill and leather can withstand wear and tear, making them ideal for busy homes. Consider how often you’re willing to clean and maintain the slipcover. Machine-washable fabrics like cotton and polyester simplify cleaning routines. Some fabrics, like wool, require dry cleaning, which may not be feasible for everyone. Are you ready for the commitment of frequent cleaning, or do you prefer a low-maintenance option?
Color And Pattern Selection
The colors and patterns you choose set the tone for your room. Opt for neutral shades if you want a timeless look that complements various decor styles. Bold colors can make a statement, adding vibrancy to your space. Patterns like stripes or florals can inject personality, but ensure they align with your existing decor. Experiment with swatches to see how the colors look in different lighting. How do you want your room to feel—calm and serene or lively and energetic? Choosing the right fabric involves balancing aesthetics with functionality. By focusing on these aspects, you can create a slipcover that not only looks great but serves its purpose effectively.
Credit: mollyinmaine.com
Measuring Your Furniture
Before you dive into sewing a slipcover, measuring your furniture accurately is crucial. This process ensures your slipcover fits perfectly, enhancing both comfort and aesthetics. Whether you’re working with a cozy armchair or a sprawling sofa, understanding the dimensions is the first step towards a tailored look. Let’s explore how to measure your furniture effectively.
Essential Tools For Measuring
To get started, gather a few essential tools. A flexible tape measure is your best friend in this endeavor. It’s perfect for wrapping around curves and capturing the true dimensions of your furniture. Additionally, have a notebook and pencil handy to jot down measurements. You might also consider a camera to take reference photos, helping you visualize the task ahead.
- Flexible tape measure
- Notebook and pencil
- Camera for reference photos
Taking Accurate Measurements
Accuracy is key when measuring your furniture. Begin with the width, height, and depth. Measure from the outermost edge to ensure the slipcover accommodates the entire piece. Pay attention to unique features like arms and backrests. If you’re unsure about the shape, use your camera to capture the details. This will help you later when cutting the fabric.
Consider whether the slipcover will have pleats or ties. These require additional fabric and precise measurements. A little extra effort in this step saves time and frustration during sewing.
Recording Dimensions
Once you’ve gathered your measurements, record them systematically. Create a table in your notebook to organize the dimensions clearly. This is particularly useful when you’re dealing with multiple pieces of furniture. Compare your measurements with the fabric requirements, ensuring you have enough material.
| Furniture Piece | Width | Height | Depth |
|---|---|---|---|
| Sofa | 84 inches | 36 inches | 40 inches |
| Armchair | 35 inches | 38 inches | 36 inches |
Have you ever struggled with a slipcover that just wouldn’t fit? Careful measurement helps avoid this common pitfall. By recording dimensions precisely, you set yourself up for success. This small step is the difference between a slipcover that looks custom-made and one that doesn’t quite fit.
Creating A Pattern
Creating a Pattern Start by measuring your furniture to ensure a perfect fit. Next, sketch the dimensions on paper to visualize the design. Use fabric chalk to outline the pattern on your chosen fabric before cutting.
Creating a pattern is an essential step in sewing a slipcover that fits like a glove. It’s where your creativity meets precision, and every inch of fabric counts. Whether you’re a seasoned seamstress or a beginner, understanding the nuances of pattern creation ensures your slipcover not only looks great but functions perfectly. Let’s dive into the specifics of drafting, adjusting, and marking for a flawless fit.
Drafting Techniques
Begin by laying your fabric flat on a spacious surface. Use a large sheet of paper or muslin to draft your pattern. Trace the outline of your furniture, paying close attention to curves and corners. A flexible tape measure can help capture these dimensions accurately. Don’t forget to label each section clearly. This will prevent confusion later on and make the sewing process smoother.
Adjusting For Fit
Try pinning your draft pattern onto the furniture. This visual test helps spot any areas that need tweaking. Is it too loose or too tight in some spots? Adjust accordingly by adding or reducing fabric at strategic points. You might need to make several small adjustments, but it’s worth the effort for a snug fit. Remember, a well-fitted slipcover doesn’t just look good; it also stays in place.
Marking Seam Allowances
Seam allowances are your safety net, providing room for errors or future adjustments. Typically, a ½ to 1-inch seam allowance is sufficient. Use chalk or a fabric marker to outline these allowances on your pattern. Make sure they’re visible and consistent throughout. A well-marked pattern simplifies the sewing process, ensuring that each piece aligns perfectly when stitched together. Creating a pattern might seem daunting, but it’s a rewarding skill that gets easier with practice. Have you ever tried making a pattern before? What challenges did you face, and how did you overcome them?

Credit: mollyinmaine.com
Cutting The Fabric
Accurate fabric cutting is key to sewing a slipcover. Measure precisely and mark fabric sections carefully. Use sharp scissors or a rotary cutter for clean edges.
Cutting the fabric is a crucial step in sewing a slipcover. Precise cutting ensures a snug fit and professional look. Poor cuts can lead to wasted fabric and frustration. Let’s explore how to cut fabric efficiently for your slipcover project.
Tips For Cutting
Use sharp scissors or a rotary cutter for clean cuts. Dull tools can ruin the fabric. Make sure your cutting surface is large and flat. This helps in maintaining straight lines. Always measure twice before cutting. This saves fabric and ensures accuracy.
Using Templates
Create templates using old bed sheets or paper. They help in visualizing the final fit. Pin the template to the fabric to prevent shifting. This ensures precise cutting and reduces mistakes. Templates also allow easy adjustments before the final cut.
Avoiding Common Mistakes
Don’t rush the cutting process. Haste leads to errors and fabric waste. Avoid cutting on uneven surfaces. This can cause crooked lines. Double-check measurements against the furniture. This avoids a slipcover that’s too tight or too loose.
Sewing The Slipcover
Sewing a slipcover transforms your furniture with style and protection. Learn key techniques to create a custom fit with ease. Follow these steps for a polished, professional look.
Stitch Types And Techniques
Choose the right stitch for durability and appearance. Straight stitches provide a clean, classic look. Use zigzag stitches for stretch and flexibility. Align fabric edges carefully for even seams. Double stitching ensures strength and longevity.
Joining Pieces
Accurate measurements make seamless connections. Pin fabrics together securely before sewing. Ensure pieces fit snugly around corners and curves. Use tailor’s chalk to mark sewing lines. Test fit each section before final stitching.
Adding Details
Enhance slipcovers with decorative touches. Add piping for a tailored finish. Use fabric trims for visual interest. Consider ruffles for a soft, elegant look. Sew buttons for practical closures. Personalize with unique appliques or embroidery.
Credit: mollyinmaine.com
Fitting And Adjusting
Measure the furniture carefully to create a perfect slipcover fit. Adjust the fabric smoothly around curves and corners. Pin and sew to ensure a snug and tailored look.
Fitting and adjusting your slipcover is a crucial step to ensure a polished, custom look that seamlessly blends with your furniture. It’s not just about getting the slipcover on; it’s about making it look like a second skin for your sofa or chair. You might wonder, how do you achieve that perfect fit without professional help? Let’s dive into the process and transform your living space with a little DIY magic.
Trying On The Slipcover
Start by draping the slipcover over the piece of furniture. Make sure it’s centered and aligned properly. This initial placement will give you a sense of where adjustments are needed. Take a moment to step back and observe. Are there any obvious wrinkles or loose areas? Identifying these spots early will save you time and effort later.
Making Necessary Adjustments
Begin by smoothing out any wrinkles with your hands. Focus on one section at a time, like the arms or the backrest. This methodical approach prevents new creases from forming as you work. Pinch and tuck excess fabric into the creases and seams of your furniture. This helps tighten the fit and gives a tailored appearance. Consider using safety pins or fabric clips to temporarily hold the fabric in place. This allows you to step back and evaluate the fit before making permanent adjustments.
Securing The Fit
Once satisfied with the adjustments, it’s time to secure the slipcover. Use a staple gun or upholstery tacks if your furniture allows it, but be cautious to avoid damaging the fabric or furniture. If your slipcover includes ties or Velcro straps, ensure they are fastened snugly. This will prevent the cover from shifting during use. Finally, give the slipcover a final check. Are there any areas that still look loose or uneven? A well-fitted slipcover not only looks great but also stays in place, enhancing your furniture’s functionality and style. By approaching the fitting and adjusting process with attention to detail, you can achieve a flawless finish that looks professionally done. How will your newly fitted slipcover transform your space?
Finishing Touches
Adding finishing touches transforms a simple slipcover. Trim edges neatly for a polished look. Secure seams tightly for long-lasting durability.
Finishing touches are the final steps that bring your slipcover project to life. This phase is all about adding those small details that make a big difference. From trimming excess fabric to adding decorative elements, this is where you can truly personalize your creation.
Trimming Excess Fabric
Once your slipcover is fitted, you might notice some extra fabric hanging around. Carefully trim this excess, leaving about half an inch for the hem. Use sharp fabric scissors to ensure clean cuts and prevent fraying. A little patience goes a long way here. Rushing might lead to uneven edges, which can make the slipcover look unprofessional. Have you ever trimmed too close and regretted it? A small allowance can save you from such mishaps.
Adding Decorative Elements
This is your chance to let your creativity shine. Consider adding piping along the seams for a polished look. Choose contrasting colors for a bold statement or matching tones for a subtle touch. Buttons, ribbons, or lace can also add charm. Think about what would complement the room’s decor. Have you ever thought about using fabric paint or patches? These can provide a unique, personalized flair.
Final Pressing
The final pressing is the cherry on top of your slipcover project. It smooths out wrinkles and gives your cover a crisp, fresh appearance. Use a steam iron for best results and be gentle around any decorative elements. A well-pressed slipcover looks professionally made. Imagine the satisfaction of seeing your hard work displayed perfectly. Are you ready to take a step back and admire your creation?
Caring For Your Slipcover
Sewing a slipcover involves measuring your furniture accurately and selecting durable fabric. Cut the fabric pieces precisely and sew them together with care. A well-fitted slipcover enhances your furniture’s appearance and protects it from wear.
Caring for your slipcover ensures it remains beautiful and functional. A well-maintained slipcover can extend the life of your furniture. Proper care involves regular cleaning, timely repairs, and a few preservation techniques. Let’s explore these steps to keep your slipcover in top shape.
Cleaning Tips
Regular cleaning is essential for slipcovers. Dust and dirt can make them look dull. Machine wash your slipcover if the fabric allows. Use a gentle cycle with cold water. Air dry to prevent shrinking. For spot cleaning, use a mild detergent and a damp cloth. Avoid harsh chemicals that can damage the fabric.
Repairing Wear And Tear
Over time, slipcovers may show signs of wear. Small tears and loose seams are common. Use a needle and thread to fix minor tears. Choose a thread color that matches the fabric. For larger repairs, consider using an iron-on patch. Always test the patch on a hidden area first.
Preserving Longevity
Preserve your slipcover by rotating it regularly. This reduces uneven wear and fading. Keep slipcovers out of direct sunlight. Sunlight can cause colors to fade over time. Using fabric protector sprays can help repel stains. Always follow the instructions for fabric protectors carefully.
Frequently Asked Questions
What Materials Are Best For Slipcovers?
Slipcovers work best with durable, washable fabrics like cotton, linen, or canvas. These materials offer flexibility and ease of maintenance. Choose fabrics that match your decor and provide comfort. For added durability, consider using heavier fabrics that withstand daily wear and tear.
How Can I Measure For A Slipcover?
Start by measuring the height, width, and depth of your furniture. Ensure you include armrests and cushions. Use a flexible tape measure for accuracy. Write down each measurement clearly. This will help you purchase the right amount of fabric and ensure a snug fit.
Can I Sew A Slipcover Without A Pattern?
Yes, you can sew a slipcover without a pattern. Begin by draping fabric over your furniture and pinning it in place. Cut the fabric following the furniture’s shape. Use a sewing machine to stitch the pieces together. This method is flexible and allows customization.
How Do I Fit A Slipcover Tightly?
For a tight fit, start by aligning the fabric with your furniture’s seams. Use pins to hold the fabric in place before sewing. A snug fit requires precise measurements and careful sewing. Tightening straps or ties can help ensure the slipcover stays secure.
Conclusion
Sewing a slipcover can transform your furniture. It’s an easy and rewarding project. You learned the steps to create a perfect fit. Choose your fabric wisely for a lasting slipcover. Measure carefully to ensure accuracy. Remember, patience is key during sewing.
A slipcover can refresh any room with style. Enjoy the new look of your furniture. Try different fabrics for unique designs. This skill opens up endless possibilities. Experiment with colors and textures. Happy sewing, and enjoy your new slipcover!

Home Improvement Expert & Senior Writer at HomeFixio
Reed Atwood is a seasoned home improvement expert with a passion for transforming everyday living spaces into functional and stylish havens. With years of experience in DIY projects, renovations, and home upgrades, Reed brings a wealth of knowledge to HomeFixio. As a senior writer, he provides readers with practical, easy-to-follow guides, expert tips, and innovative solutions for every room in the house. His goal is to empower homeowners to tackle their projects with confidence, ensuring both quality results and a rewarding experience.