
Are you tired of water splashing all over your bathroom floor every time you shower? Installing a shower curtain rod is a simple yet effective solution that can transform your bathroom experience.
Imagine stepping into a clean, dry bathroom without the hassle of post-shower cleanup. You don’t need to be a DIY expert or have a toolbox full of specialized equipment to make this happen. With just a few straightforward steps and a bit of guidance, you can easily install a shower curtain rod by yourself.
This guide will walk you through each step, ensuring you not only achieve a secure installation but also add a touch of style to your bathroom. Discover how this small change can make a big difference in your daily routine and enjoy the satisfaction of a job well done. Ready to make your bathroom more functional and stylish? Let’s get started!
Choosing The Right Shower Curtain Rod
There are many types of shower curtain rods. Straight rods are common and fit most bathrooms. Curved rods give extra space in the shower. Tension rods are easy to install without tools. Double rods can hold a liner and curtain. Each type has its own benefits.
Shower curtain rods come in different materials. Metal rods are strong and last a long time. Plastic rods are light and easy to use. Wooden rods add a warm touch. Finishes matter too. Chrome finish looks shiny and modern. Brushed nickel finish is smooth and classic. White finish matches many bathrooms.
Measure your bathroom before buying a rod. Use a tape measure. Write down the length from wall to wall. Check the height from the floor. Make sure to measure twice. You need the right size for a good fit. Don’t forget to leave space for hooks and curtain.
Gathering Necessary Tools
First, gather all the essential toolsyou need. This makes the job easier. Here’s a list:
- Measuring Tape:To measure the space.
- Drill:For making holes in the wall.
- Screwdriver:For tightening screws.
- Level:To ensure the rod is straight.
- Pencil:For marking spots.
Consider some optional toolsfor a smoother process:
- Step Ladder:Helps reach higher spots.
- Wall Anchors:For added support.
- Plumb Line:Ensures perfect vertical lines.
Having these tools ready saves time. It makes installation quick and easy.
Preparing Your Bathroom
First, remove any items near the shower. This includes shampoos and soaps. Make sure the floor is dry. Wet floors can be slippery. Clear space for easy movement. This helps avoid accidents.
Check the wall. It should be clean. Dirt can affect the rod’s grip. Use a soft cloth to wipe it. Ensure there are no obstacles. This makes the task simpler.
Use a measuring tape. Measure the height you want. It should be above the shower head. Mark with a pencil. Make small dots on both walls. These are your guide points.
Ensure the dots are level. Use a spirit level tool. A crooked rod looks bad. It can also fall easily. Double-check the marks before proceeding.
Installing A Tension Rod
Installing a shower curtain rod is simple with a tension rod. Start by measuring the shower space. Adjust the rod’s length to fit snugly between walls. Twist to secure, ensuring stability for your curtain.
Adjusting The Rod Length
First, check the distance between the shower walls. Hold the rod in place. Turn the rod to make it longer or shorter. Adjust until it fits snugly. Ensure the rod is straight and level. This helps the curtain hang evenly. Avoid making the rod too long or too short. It should fit perfectly between the walls.
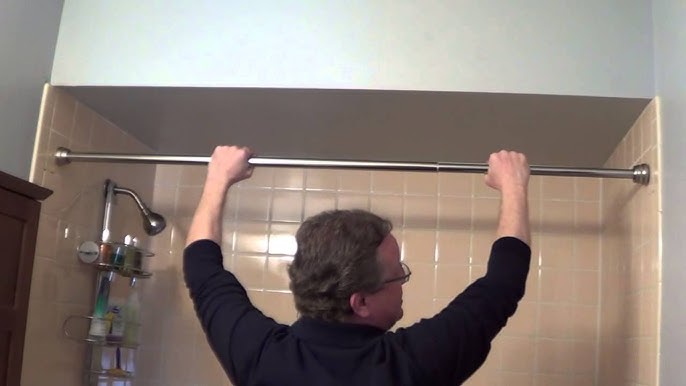
Securing The Rod In Place
Position the rod near the top of the shower. Push the rod against the walls. Twist the rod to tighten it. Make sure it feels secure. Test the rod by pulling gently. It should not move. Ensure it is firm and stable. This keeps the curtain from falling down. Check both ends for tightness. Adjust if needed for a secure fit.
Installing A Permanent Rod
Mark the spots for the pilot holes. Use a measuring tape. Keep the spots level. Take a drill and make small holes. These holes are called pilot holes. They help screws go in straight. Be careful while drilling. Avoid making the holes too big.
Take the rod brackets. Align them with the pilot holes. The brackets hold the rod. Use screws to fix them in place. Tighten the screws well. Make sure the brackets don’t move. Check if they are level. Adjust if needed.
Slide the rod into the brackets. Ensure it fits snugly. The rod should not wobble. Test the strength by pulling lightly. Make sure it’s secure. The curtain will hang on this rod. Double-check everything is fixed properly.

Credit: www.wikihow.com
Ensuring Stability And Safety
Align the rod with the wall marks. Make sure it is straight. Use a level tool for accuracy. A crooked rod can cause problems. Also, check the rod’s length. It should fit perfectly between walls. This ensures it stays in place. Avoid gaps by measuring correctly. A secure fit keeps the rod stable.
Hang a towel or curtain to test. Ensure it can hold weight. Gently pull down to check strength. The rod should not bend or fall. If it does, adjust the supports. Make sure they are tight. A strong rod holds up heavy curtains. Safety is important in the bathroom.
Adding Finishing Touches
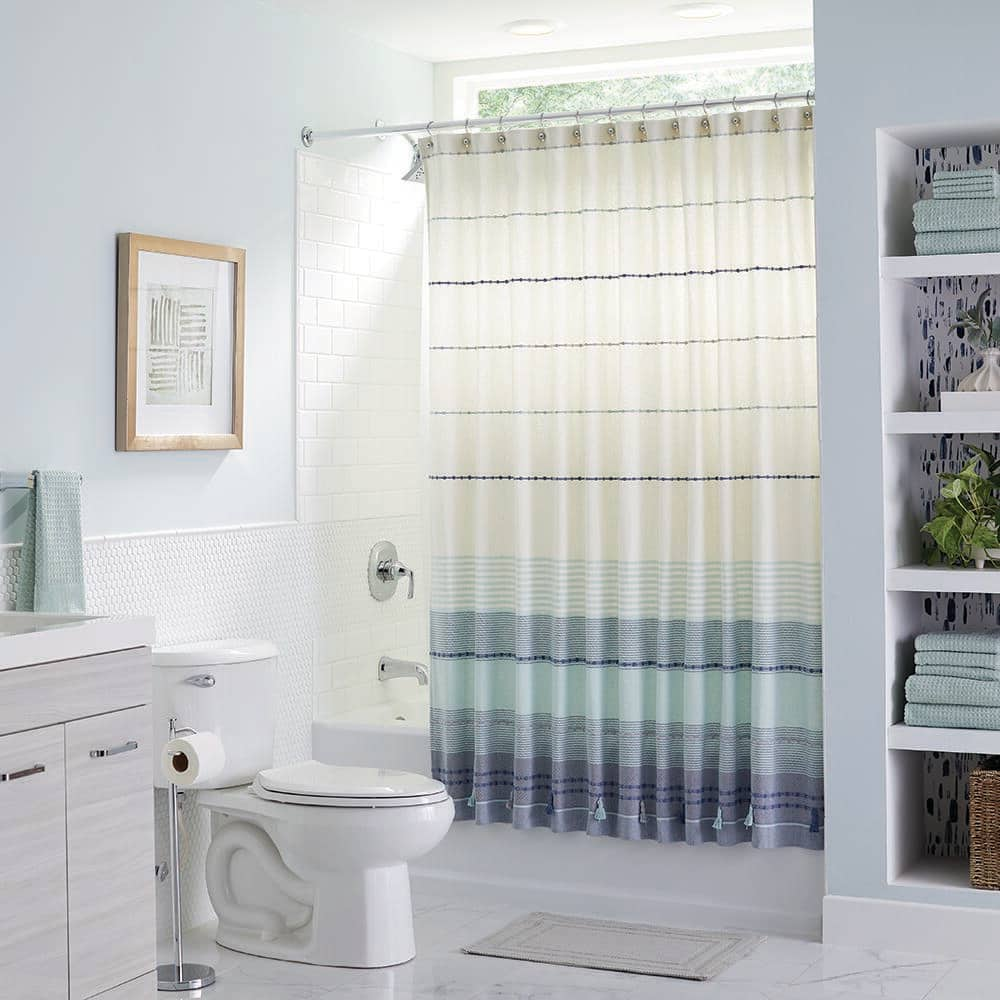
To hang the shower curtain, first slide the curtain rings onto the rod. Make sure each ring is evenly spaced. Then, attach the shower curtain to the rings. Use the small holes at the top of the curtain. It’s important that the curtain hangs straight. If it’s crooked, adjust the rings until it looks right.
Choose rings or hooks that match your bathroom style. Open each ring or hook carefully. Slide the curtain through each one. Ensure that all hooks face the same direction. This keeps the curtain looking neat. Some hooks may have a clasp. If so, close it securely to hold the curtain in place.
Credit: www.youtube.com
Troubleshooting Common Issues
Installing a shower curtain rod can pose challenges like uneven walls and loose brackets. Ensure walls are level for proper installation. Secure brackets tightly to prevent falling.
Fixing A Sagging Rod
A sagging rod can cause problems. Check if the rod is too long. Shorten it if needed. Use a level to ensure it’s straight. Tighten the screws well. If the wall anchors are loose, replace them. Use stronger anchors for better support.
Dealing With Uneven Walls
Uneven walls make installation hard. Use a shim to level the rod. Adjust the brackets to fit the wall. Check both sides with a level. This ensures the rod is straight. Sometimes, moving the brackets can help.
Credit: www.homedepot.com
Frequently Asked Questions
How Do I Choose The Right Shower Curtain Rod?
Choosing the right rod depends on your bathroom space and design. Measure the space before purchasing. Consider adjustable rods for flexibility. Opt for rust-resistant materials like stainless steel or aluminum for durability. Choose a style that complements your bathroom decor for a cohesive look.
What Tools Are Needed To Install A Shower Rod?
Installing a shower rod typically requires a measuring tape, drill, and screwdriver. You might need wall anchors if you’re attaching to drywall. Ensure you have a level to keep the rod straight. Adjustable rods might not require tools, making installation easier for renters.
Can I Install A Shower Rod Without Drilling?
Yes, tension rods are a popular choice for no-drill installation. They use pressure between walls to stay in place. Ideal for renters, they cause no permanent damage. Ensure walls are smooth for a secure fit. They are easy to adjust and remove when needed.
What Height Should A Shower Curtain Rod Be?
The standard height is 75 to 77 inches from the floor. Measure based on curtain length and desired coverage. Ensure the curtain can hang freely without touching the floor. Adjust height for personal preference or unique bathroom layouts, like high ceilings.
Conclusion
Installing a shower curtain rod is simple with the right steps. Just follow the instructions carefully and take your time. Use the proper tools to ensure stability and safety. Remember to measure twice to avoid mistakes. Check the rod’s placement before securing it.
This ensures it hangs correctly and functions well. With a little patience, your bathroom will look great. Enjoy your new shower setup! It adds both style and privacy. Now, you can relax and enjoy your refreshed space. Happy installing!

Home Improvement Specialist & Writer at HomeFixio
Caden Rutherford is a seasoned home improvement specialist with extensive hands-on experience in residential construction, renovations, and design. With a keen eye for detail and a passion for transforming spaces, Caden shares practical advice and expert solutions to enhance the functionality and beauty of homes. As a writer for HomeFixio, Caden combines technical knowledge with creative flair, providing readers with informative guides on everything from structural improvements to aesthetic upgrades, empowering homeowners to achieve their ideal living spaces.