How to Repair a Soap Dispenser Pump: Quick Fix Guide
Struggling with a stubborn soap dispenser pump that just won’t work? You’re not alone.
A malfunctioning soap pump can turn a simple hand wash into a messy ordeal. But before you toss it out and buy a new one, there’s good news. With a few simple steps, you can bring your soap dispenser back to life.
Imagine the satisfaction of fixing it on your own and saving money in the process. Plus, you’ll reduce waste, which is a win for the environment. In this guide, you’ll discover practical tips to repair your soap dispenser pump quickly and efficiently. Keep reading to learn how you can tackle this common household problem with ease and confidence.
Identifying The Problem
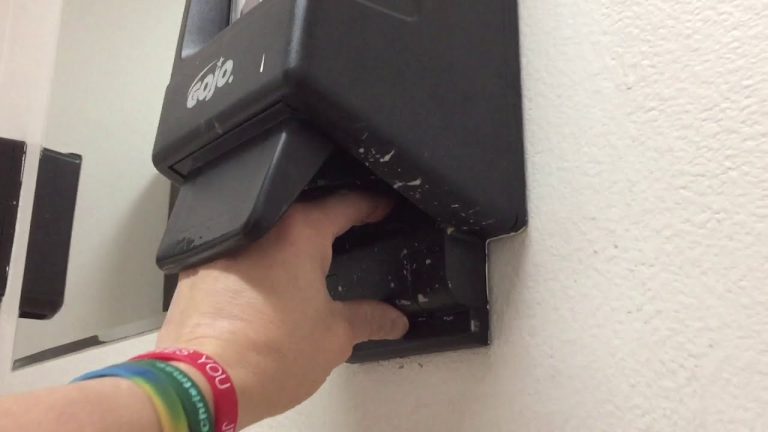
Soap dispensers often face many issues. A clogged nozzle is common. This happens when soap dries up in the nozzle. Another issue is the pump not returning to its place. This makes it hard to press again. Leaks might happen at the base. This wastes soap and makes a mess.
A pump that squirts unevenly is faulty. If it needs more force to press, there’s a problem. No soap flow at all? That’s a sign, too. A pump that drips constantly is not normal. These are key signs of a faulty pump.
Credit: www.youtube.com
Tools Needed For Repair
Screwdriversare handy for opening the soap dispenser. A small wrenchcan be useful for tightening loose parts. Needle-nose pliershelp with gripping tiny parts. Cleaning clothis vital for wiping surfaces. Lubricantensures smooth pump movement. These tools help in basic repairs.
For more complex fixes, a multimeterchecks electrical issues. A heat gunsoftens stubborn parts. A glue gunrepairs cracks or breaks. Replacement partsmight be needed for broken components. These tools are for advanced users.
Disassembling The Pump
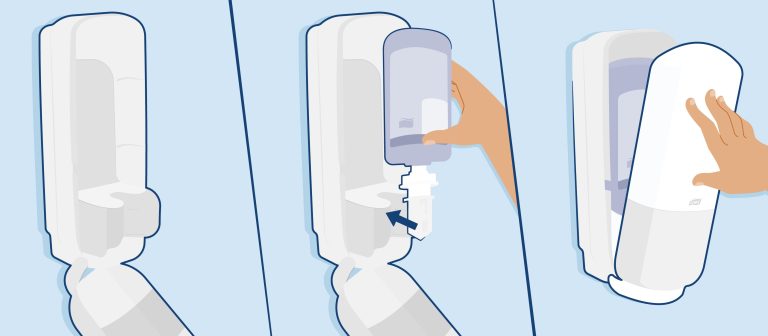
First, twist the top of the dispenser. Pull it gently to remove the pump. Hold the base to keep it steady. Avoid tilting the dispenser. This can cause spills. Once the pump is out, inspect it. Check for any cracks or damages. A broken pump won’t work well. Make sure to clean the pump. Use warm water and soap. Rinse thoroughly to remove soap residue.
Start by examining the pump. Identify the parts: nozzle, spring, and tube. Twist the nozzle to detach it. Be careful with the spring. It can pop out quickly. Separate each component gently. Lay them on a clean cloth. This helps keep them organized. Inspect each part for dirt or damage. Clean every piece with warm water. Ensure all soap is rinsed off.
Cleaning The Pump Components
Soap dispenser pumpscan get clogged over time. Clean them well to keep them working. Best cleaning solutionshelp remove sticky soap. Mix vinegar and waterfor cleaning. Vinegar breaks down soap and kills germs. Dish soap can also be used. It cuts grease and dirt.
Avoiding damage during cleaningis important. Gently take apart the pump. Do not use force. Check parts for cracks or breaks. Use a soft brushor cloth. Avoid sharp objects. They can scratch or damage the pump. After cleaning, rinse with warm water. Dry parts completely. Wet parts can cause rust or mold.
Inspecting For Damage
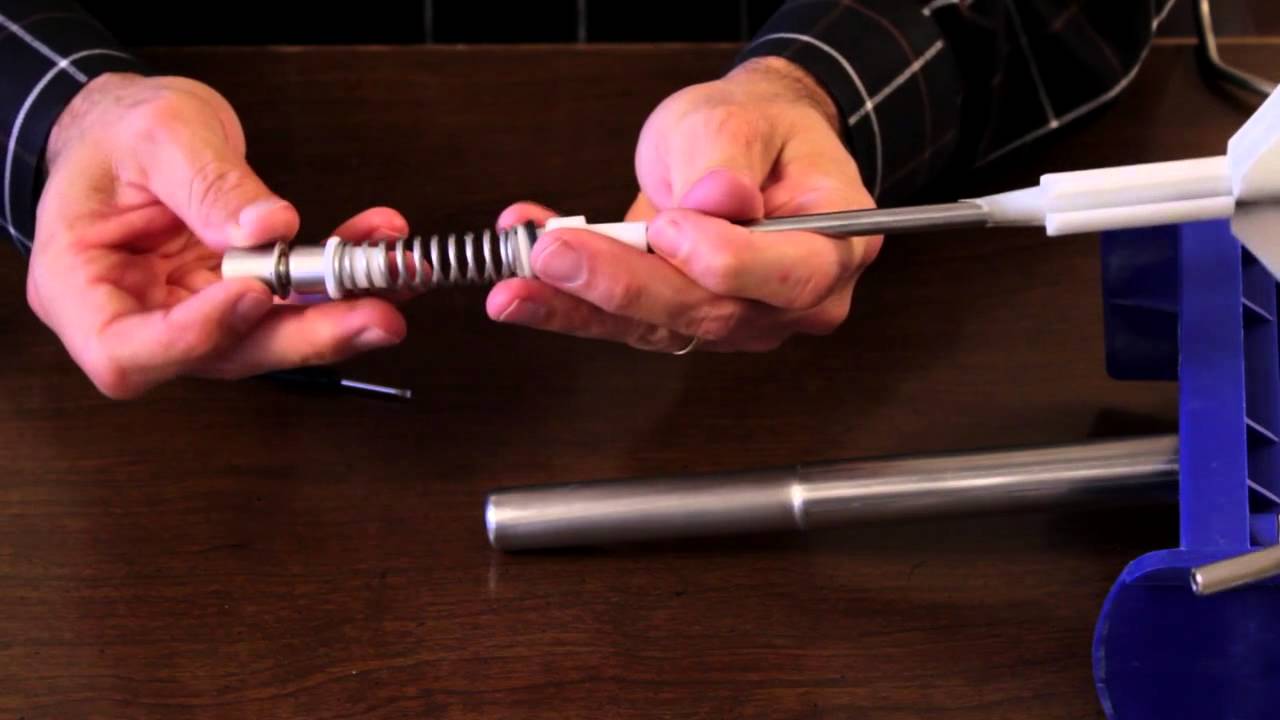
Cracks can cause soap pumps to fail. Inspect the pump carefully. Small cracks might be hard to see. Use a flashlight for a better look. Leaks can make a mess. Check around the base for any wet spots. Seal the cracks with waterproof glue. Leaky pumps might need new parts. Replace them if needed.
The spring helps the pump work. Check if it’s rusty or broken. Rusty springs need cleaning or replacing. The seal keeps the soap in. A worn seal might cause leaks. Feel it with your fingers. Soft seals are good; hard seals need replacement. Springs and seals are cheap to buy. Keep a few extras handy.
Credit: www.homedepot.com
Reassembling The Pump
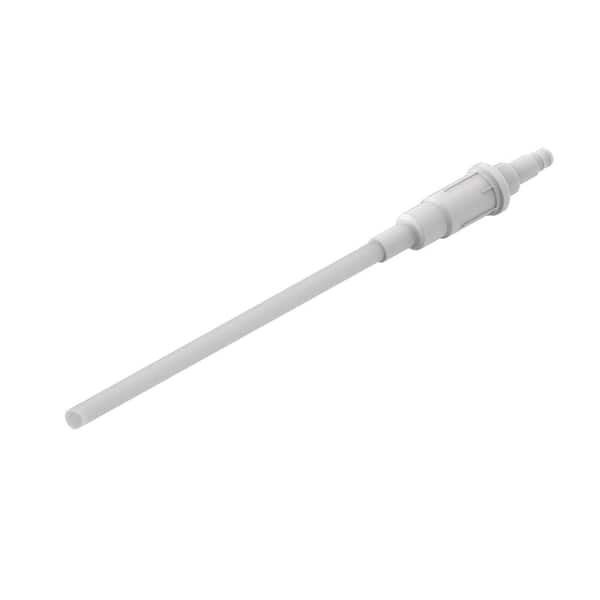
Each part of the pump needs a perfect fit. Align the nozzle with the pump stem. Ensure the spring is in the right spot. It helps the pump move up and down smoothly. Check the tube for any bends or breaks. It must be straight and clear.
Press all parts together firmly. Make sure they click into place. Twist the pump cap to lock it. It should feel tight, but not too tight. Test the pump by pressing it a few times. Soap should come out easily. If not, check the fit again. A good fit stops leaks and keeps the soap fresh.
Testing The Pump
First, check the soap level in the dispenser. Sometimes, the pump does not work because there is no soap. Fill the dispenser with soap if needed. Press the pump and see if it works. If it does not, there might be a problem inside the pump. Disassemble the pump carefully. Look for any clogs or blockages. Clean the pump parts with warm water. Reassemble and test again. A working pump should push out soap easily.
If the pump still does not work, inspect the spring and seal. These parts can wear out over time. A broken spring means the pump cannot push back. Replace the spring if it is weak or broken. Check the seal for cracks or damage. A damaged seal can cause leaks. Replace it if needed. After replacing, test the pump again. It should now work properly if all parts are in good condition.
Preventive Maintenance Tips
Fixing a soap dispenser pump involves cleaning and inspecting for blockages. Ensure all parts are clean and properly aligned. Replace worn-out components to keep the pump working smoothly. Regular checks prevent issues and extend the life of your soap dispenser.
Regular Cleaning Routine
Cleaning is key to keep the pump working well. First, take off the pump from the dispenser. Use warm water to rinse it. If needed, add a little soap. Dry it well before putting it back. Do this every week for best results. Clean the outside of the dispenser too. Wipe it with a damp cloth. This stops dirt and sticky spots. Clean pumps give smoother soap flow.
Avoiding Common Mistakes
Never use strong chemicals on the pump. They can damage the plastic. Avoid forcing the pump if it gets stuck. This can break it. Gentle handling is best. Check for any blockages in the pump. Clear them with warm water. These steps keep your dispenser in good shape.

Credit: www.instructables.com
Frequently Asked Questions
How Do I Fix A Broken Soap Pump?
First, disassemble the pump and clean any clogged parts. Check for broken springs or seals. Replace if necessary. Reassemble carefully, ensuring all parts fit securely. Test the pump with water before refilling with soap.
Why Is My Soap Dispenser Pump Not Working?
A clogged nozzle or air in the tube can cause malfunction. Clean the nozzle with warm water. Ensure the tube is submerged in soap. Check for any leaks or damages in the pump mechanism.
How Can I Unclog A Soap Dispenser?
Remove the pump and rinse it under warm water. Use a toothpick to clear any hardened soap. Soak the nozzle in vinegar to dissolve stubborn clogs. Reassemble and test the pump with water.
What Tools Are Needed For Soap Pump Repair?
You need a small screwdriver, toothpick, and vinegar for cleaning. A replacement spring or seal might be necessary. These tools help disassemble, clean, and repair most soap dispenser issues efficiently.
Conclusion
Fixing a soap dispenser pump is simple with these steps. First, identify the problem. Is it clogged or broken? Clean the pump with warm water. Remove any soap residue. Check if the spring works. Replace it if necessary. Reassemble the pump carefully.
Test it with water before adding soap. If you follow these steps, your dispenser should work smoothly. Always maintain it regularly to avoid future issues. With these tips, your soap dispenser will last longer. Keep it clean and functional. Enjoy a hassle-free experience every day.

Home Improvement Specialist & Writer at HomeFixio
Caden Rutherford is a seasoned home improvement specialist with extensive hands-on experience in residential construction, renovations, and design. With a keen eye for detail and a passion for transforming spaces, Caden shares practical advice and expert solutions to enhance the functionality and beauty of homes. As a writer for HomeFixio, Caden combines technical knowledge with creative flair, providing readers with informative guides on everything from structural improvements to aesthetic upgrades, empowering homeowners to achieve their ideal living spaces.