How to Redo Bathroom Vanity: Transform Your Space
Are you tired of looking at your outdated bathroom vanity every morning? Does the idea of transforming your space into something modern and stylish excite you, but you’re unsure where to start?
You’re not alone. Redoing a bathroom vanity can seem like a daunting task, but it doesn’t have to be. Imagine the satisfaction of walking into your bathroom and seeing a fresh, updated look that you’ve created with your own hands.
With a few simple steps and the right guidance, you can achieve the bathroom makeover you’ve been dreaming of. This guide will show you how to redo your bathroom vanity, making the process straightforward and stress-free. Keep reading to discover how easy and rewarding it can be to breathe new life into your space.
Credit: www.youtube.com
Planning Your Bathroom Vanity Makeover
Transform your bathroom vanity with a fresh coat of paint and updated hardware. Swap out the sink for a modern touch. Add a stylish mirror to complete the look.
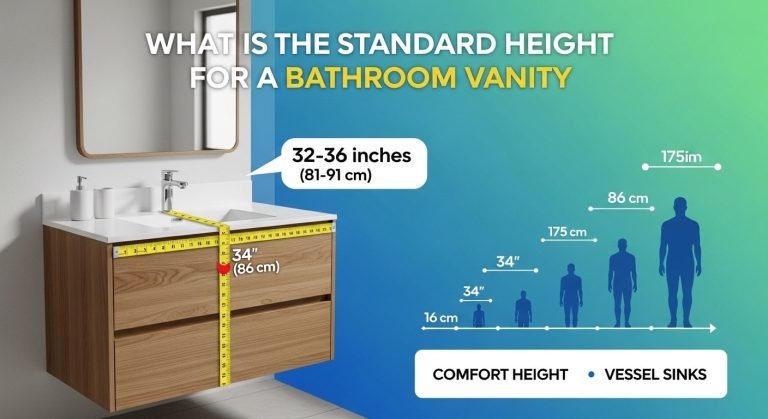
Planning your bathroom vanity makeover requires careful thought. This is where you transform an old, tired space into something fresh and functional. With planning, you can achieve a stylish and organized bathroom. Follow these steps to ensure your makeover is a success.Assessing Current Condition
Start by checking the current state of your vanity. Look at the materials. Are they worn or outdated? Examine the hardware. Are the handles rusty or broken? Consider the layout. Does it offer enough storage? These questions help you understand what needs changing. A clear assessment guides your makeover decisions.Choosing A New Design
Decide on a design that matches your taste. Think about the style. Do you prefer modern or traditional? Consider the color scheme. Should it be bright or neutral? Evaluate the space. Is there room for larger fixtures? Choose materials that fit your budget and lifestyle. Quality options include wood, marble, and laminate. A well-chosen design makes your bathroom inviting.Budget Considerations
Set a realistic budget for your makeover. List all necessary items. Include new materials, fixtures, and labor costs. Consider DIY options to save money. Allocate funds wisely. Prioritize essential changes over extras. Keep an emergency fund for unexpected expenses. Proper budgeting ensures a smooth renovation process.Selecting Materials And Tools
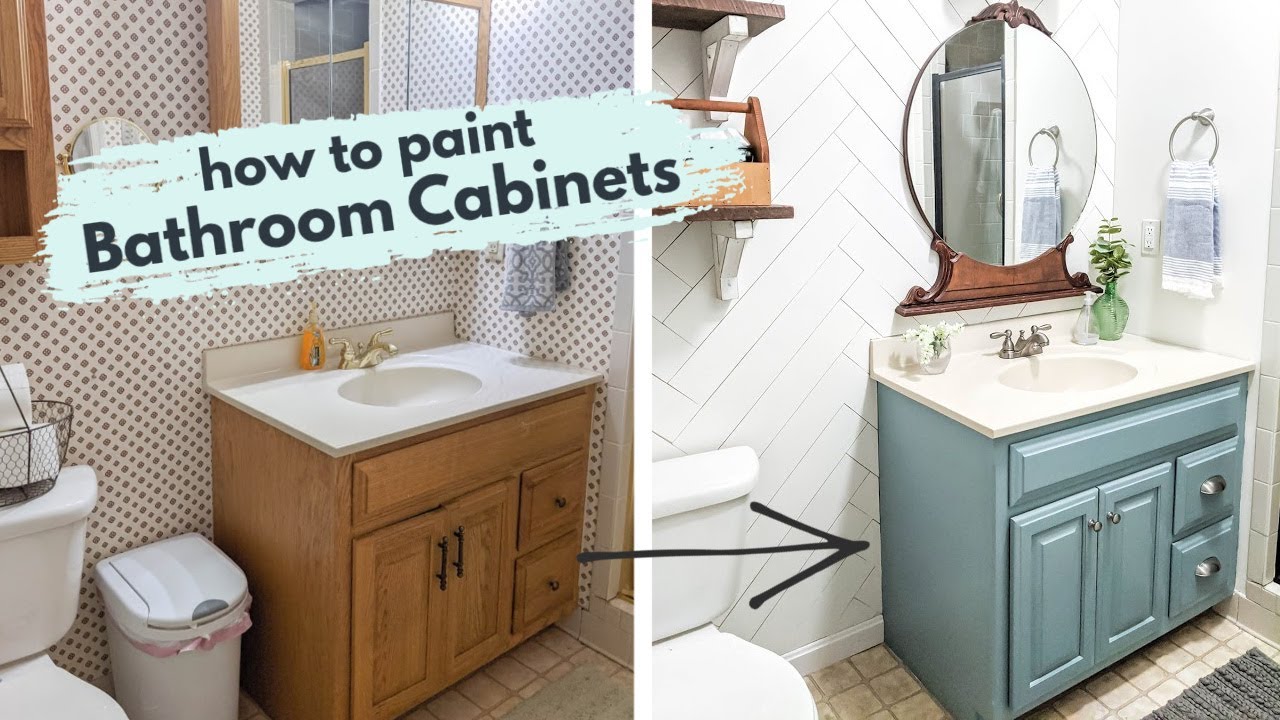
Choosing the right materials and tools is crucial for redoing a bathroom vanity. Opt for quality wood, durable paint, and reliable hardware. Essential tools include a screwdriver, measuring tape, and a paintbrush.
Redoing your bathroom vanity can breathe new life into your space and add a personal touch to your home. The journey begins with selecting the right materials and tools. This step is crucial as it sets the foundation for the entire project. Choosing wisely not only enhances aesthetics but also ensures durability. Let’s dive into what you need to consider when selecting materials and tools for your bathroom vanity project.Vanity Materials
When picking out materials for your bathroom vanity, think about both style and function. Solid wood is a classic choice, offering a timeless look and robust durability. It’s perfect if you want a traditional feel. For a more modern touch, consider engineered wood or medium-density fiberboard (MDF). These materials are budget-friendly and come in various finishes. They resist moisture better than solid wood, making them ideal for humid bathrooms. Don’t overlook countertops. Granite and quartz offer elegance and resilience. But, if you’re looking for something affordable and trendy, laminate can mimic high-end materials without breaking the bank.Essential Tools
Having the right tools on hand can make or break your bathroom vanity project. Here’s a basic checklist to get you started: – Tape measure: Precision is key, so ensure you measure accurately to avoid unnecessary hiccups. – Screwdriver set: Essential for assembling and disassembling parts. – Drill: Speeds up the process and ensures firm fastening of screws. – Level: Keeps everything straight and aligned, preventing crooked installations. – Jigsaw or Circular Saw: Handy for cutting materials to size. What tools have you found indispensable in your DIY projects? Sharing your tips can be a great way to help others.Safety Gear
Safety should never be an afterthought when working on any DIY project. Protecting yourself can save you from unexpected injuries. – Gloves: These shield your hands from sharp edges and splinters. – Safety goggles: Keep your eyes safe from dust and flying debris. – Dust mask: Essential when cutting materials, preventing inhalation of harmful particles. – Ear protection: If you’re using power tools, protecting your hearing is crucial. When I first tackled a DIY project, I underestimated the importance of safety gear. A small accident reminded me that preparation is everything. What safety measures do you prioritize? Choosing the right materials and tools sets the stage for a successful bathroom vanity redo. By being thoughtful in your selections, you ensure a smoother process and a satisfying result. Remember, every detail counts when crafting a space that reflects your personal style.Preparing The Space
Preparing the space is crucial for redoing your bathroom vanity. Clear the area of personal items and clean surfaces thoroughly. Ensure all necessary tools and materials are ready before beginning the project.
Redoing a bathroom vanity can transform your space, giving it a fresh, modern look. Before diving into the installation phase, it’s crucial to prepare the area meticulously. Proper preparation ensures a smooth renovation process and minimizes unexpected challenges. Let’s explore how to get your bathroom ready for its new vanity, focusing on clearing the area, removing the old vanity, and checking plumbing.Clearing The Area
Begin by clearing out the space around your current vanity. Remove all toiletries, towels, and decorative items to avoid damage during the renovation. Consider storing these items in boxes or baskets for easy access later. Next, take down mirrors and wall-mounted shelves that might obstruct your work. You don’t want anything hindering your movement or risking accidental damage. A clear workspace will make every step easier, from unscrewing bolts to installing your new vanity. Think about safety too. Ensure you have adequate lighting, especially if your bathroom lacks natural light. This helps you avoid mishaps and ensures precision in your work.Removing Old Vanity
Once the area is clear, it’s time to remove the old vanity. Start by turning off the water supply to prevent leaks. You can usually find the shut-off valves under the sink; turn them clockwise until they stop. Next, disconnect the plumbing. Use a wrench to loosen the nuts connecting the pipes. Be prepared with a bucket to catch any residual water. After disconnecting the plumbing, unscrew the vanity from the wall. You might need a partner to help lift it, especially if it’s a larger, heavier unit. Removing the old vanity gives you a blank canvas to work with, opening possibilities for the design of your new setup.Checking Plumbing
Before installing your new vanity, inspect your plumbing. Look for signs of wear or damage, like rust or leaks. This ensures your new vanity won’t suffer from underlying issues. If you’re uncertain about the state of your plumbing, consider consulting a plumber. A professional can pinpoint potential problems and suggest solutions, saving you headaches down the line. Think about the layout of your new vanity compared to the old one. Will the plumbing align with the new fixtures? Adjustments might be needed to match the new design, ensuring everything fits seamlessly. Are you ready to tackle your bathroom vanity redo? Preparing your space is the first step toward a successful renovation. Dive into the process with confidence, knowing you’re setting a solid foundation for your dream bathroom.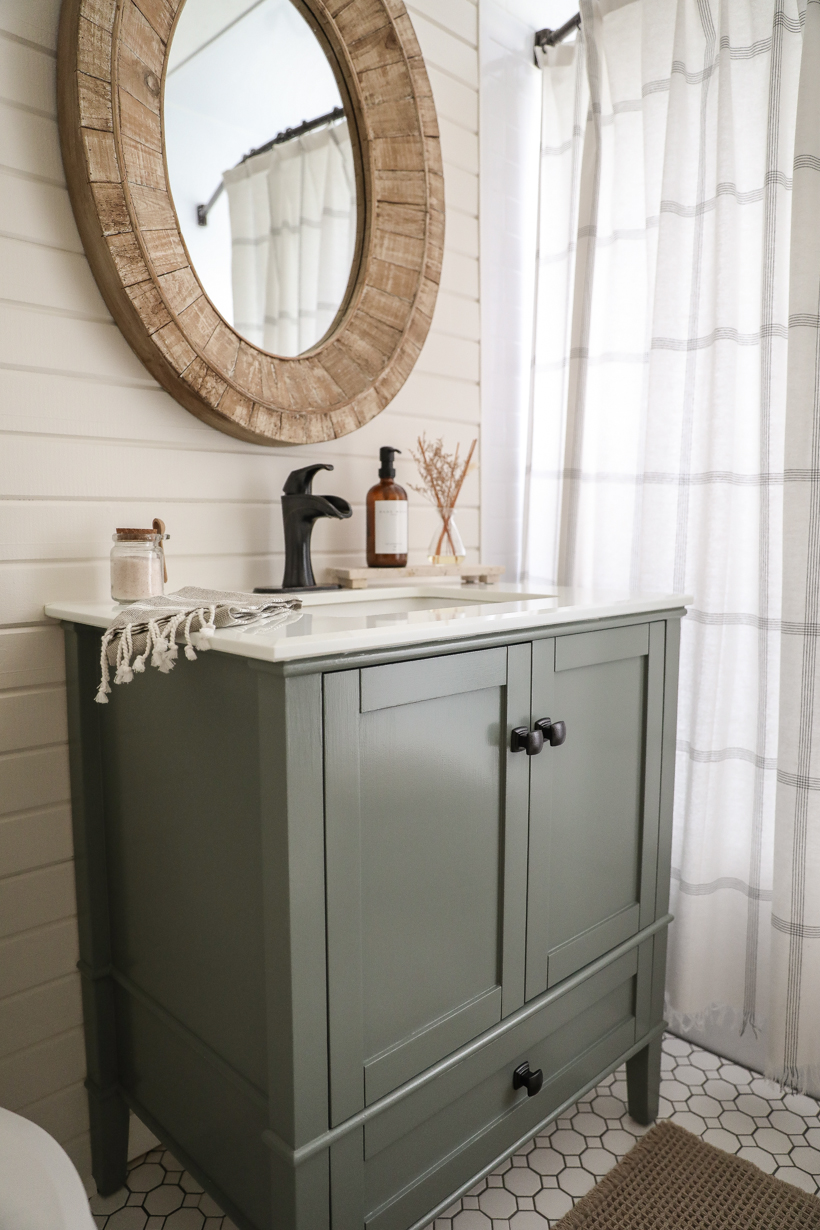
Credit: lovegrowswild.com
Installing The New Vanity
Installing a new bathroom vanity can transform your space. It adds style and functionality. The process involves positioning, securing, and connecting plumbing. Follow these steps for a successful installation.
Positioning The Vanity
Start by clearing the area where the vanity will go. Ensure the floor is clean and level. Carefully place the vanity in the desired spot. Check the alignment with the wall. Use a level tool to verify balance. Adjust the position if necessary.
Securing Fixtures
Once positioned, it’s time to secure the vanity. Use screws to attach it to the wall. Ensure the fixtures are tightly fastened. This prevents wobbling and instability. Double-check all connections for safety. Tighten any loose parts.
Plumbing Connections
Connect the water lines to the vanity. Ensure the pipes fit snugly. Use sealant to prevent leaks. Attach the drain pipe securely. Test the connections for any water flow issues. Fix leaks immediately to avoid damage.
Adding Finishing Touches
Adding finishing touches can transform your bathroom vanity. These small changes make a big impact. They elevate the look and feel of your space. Simple updates can create a fresh, stylish atmosphere.
Hardware And Accessories
Choose new knobs and pulls for your vanity. Opt for sleek or classic designs. Match them with your bathroom theme. Accessories like towel holders and soap dishes enhance functionality. They add style too.
Decorative Elements
Decorative elements bring personality to your vanity. Consider adding a vase with fresh flowers. Use a decorative tray for organizing items. Hang artwork or a mirror above the vanity. These elements create visual interest.
Lighting Enhancements
Good lighting makes a difference. Install wall sconces on each side of the mirror. Use a stylish overhead light fixture. Choose bulbs that give a warm glow. Lighting sets the mood in the bathroom.
Maintenance Tips
Transform your bathroom vanity with simple maintenance tips. Start by cleaning surfaces and removing old sealant. Carefully apply fresh paint or stain, ensuring even coverage. Finally, replace hardware for a polished look.
Redoing a bathroom vanity can breathe new life into your space, but maintaining it is crucial to ensure its longevity and pristine appearance. Effective maintenance doesn’t just keep your vanity looking good; it also helps avoid costly repairs down the line. Here are some practical and actionable maintenance tips to keep your revamped bathroom vanity in top shape.Routine Cleaning
Regular cleaning is the simplest way to maintain your bathroom vanity. Make it a habit to wipe down the surface with a soft, damp cloth at least once a week. Use a mild soap solution for tougher stains, but avoid harsh chemicals that can damage the finish. Pay attention to the corners and edges where grime tends to accumulate. A toothbrush can be a handy tool for these tight spots. Remember, a clean vanity not only looks appealing but also provides a healthier environment.Preventative Care
Preventative care can save you from future headaches. Use coasters or trays to hold toiletries and prevent water rings or spills. Installing a splash guard behind the sink can protect your vanity from water damage. Consider sealing wooden surfaces annually to protect against moisture. Even a small crack can lead to bigger issues if water seeps in. Have you thought about using drawer liners to prevent scratches and stains inside?Addressing Common Issues
Common issues like loose handles or squeaky drawers often go unnoticed until they become major problems. Tighten screws and lubricate drawer tracks regularly to keep everything functioning smoothly. If you notice any water damage, address it immediately. Replace warped or swollen wood to avoid mold growth. Keep an eye out for leaks under the sink; a small drip can lead to significant damage if ignored. Maintaining your bathroom vanity is an ongoing task that pays off with a beautiful and functional space. By investing a little time in regular upkeep, you can enjoy your new vanity for years to come.
Credit: lizpacini.com
Frequently Asked Questions
What Tools Do I Need To Redo A Bathroom Vanity?
You’ll need a screwdriver, wrench, level, and caulk gun. Sandpaper and paintbrushes are also essential. Having a tape measure is crucial for precise measurements. A power drill can speed up the process. Always wear protective gear like gloves and goggles for safety.
How Long Does It Take To Redo A Vanity?
Redesigning a bathroom vanity can take 1-2 days. The duration depends on the complexity of the project. Simple paint jobs are quicker than full replacements. Planning and preparation speed up the process. Allow time for paint or adhesive to dry.
Can I Redo A Vanity Myself?
Yes, you can redo a vanity yourself. With the right tools and materials, it’s manageable. Follow step-by-step guides for best results. Familiarity with basic DIY skills is beneficial. Always prioritize safety and follow instructions carefully.
What Is The Cost To Redo A Bathroom Vanity?
Redoing a bathroom vanity can cost $200 to $1,000. Prices depend on materials and labor. DIY projects are typically more affordable. High-end materials and professional help increase costs. Budgeting beforehand ensures no unexpected expenses.
Conclusion
Refreshing your bathroom vanity can be simple and rewarding. With the right tools, you can transform the space. Start by removing the old vanity. Then, install the new one carefully. Choose materials that match your style and budget. Don’t forget to seal any gaps to prevent water damage.
Add finishing touches like a new mirror or lighting. These small updates make a big impact. Your bathroom will feel fresh and inviting. Enjoy your newly styled space. It’s a project worth doing. Happy renovating!

Home Improvement Specialist & Writer at HomeFixio
Caden Rutherford is a seasoned home improvement specialist with extensive hands-on experience in residential construction, renovations, and design. With a keen eye for detail and a passion for transforming spaces, Caden shares practical advice and expert solutions to enhance the functionality and beauty of homes. As a writer for HomeFixio, Caden combines technical knowledge with creative flair, providing readers with informative guides on everything from structural improvements to aesthetic upgrades, empowering homeowners to achieve their ideal living spaces.