How to Restain a Bathroom Vanity: Easy DIY Guide
Looking to give your bathroom a fresh, new look without breaking the bank? Restaining your bathroom vanity could be the perfect solution.
It’s an easy, cost-effective way to transform your space and breathe new life into your décor. Imagine walking into your bathroom and feeling a sense of pride and satisfaction, knowing you’ve revamped it with your own hands. Intrigued? You’ll learn step-by-step how to restain a bathroom vanity, making the process simple and stress-free.
Whether you’re a DIY novice or a seasoned pro, this guide will empower you to tackle the project with confidence. Ready to discover the secrets to a stunning bathroom makeover? Keep reading to unlock the potential of your vanity!
Materials And Tools Needed
Restaining your bathroom vanity can give your space a fresh look. It is a cost-effective way to update the room without replacing the entire fixture. Before you start, gather the right materials and tools for the job. Having everything on hand will make the process smoother and more efficient. This section will guide you through what you need.
Materials Required
The right materials ensure a successful restaining project. Begin with a high-quality wood stain. Choose a color that complements your bathroom. Next, get a stain remover or wood stripper. This helps to remove the old finish. Sandpaper is essential for smoothing surfaces. Opt for a medium grit to start, followed by a fine grit for finishing.
Protective gear is crucial. Use gloves and goggles to keep safe. You will also need a clean cloth or rag. This helps in applying the stain evenly. Consider using a drop cloth to protect your floors and counters.
Tools Needed
Tools make the job easier and more precise. Get a good paintbrush or foam brush. Choose one that is suitable for applying stain. A putty knife can be useful too. Use it to scrape off old finishes or apply wood filler. An electric sander speeds up the sanding process. It provides a smooth base for staining.
Ensure you have a screwdriver. Use it to remove cabinet doors and hardware. This makes staining easier and neater. A small bucket or container is helpful. You can use it to mix or store the stain.
Having these materials and tools ready will set you up for a successful project. Restaining a vanity can be a rewarding task. With the right preparation, you can achieve a professional finish.
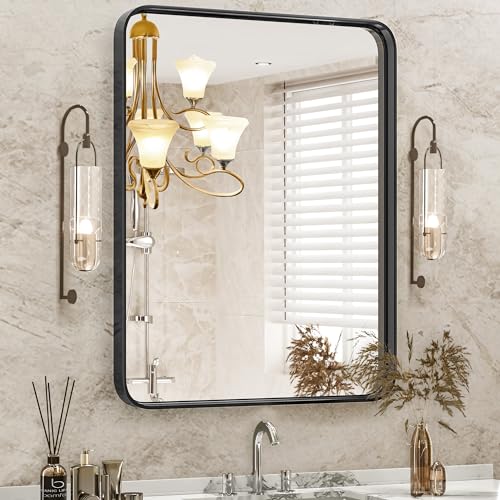
Credit: www.routerforums.com
Preparing The Vanity
Before you start restaining a bathroom vanity, preparation is key. A well-prepared surface ensures better stain adhesion and a polished finish. This stage involves cleaning, degreasing, and removing hardware. Each step plays a crucial role in the final outcome. Let’s delve into the specifics.
Cleaning And Degreasing
Begin by cleaning the vanity with a gentle cleanser. This removes dirt and dust. Use a soft cloth to wipe down the surface. Make sure every corner is spotless. Next, apply a degreaser to tackle any stubborn grime. Grease can prevent the stain from adhering well. Ensure you cover all areas, even hidden spots. Rinse the surface with water to remove any residue. Allow it to dry thoroughly before proceeding.
Removing Hardware
Remove all hardware before staining the vanity. This includes knobs, handles, and hinges. Use a screwdriver for this task. Place all removed items in a safe location. This prevents loss and makes reassembly easier. Removing hardware also ensures an even stain application. Check for any hidden screws or fixtures. Make sure the surface is free from any obstructions.
Sanding The Surface
Sanding the surface of your bathroom vanity is a crucial step in the restaining process. It’s the bridge between the old and the new, allowing your fresh stain to adhere properly and shine beautifully. Done right, sanding can transform a tired vanity into a standout piece in your bathroom.
Choosing The Right Sandpaper
Start by selecting the correct sandpaper for the job. The grit number indicates the coarseness. If your vanity has a thick, old finish, begin with a coarse grit like 60 or 80. This will efficiently remove the old layer, preparing it for the new stain.
For smoother surfaces or a light finish, medium grit sandpaper, such as 120 or 150, is ideal. Finally, finish with a fine grit like 220 for a silky smooth surface, ready for staining. Remember, the wrong choice can lead to a rough surface or ineffective sanding.
Sanding Techniques
Consistency is key in sanding. Apply even pressure to avoid uneven surfaces. Circular motions can help achieve a uniform look. But be careful not to sand too hard; you don’t want to damage the wood.
It’s wise to sand in the direction of the wood grain for a natural finish. Are you using an electric sander? It saves time but requires careful handling to prevent over-sanding. Hand sanding, though laborious, allows for more control and precision.
Clean the surface regularly during sanding to remove dust and check progress. This helps ensure you’re on the right track. What challenges have you faced with sanding? Share your experiences and tips below!
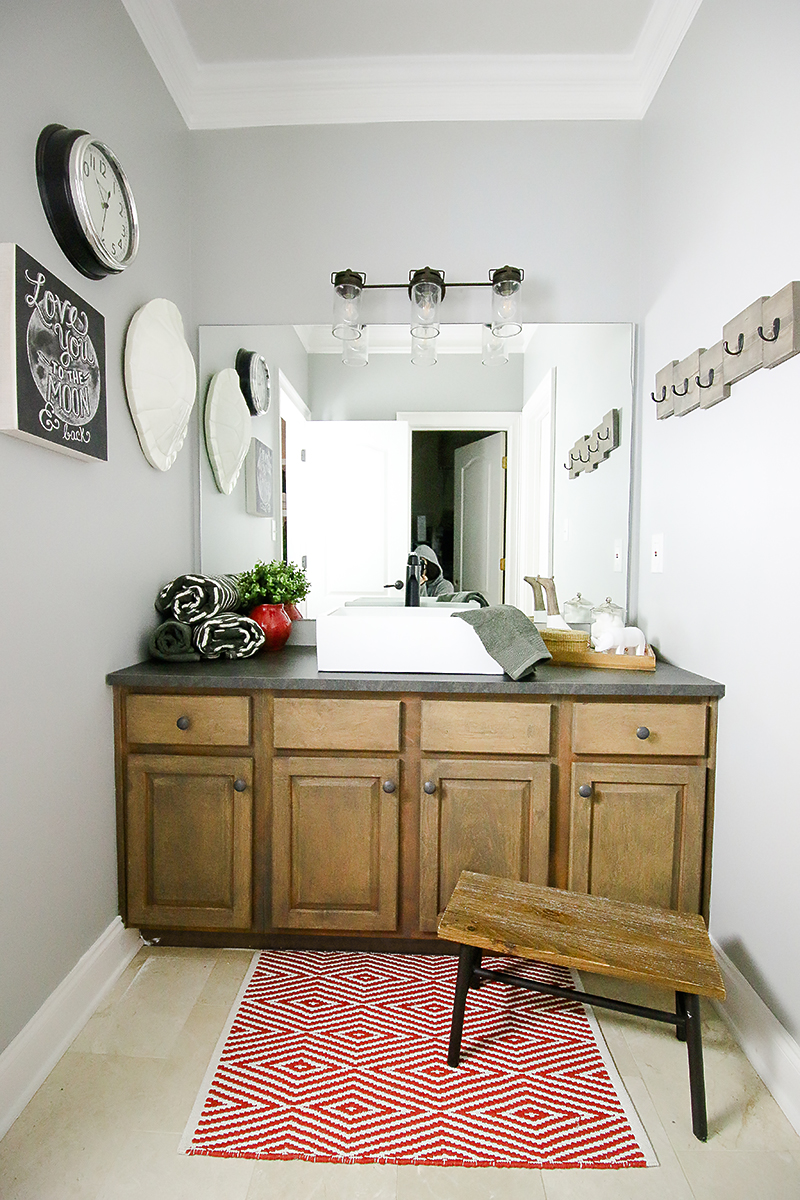
Credit: www.bowerpowerblog.com
Applying The Stain
Applying the stain to your bathroom vanity breathes new life into it. This process transforms its appearance while preserving the wood beneath. To achieve a stunning finish, follow these steps diligently. Each step ensures a uniform and rich color that enhances your vanity’s charm.
Selecting The Stain Color
Choosing the right stain color is crucial for a pleasing outcome. Consider the existing decor of your bathroom. A dark stain adds elegance, while lighter shades create a fresh look. Test samples on a hidden area to see how they dry. Observe how they complement the surrounding colors. This helps in making a confident choice.
Applying Even Coats
For a professional finish, apply stain evenly. Use a clean cloth or brush for smooth application. Work in small sections to maintain control. Ensure that each coat is thin and consistent. Wipe off excess to prevent blotchy areas. Allow the stain to dry completely before adding another coat. Repeat this until the desired shade is achieved. Patience and precision are key here.
Sealing The Finish
Sealing the finish is crucial for a lasting bathroom vanity look. It protects against moisture, ensuring durability and beauty. A well-sealed vanity resists water damage and staining. Proper sealing enhances the wood’s natural charm, adding depth and richness. This final step completes the transformation, giving your vanity a polished finish. Let’s dive into choosing and applying the right sealant.
Choosing A Sealant
Selecting the right sealant depends on your vanity’s material. For wooden vanities, polyurethane is popular for its durability. If your vanity is laminate, opt for a water-based acrylic sealant. These sealants dry fast and resist moisture effectively. Make sure your sealant complements the vanity’s finish. Clear sealants preserve natural wood grain. Colored sealants can add a tint. Always choose high-quality products for best results.
Applying The Sealant
Begin by cleaning the vanity surface thoroughly. Use a clean, dry cloth to remove dust. Apply the sealant with a brush or foam applicator. Work in long, even strokes to avoid streaks. Allow the first coat to dry completely. Check the manufacturer’s instructions for drying time. Apply a second coat for added protection. Ensure full coverage for maximum durability. Let the final coat dry overnight. Your vanity will shine with a smooth, sealed finish.
Reinstalling Hardware
Refreshing a bathroom vanity involves removing old hardware before applying new stain. Carefully unscrew knobs and hinges. Sand surfaces for smooth application, ensuring a clean finish that enhances the vanity’s look.
Reinstalling the hardware on your bathroom vanity is a crucial step that brings the entire project together. After all your hard work in sanding, staining, and sealing, those knobs, pulls, and hinges can really make your vanity pop. Plus, it’s an opportunity to ensure everything functions smoothly and aligns perfectly with your refreshed design.Gather Your Tools
Make sure you have the right tools before you start. You’ll likely need a screwdriver, possibly both flathead and Phillips, depending on your hardware type. A small set of pliers could also be handy for holding nuts in place while you tighten screws.Lay Out Your Hardware
Organize your hardware pieces by type and size. This saves time and prevents frustration during installation. If you have mixed types of screws or bolts, keep them in small, labeled containers or simply lay them out on a cloth.Check For Alignment
Before attaching anything, double-check the alignment of your doors and drawers. Misalignment could cause uneven wear or damage. Open and close everything to ensure smooth operation without catching or sticking.Start With The Hinges
Begin by reinstalling the hinges on cabinet doors. Attach them to the vanity frame first, then secure them to the door. Tighten screws firmly but avoid over-tightening, which could strip the wood.Attach Knobs And Pulls
Next, focus on the knobs and pulls. Hold them in place and insert screws from the inside of the drawer or cabinet. Use a screwdriver to tighten them snugly, ensuring they don’t wobble when you tug on them.Test Everything
Once everything is installed, give each piece a test. Open and close drawers, swing doors, and pull on knobs to ensure they’re secure. This step lets you catch any loose fittings or alignment issues before you finish. Clean off any fingerprints or smudges with a soft cloth. Consider adding rubber bumpers to doors to prevent noise and protect your new finish. These small touches can greatly enhance the user experience and prolong the life of your vanity.Reflect On Your Work
Step back and admire your handiwork. Notice how the hardware complements the stain color and style. Does it meet your vision for your bathroom’s aesthetic? If not, you can always tweak it until it’s just right. Reinstalling hardware might seem like a minor task, but it’s the finishing touch that can transform your bathroom vanity from plain to polished. What little changes could make a big impact in your next DIY project?Final Touches
Bring life back to your bathroom vanity with final touches. Sand the surface gently and apply stain evenly. Let it dry to reveal a refreshed look.
The final touches in restaining a bathroom vanity are crucial. They can make your project look professional. Focus on small details. These steps help enhance the overall appearance and durability. Once the staining is complete, move to these finishing tasks.Inspecting The Finish
After the stain dries, inspect the vanity’s finish. Check for any uneven spots or blemishes. These might need a light sanding. Use a fine-grit sandpaper for touch-ups. Ensure the surface is smooth and even. This step is key. It ensures a polished look. Apply a clear coat if needed. This adds shine and protection. Allow the finish to dry completely. This might take a few hours. Read the product instructions for exact drying times.Adding Decorative Elements
Enhance your vanity with decorative elements. Consider new handles or knobs. They add style and personality. Choose designs that match your bathroom’s theme. You might also add a decorative mirror above the vanity. It creates a cohesive look. Think about adding a small plant or vase. These bring life and color to the space. Ensure any additions are moisture-resistant. This prevents damage over time. Small touches make a big difference. They transform your vanity into a statement piece.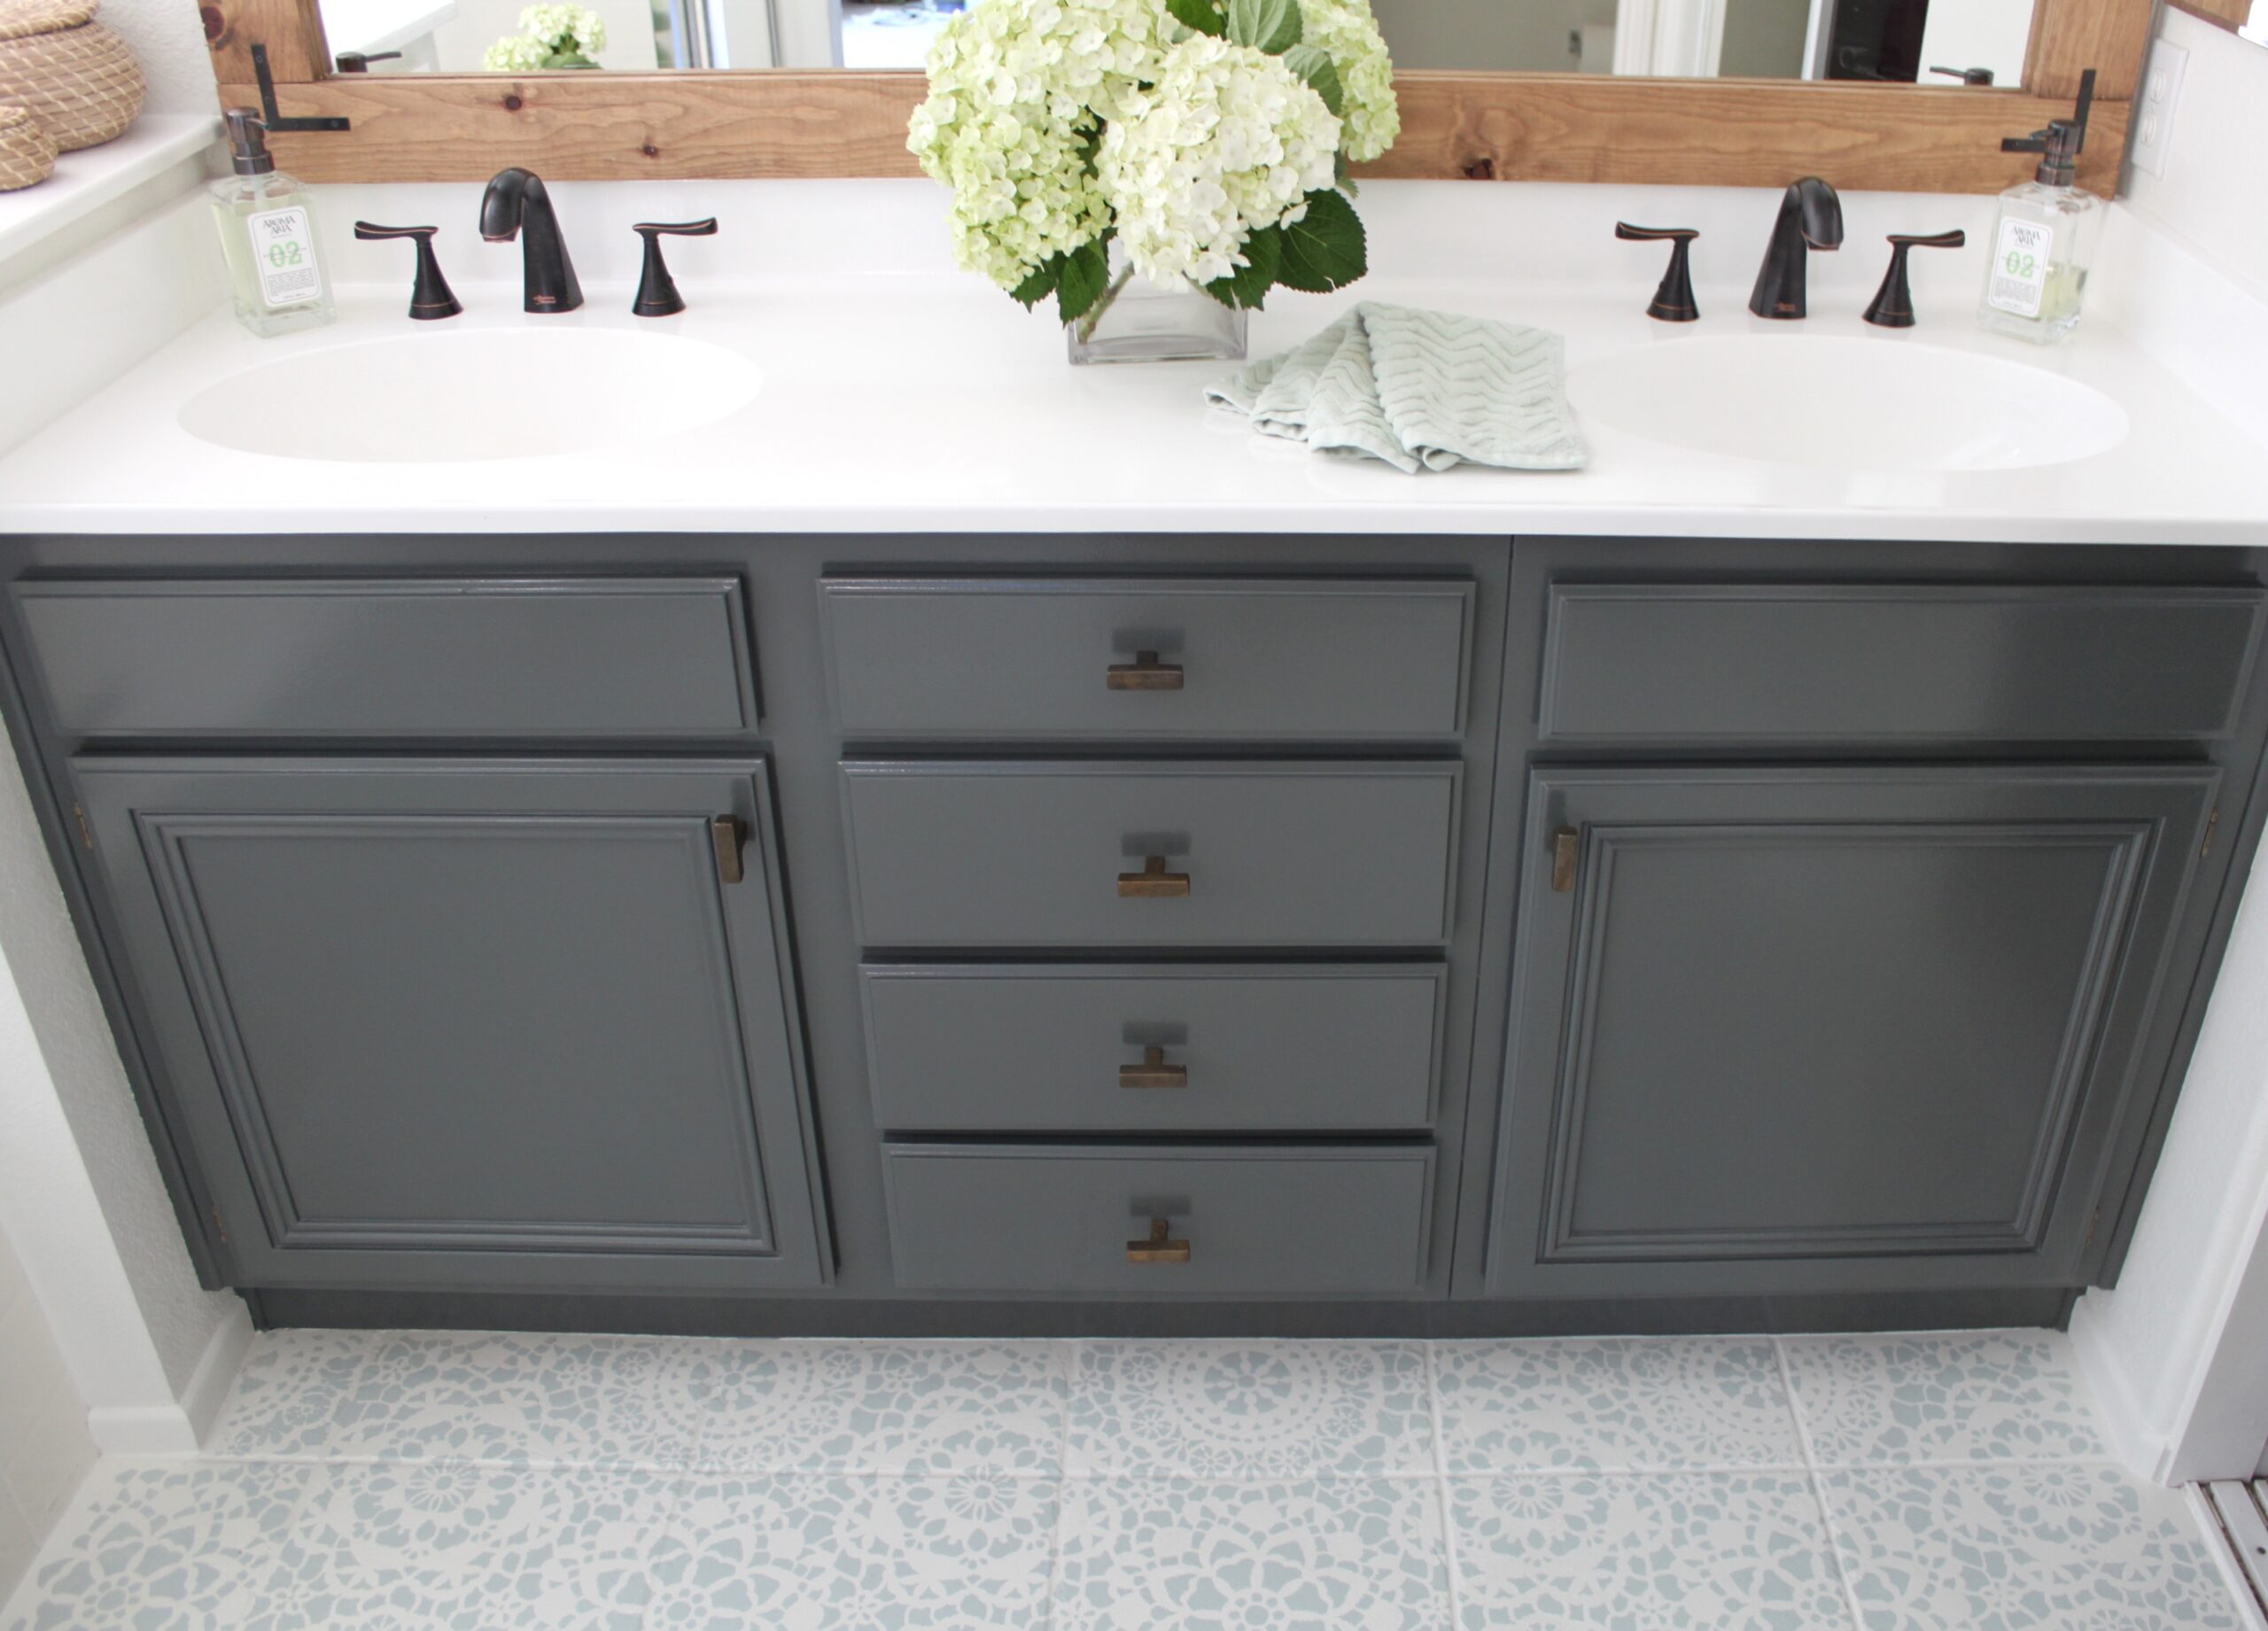
Credit: domesticblonde.com
Frequently Asked Questions
How Do I Prepare A Vanity For Restaining?
Begin by cleaning the vanity with a mild cleaner to remove dirt. Then, sand the surface to remove the old finish and smooth imperfections. Wipe down with a tack cloth to remove dust. Ensure the area is well-ventilated before applying the stain.
What Type Of Stain Is Best For Vanities?
Oil-based stains are durable and provide a rich finish, ideal for bathrooms. Water-based stains dry faster and have low odor, suitable for indoor projects. Choose a stain type that complements your vanity material and bathroom decor for the best results.
Can I Restain Without Sanding First?
Sanding is crucial for removing the old finish and ensuring the stain adheres properly. It smooths out imperfections and helps the new stain penetrate the wood evenly. Skipping this step might lead to uneven staining and reduced durability of the finish.
How Long Does Restaining A Vanity Take?
Restaining a vanity typically takes a weekend. Preparation, including cleaning and sanding, can take a few hours. Applying the stain and allowing for drying time, usually overnight, completes the process. Always check the stain’s instructions for precise drying times.
Conclusion
Restaining a bathroom vanity is an easy and rewarding project. It gives your bathroom a fresh, new look. Follow simple steps for best results. Choose the right stain for lasting beauty. Don’t rush; take your time for a smooth finish.
Use proper tools to avoid mistakes. Regular maintenance keeps the vanity looking great. Enjoy your updated bathroom space. Feel proud of your handiwork. Restaining adds personality to any home. Transform old to new with a little effort. Your bathroom will shine with renewed elegance.
Happy restaining!

Home Improvement Specialist & Writer at HomeFixio
Caden Rutherford is a seasoned home improvement specialist with extensive hands-on experience in residential construction, renovations, and design. With a keen eye for detail and a passion for transforming spaces, Caden shares practical advice and expert solutions to enhance the functionality and beauty of homes. As a writer for HomeFixio, Caden combines technical knowledge with creative flair, providing readers with informative guides on everything from structural improvements to aesthetic upgrades, empowering homeowners to achieve their ideal living spaces.