How to Refill Soap Dispenser: Quick & Easy Guide
Have you ever found yourself struggling with a soap dispenser that’s run out at the most inconvenient moment? It’s a common frustration, yet surprisingly simple to fix.
Knowing how to refill a soap dispenser not only saves you time and hassle but also ensures that your hands stay clean and germ-free. Imagine never having to fumble with a slippery bar of soap again. You deserve the ease and convenience of a well-maintained soap dispenser.
Dive into this guide to discover the straightforward steps to keep your soap dispenser ready for action. Once you learn these tips, you’ll wonder how you ever managed without them. Ready to transform your handwashing routine? Let’s get started!

Credit: www.youtube.com
Types Of Soap Dispensers
Manual dispensers need a push to work. They are simple and easy to use. Most are made of plastic or metal. They hold liquid soap inside. Some have a pump at the top. Others use a lever. Manual types are cheap. They don’t need any batteries. Clean them often to stop germs. They work best in homes and small places.
Automatic dispensers work without a touch. They use sensors to feel your hand. Soap comes out by itself. You need batteries for them. They are more expensive than manual ones. They keep hands clean from germs. Good for busy places like hospitals and schools. They look nice and are fun to use. Keep the sensor clean for best use.
Choosing The Right Soap
Liquid soap is thick. It needs more water to rinse. Foam soap is light. It spreads easily. Liquid soap is good for dirty hands. It cleans better. Foam soap is fun. Kids like it. Choose the right one for your needs.
Eco-friendly soap helps nature. It has no bad chemicals. Natural soap is safe for skin. It is kind to the earth. Biodegradable soap breaks down fast. It does not harm water. Pick eco-friendly soap for a clean planet.
Preparing To Refill
Refilling a soap dispenser is easy. Begin by removing the pump or lid. Pour in your favorite liquid soap. Secure the lid tightly to prevent leaks. Now, press the pump several times to ensure smooth operation. Keep your hands clean and your dispenser ready for use.
Gathering Supplies
Find a new soap bottle. Choose liquid soap for easy refill. You need a funnel to avoid spills. A clean cloth is useful too. Get these items ready before starting. Preparing well saves time later.
Cleaning The Dispenser
Empty the dispenser first. Use warm water to rinse inside. Remove old soap traces. Clean the pump with a damp cloth. Dirt can block the pump. Ensure it’s spotless for smooth operation. Dry the dispenser thoroughly. Wet surfaces attract germs.
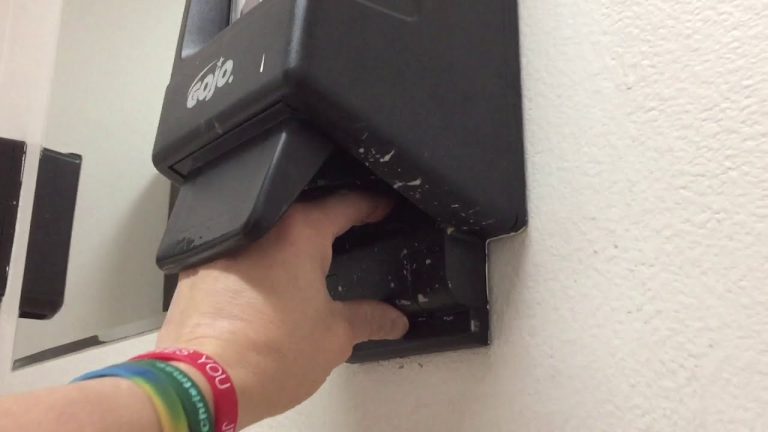
Credit: www.youtube.com
Refilling Process
To open the soap dispenser, gently twist the top or press the button. Some dispensers have a lid that pops up. Look for a small lever or clip. Carefully pull the lever to release the lid. Make sure the dispenser is stable on the counter. Avoid spilling or tipping it over.
Pour the soap slowly and carefully into the opening. Fill it to the line marked inside. Prevent bubbles by pouring at an angle. If no line is visible, fill it three-fourths full. Wipe any spills right away. Close the lid by pressing down or twisting back. Ensure the lid is secure before using.
Ensuring Proper Functionality
Testing the soap dispenser is important. Press the pump gently. Check if soap flows smoothly. If it doesn’t, there might be a blockage. Clear the nozzle with warm water. Ensure the soap container is not empty. Sometimes air bubbles cause problems. Pump several times to remove trapped air.
Troubleshooting common issues can help. If the dispenser leaks, tighten all parts. Ensure the cap is secure. If the pump sticks, clean it with soap and water. Check for soap residue around the nozzle. Remove any dried soap. If the pump doesn’t return, inspect the spring inside. Replace it if broken.
Maintenance Tips
Clean the soap dispenser often. Use warm water and mild soap. Wipe the outside with a soft cloth. Rinse the inside to remove any old soap. This prevents clogs and keeps the soap fresh. A clean dispenser works better. Everyone likes a tidy bathroom. Stay clean, stay healthy.
Check your soap dispenser for leaks. Look for drips around the nozzle. Feel for wet spots at the base. Leaks waste soap and make a mess. Fix them quickly. Tighten any loose parts. Replace worn-out seals. A well-sealed dispenser saves money. It keeps your bathroom neat and tidy.
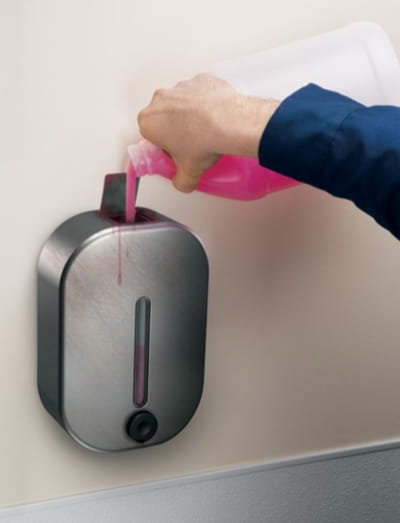
Credit: www.gojo.com
Frequently Asked Questions
How To Refill A Soap Dispenser?
To refill a soap dispenser, first, unscrew or lift the top. Pour liquid soap into the opening, leaving space for the pump. Reattach the top securely. Ensure the pump works correctly by pressing it a few times. Clean any spills to maintain cleanliness.
What Type Of Soap To Use?
Use liquid soap designed for dispensers. Avoid using bar soap or gritty soaps as they can clog the pump. Choose antibacterial or moisturizing soap depending on your preference. Always check the soap’s compatibility with the dispenser to ensure smooth operation.
How Often Should You Refill The Dispenser?
Refill the soap dispenser when it is about one-quarter full. This ensures you never run out of soap. The frequency depends on usage. For high-traffic areas, refill more frequently. Regular checks can help maintain a steady supply of soap.
Can You Mix Different Soaps?
Mixing different soaps is not recommended. Different formulas may react, affecting the soap’s consistency and performance. Always finish one type before adding another. If changing brands, clean the dispenser thoroughly to avoid any residue or reactions.
Conclusion
Refilling a soap dispenser is simple with the right steps. First, gather your supplies. Next, open the dispenser carefully. Pour in your chosen soap slowly. Make sure not to overfill. Close the dispenser securely. Check for leaks or spills. Clean any mess promptly.
Enjoy your freshly filled dispenser. Regular refills ensure clean hands always. Practice these steps for ease. Repeat as needed. Soon, it becomes second nature. Soap refills save money and reduce waste. Keep your home stocked and hygienic. Following these steps makes refilling easy and quick.
Happy refilling!

Home Improvement Specialist & Writer at HomeFixio
Caden Rutherford is a seasoned home improvement specialist with extensive hands-on experience in residential construction, renovations, and design. With a keen eye for detail and a passion for transforming spaces, Caden shares practical advice and expert solutions to enhance the functionality and beauty of homes. As a writer for HomeFixio, Caden combines technical knowledge with creative flair, providing readers with informative guides on everything from structural improvements to aesthetic upgrades, empowering homeowners to achieve their ideal living spaces.