How to Convert a Can Light to Pendant: Step-by-Step Guide
Have you ever looked up at your ceiling and felt uninspired by the blandness of your can lights? Imagine transforming that dull fixture into a stylish pendant light that becomes the centerpiece of your room.
It’s easier than you might think, and the results can completely elevate your space’s aesthetic. In this guide, you’ll discover the simple steps to convert a can light into a pendant, breathing new life into your home decor. You’ll not only learn how to make this change safely and effectively, but you’ll also find out how this small upgrade can make a big difference in your environment.
Keep reading to uncover the secrets to adding a touch of elegance and personality to your living space.

Credit: www.anikasdiylife.com
Tools And Materials Needed
Transforming your can light into a stylish pendant light requires specific tools and materials. This guide ensures you have everything needed for a smooth installation. Gather these items beforehand for an efficient and hassle-free project.
Basic Tools
Start with a screwdriver. Essential for unscrewing the can light fixtures. A voltage tester ensures safety by checking the power. Wire strippers help in removing insulation from electrical wires. Keep a ladder handy to reach ceiling fixtures comfortably.
Electrical Supplies
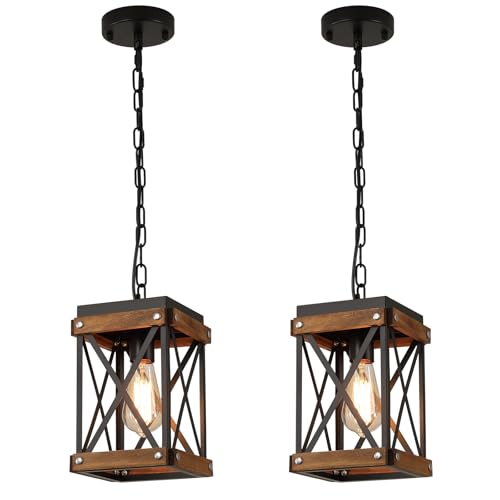
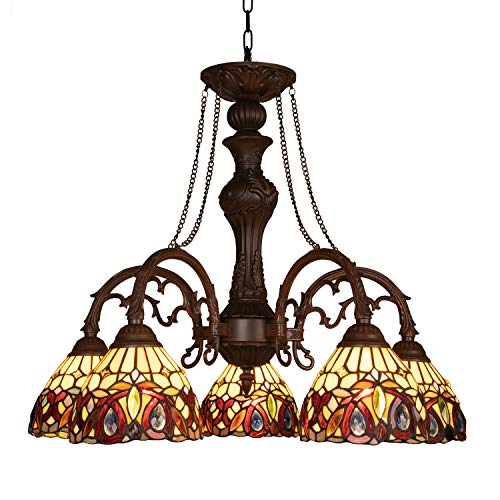
Electrical tape secures wire connections. Wire nuts cover exposed wires, preventing accidents. A conversion kit is crucial. It adapts can lights to pendant lights seamlessly. A pendant light fixture completes the transformation, adding elegance to your space.
Safety Gear
Gloves protect your hands from sharp edges. Safety goggles shield your eyes from falling debris. A dust mask prevents inhalation of dust particles during installation.
Optional Tools
A stud finder locates ceiling joists, ensuring secure fixture installation. A drill may be needed if the ceiling requires additional holes. A measuring tape helps in positioning the pendant light at the desired height.
Safety Precautions
Converting a can light to a pendant can enhance your room’s look. Safety is crucial during the installation. Follow these guidelines to ensure a safe and successful conversion. Pay attention to details. Avoid shortcuts.
Understanding Electrical Safety
Electricity poses risks. Always turn off the power at the circuit breaker. Confirm the switch is off by testing the light. Use a voltage tester for accuracy. Wear rubber gloves for added protection.
Using Appropriate Tools
Tools must be suitable for the task. Use insulated tools to prevent electric shocks. Ensure your ladder is stable and of the correct height. Avoid standing on furniture for height.
Checking Existing Wiring
Inspect the existing wiring carefully. Look for frayed or exposed wires. Replace any damaged wires promptly. Ensure wires are securely connected.
Ensuring Secure Connections
Connections must be tight and secure. Loose connections can cause electrical fires. Use wire nuts to fasten connections. Double-check each connection before proceeding.
Consulting A Professional
If unsure, consult a licensed electrician. Professional help ensures safety. Electricians have the expertise to handle complex tasks. Never hesitate to seek expert advice.
Using Proper Equipment
Use fixtures rated for pendant lights. Check weight limits of the pendant. Ensure ceiling can support the pendant’s weight. Read the manufacturer’s instructions.
Preparing The Workspace
Transforming a can light to a pendant begins by organizing your workspace. Ensure all tools and materials are accessible. Clear the area to maintain safety and efficiency during the process.
Converting a can light to a pendant light can dramatically change the vibe of your space, adding a touch of style and sophistication. But before you dive into this exciting transformation, it’s crucial to prepare your workspace adequately. This step ensures not only your safety but also the success of your project. Let’s delve into the specifics of preparing the workspace for this home improvement task.Turning Off The Power
The first and most critical step in preparing your workspace is turning off the power. Safety should always be your top priority. Locate the circuit breaker that controls the light fixture you plan to convert. Switch it off to prevent any electrical mishaps. Test the light switch to ensure the power is indeed off. A simple flip of the switch can save you from potential danger.Clearing The Area
Once the power is off, focus on clearing the area around the fixture. A clutter-free workspace allows you to move freely and access tools easily. Remove any furniture or decorations that might obstruct your work. This not only prevents accidents but also keeps your items safe from damage. Consider laying down a drop cloth to catch any debris or dust. It’s a simple step that makes cleaning up afterward much easier. As you prepare your workspace, think about your past DIY projects. Did a cluttered area ever slow you down? Taking these steps seriously can streamline your process and enhance your focus. What’s your biggest challenge when preparing for a DIY project like this? Addressing that can make all the difference in your outcome.Removing The Can Light
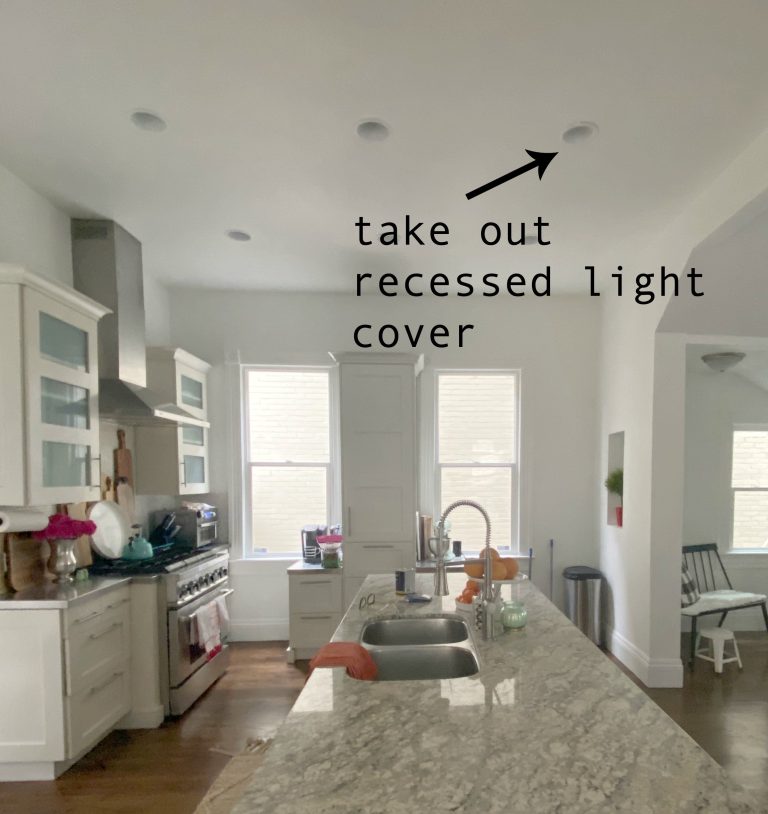
Removing a can light is the first step in transforming your space. This process is crucial for installing a stylish pendant light. Follow each step carefully to ensure a safe and efficient conversion.
Accessing The Fixture
Begin by switching off the power to the light. Safety comes first. Use a ladder to reach the can light. Remove the trim of the fixture gently. This exposes the inner parts. You might need a screwdriver to help. Make sure you are steady and comfortable while working.
Disconnecting Wires
Now, look at the wires connected to the fixture. You will see black, white, and green wires. First, unscrew the wire nuts that connect these. Be gentle to avoid damaging the wires. Once done, separate the wires from the fixture. Keep them safe and organized. You are now ready for the next step in your lighting transformation.
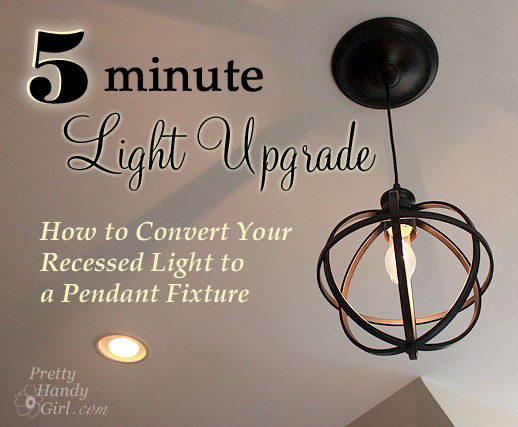
Installing The Pendant Light Kit
Switching from a can light to a pendant can instantly transform the vibe of your room. Imagine walking into your kitchen and having a sleek pendant light adding a touch of elegance and warmth. It’s not as daunting as it sounds, and with the right guidance, you’ll find it’s quite a straightforward DIY project. Let’s dive into installing the pendant light kit and get your room glowing.
Attaching The Mounting Bracket
Start by removing the can light’s trim and bulb. You’ll notice a metal housing—this is where your mounting bracket will go. Secure the mounting bracket to the ceiling using the screws provided in your kit. Make sure it’s snug and level. A loose bracket can cause your pendant to hang unevenly. Have you ever noticed how a crooked light fixture can throw off the whole room?
Take a moment to step back and ensure the bracket is centered. You want your pendant to shine right where you planned. This step sets the foundation for a perfect installation. If needed, adjust the bracket or ceiling plate to get it just right.
Connecting The Wires
This is where the magic happens! With the power turned off, connect the pendant light wires to the existing wires in the junction box. The black wire connects to the black wire, and the white wire connects to the white wire. It’s a simple color match. Use wire nuts to secure the connections, ensuring they’re tight and safe.
Think of it as matching socks. If you mix them up, your light won’t work. Once connected, gently tuck the wires back into the junction box. Double-check everything before proceeding. Safety is crucial—you’re dealing with electricity, after all.
Wouldn’t it be satisfying to flick that switch and see your new pendant light come to life? That’s the reward for your careful attention to detail. Take this moment to appreciate the transformation you’re creating with your own hands.
Remember, each step is essential to achieving that perfect look and function. What’s stopping you from making this change in your home? Embrace the opportunity to personalize your space with a pendant light that reflects your style.

Credit: www.thestonybrookhouse.com
Attaching The Pendant Fixture
Transforming a can light into a pendant fixture is simple and stylish. Begin by removing the old can light. Next, connect the pendant kit to the existing wiring. Secure the pendant in place for a fresh, modern look.
Attaching a pendant fixture can transform a room’s ambiance. It’s a simple process requiring basic tools and patience. The right pendant light adds style and functionality. Follow these steps to attach your new fixture securely.Securing The Fixture
Begin by turning off the power at the circuit breaker. Safety first. Remove the old can light trim and bulb. Unscrew and disconnect the can light housing. Attach the pendant light’s mounting bracket to the ceiling. Ensure it’s tight and secure. Use a screwdriver to fix it firmly. Connect the pendant’s wires to the ceiling wires. Match the colors carefully. Twist wire nuts over the connections. Tuck the wires neatly into the ceiling box.Adjusting The Pendant Height
Determine the desired height for your pendant light. Consider room size and ceiling height. Loosen the fixture’s cord or chain. Adjust it to the preferred length. Secure the cord or chain with the fixture’s locking mechanism. Ensure it’s stable and doesn’t swing loosely. Check that the pendant hangs straight. Tighten any loose screws or nuts. Turn the power back on to test the light. Enjoy your stylish new pendant fixture.Testing The Installation
Ensure the pendant light works by testing the installation. Turn on the switch to check proper lighting. If it lights up correctly, the conversion is successful.
Once you’ve successfully replaced your can light with a stylish pendant, it’s time to ensure everything is working perfectly. Testing the installation is crucial to confirm that your new fixture is not only visually appealing but also functioning safely and efficiently. In this section, we’ll walk you through the essential steps to restore power and check the light’s functionality, ensuring that your transformation is a success.Restoring Power
Before you start, double-check that everything is securely in place. Reconnect the electrical supply by switching the circuit breaker back on. This step is vital to bring your new pendant light to life. If you’re using a dimmer switch, ensure it’s suitable for the new fixture. Did you know that mismatched switches can cause flickering or even damage the bulb? Avoid this by confirming compatibility before you restore power.Checking Light Functionality
Once the power is back, it’s time to check if your pendant light is working as expected. Flip the light switch and observe. Is the light illuminating consistently without any flickering? If there’s an issue, troubleshoot by inspecting the bulb or connections. Sometimes, a simple adjustment can solve the problem. If everything is glowing beautifully, take a step back and admire your handiwork. You’ve just added a touch of personal flair to your space. Isn’t it satisfying to see your effort shine? Feel free to share your experience or any challenges you faced in the comments. Your story might inspire someone else on their DIY journey.Final Touches And Adjustments
Add charm to your space by converting a can light to a pendant. Ensure wires are securely connected and adjust the height for perfect illumination. Enjoy your new pendant light’s elegant glow!
Converting a can light to a pendant adds style to any room. After installation, focus on final touches and adjustments to ensure everything looks perfect. This section covers aligning the pendant and cleaning the area. These steps ensure your new light fixture shines beautifully.Aligning The Pendant
Once the pendant is installed, check its alignment. Make sure it hangs straight. Adjust the cord length if necessary. You want a balanced look. Sometimes, the pendant may tilt slightly. To fix this, gently adjust it by hand. This ensures the pendant looks neat and centered.Cleaning The Area
Next, clean the area around the new fixture. Dust may have settled during installation. Use a soft cloth to wipe surfaces. Ensure the pendant itself is clean. A clean fixture enhances its appearance. It also ensures the light shines bright. Check for fingerprints or smudges. Clean them off to maintain a polished look. A tidy area complements your new pendant.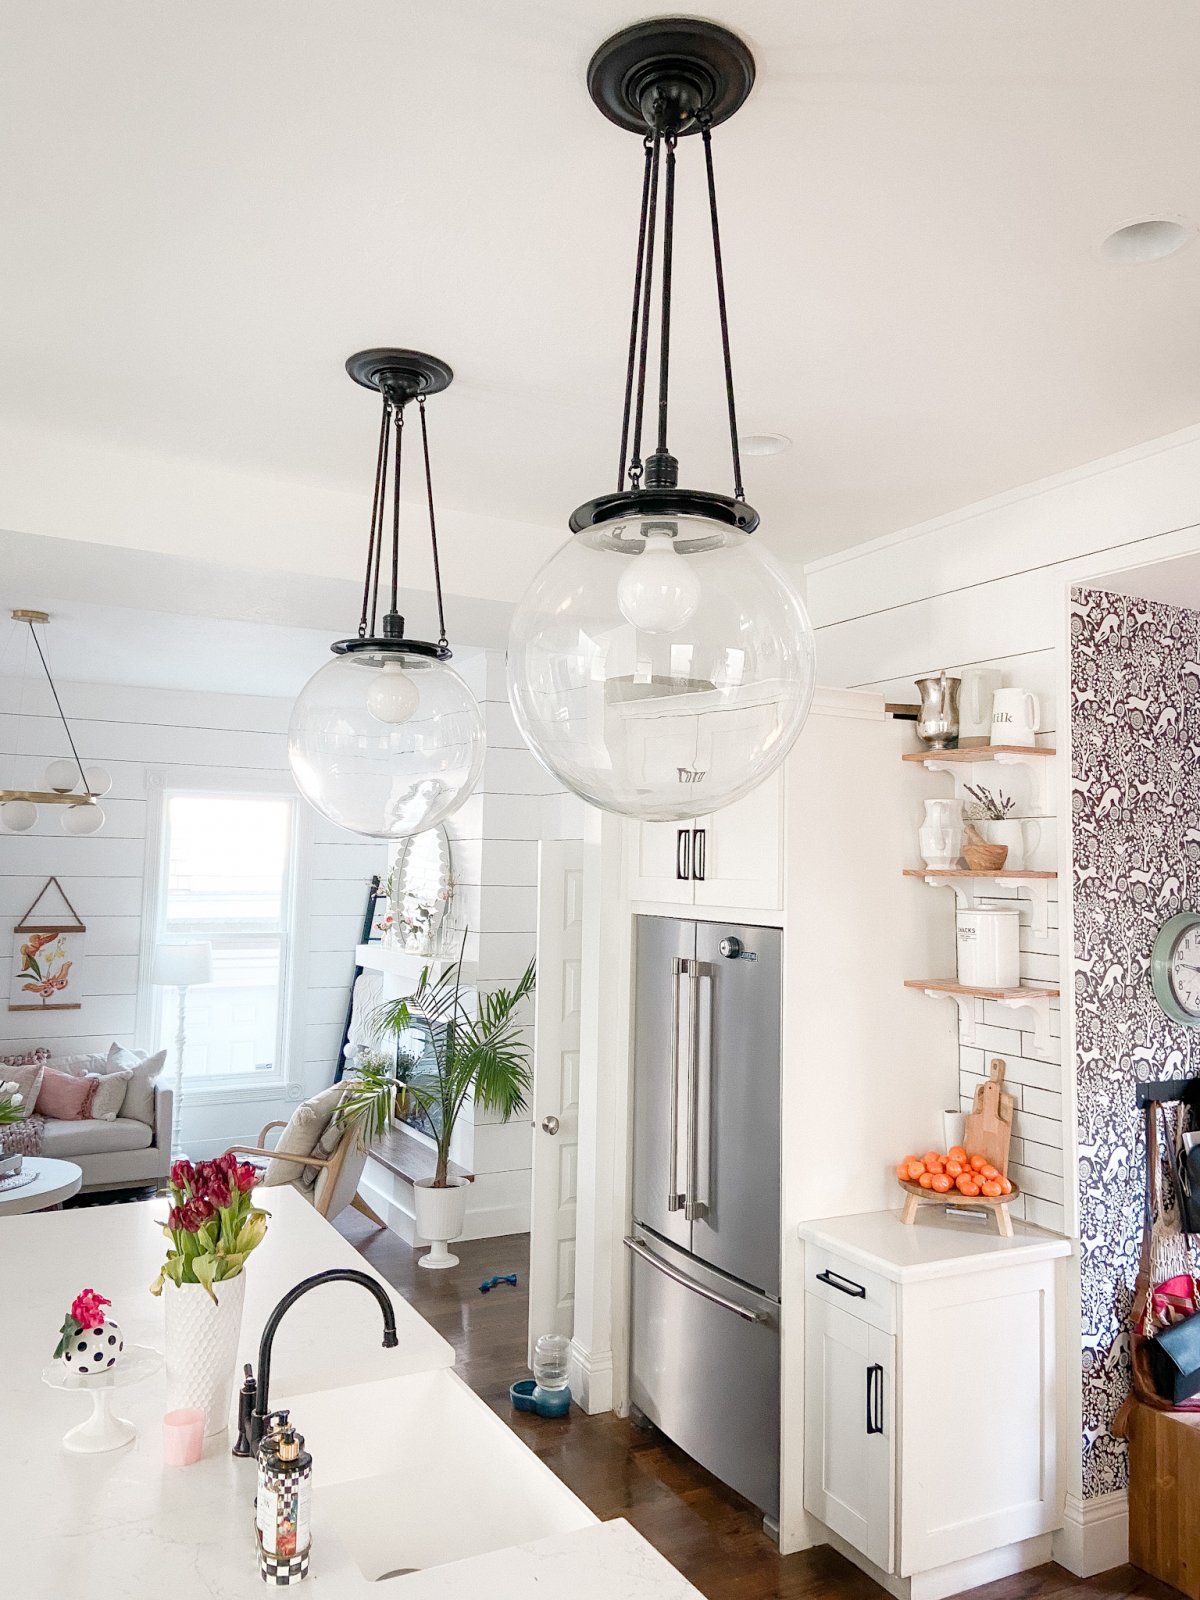
Credit: tatertotsandjello.com
Frequently Asked Questions
How Do You Convert A Can Light To A Pendant?
To convert a can light to a pendant, first, turn off the power. Remove the old fixture and install a pendant adapter kit. Connect the wires according to the instructions. Attach the new pendant light and secure it. Finally, turn the power back on to test the light.
What Tools Are Needed For Conversion?
You will need a screwdriver, voltage tester, wire stripper, and pliers. A pendant adapter kit is essential for the conversion. Ensure you have all necessary safety equipment, like gloves and goggles. Proper tools ensure a smooth and safe conversion process.
Is Electrical Work Required For This Conversion?
Yes, electrical work is involved in converting a can light to a pendant. You need to disconnect existing wiring and connect the new fixture. Ensure power is off before starting. If unsure, consult a professional electrician to ensure safety and compliance with regulations.
How Long Does Conversion Take?
The conversion process typically takes about 30 to 60 minutes. Time varies depending on experience and the complexity of the fixture. Gather all tools and read instructions first to streamline the process. Allow extra time for troubleshooting any unexpected issues.
Conclusion
Transforming a can light to a pendant enhances home decor. It adds style and warmth to any room. The process is simple and rewarding. Choose a pendant that suits your taste. Gather necessary tools and materials. Follow the steps carefully for success.
Safety is key during installation. Enjoy your new lighting fixture! Friends and family will admire your handiwork. A small project brings big changes. Make your space unique and inviting. Happy decorating!

Home Improvement Specialist & Writer at HomeFixio
Caden Rutherford is a seasoned home improvement specialist with extensive hands-on experience in residential construction, renovations, and design. With a keen eye for detail and a passion for transforming spaces, Caden shares practical advice and expert solutions to enhance the functionality and beauty of homes. As a writer for HomeFixio, Caden combines technical knowledge with creative flair, providing readers with informative guides on everything from structural improvements to aesthetic upgrades, empowering homeowners to achieve their ideal living spaces.