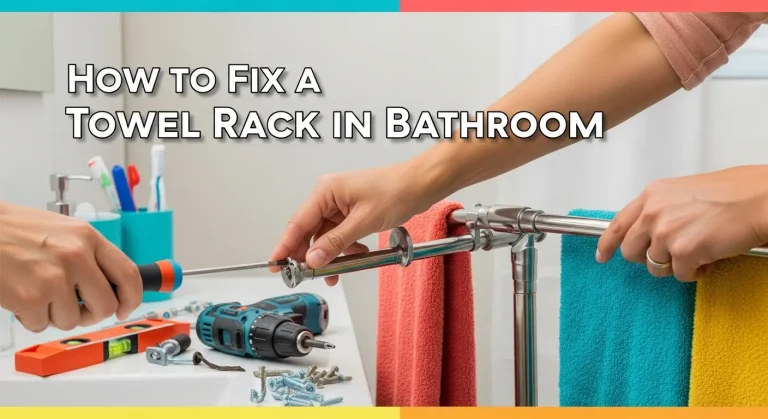
How Do You Remove a Towel Rack from the Wall?
Have you ever looked at your bathroom and thought, “That towel rack really doesn’t fit the new style I’m going for”? You’re not alone.
Whether you’re in the middle of a bathroom renovation or just looking for a quick update, removing a towel rack can seem like a daunting task. But don’t worry—it’s easier than you think! By the time you finish reading this article, you’ll be equipped with straightforward steps that make this process hassle-free.
Imagine the satisfaction of transforming your space with just a few simple changes. Keep reading to discover how you can easily remove a towel rack from your wall and start enjoying a refreshed look in no time.

Credit: www.youtube.com
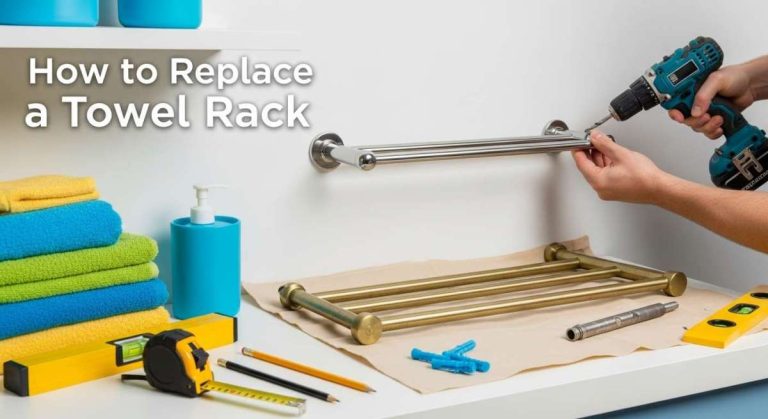
Tools And Materials Needed
Removing a towel rack needs simple tools. Gather a screwdriver first. Choose the right type for screws. You might need a Phillips or flathead. A drillcan be helpful if screws are tight. Grab a wrenchtoo, if nuts are involved.
Prepare some cleaning materials. A cloth will wipe the wall. Use a cleaning sprayfor stubborn marks. If you want to fill holes, get some wall putty. Have a putty knifeready. It helps spread the putty evenly.
Safety first. Wear glovesto protect your hands. Safety goggles can guard your eyes. This will keep you safe while working.
:max_bytes(150000):strip_icc()/how-to-remove-towel-bar-5221017-03-4873175f190548228b867ee5a3dec733.jpg)
Credit: www.thespruce.com
Preparation Steps
Clear the Areaaround the towel rack. Move any items nearby. This prevents accidents and damage. A tidy space makes work easier. Keep tools and materials close. This avoids unnecessary trips and saves time. Organized areas help focus on the task.
Protect Surfacesfrom scratches and dust. Lay down old sheets or towels. Use soft materials to cover floors. This keeps them safe from falling items. Cover nearby walls with paper or cloth. Avoid damaging paint or wallpaper. Protecting surfaces is important for home care.
Locating Mounting Points
Understanding the wall type is important. Drywall, tile, and plaster are common types. Drywall feels soft when tapped. Tile is hard and smooth. Plaster feels solid and dense. Knowing the type helps find the right tools. Each wall type needs different tools.
Look for screws or anchors holding the rack. Screws are visible and easy to spot. Anchors hide inside the wall. Use a flashlight to see better. Unscrew the screws carefully. Pull out anchors slowly to avoid damage.
Removing The Towel Rack
Use a screwdriverto take out screws from the brackets. Hold the towel rack firmly while unscrewing. Check if any screws are hidden behind covers. Keep screws in a safe place to avoid losing them.
Once screws are removed, gently pull the rack away from the wall. Be careful not to damage the wall surface. If the rack is stuck, wiggle it gently. Use your hands to slowly detach the rack.
Handling Wall Damage
Easily remove a towel rack by loosening screws with a screwdriver. Gently pull the rack away from the wall. Patch any holes with spackle and sand smooth for a clean finish.
Assess Damage
Check the wall for scratches and cracks. Look for paint chipping or holes. The wall might have dents or marks from the towel rack. Make a list of what needs repair. Small holes and chips can be fixed easily. Large cracks need more work.
Repair Holes
Use putty to fill small holes. Apply with a putty knife. Smooth the surface after filling. Let the putty dry completely. Sand the area for a flat finish. Paint over the fixed spot for a clean look. Large holes need patching first. Use a wall patch kit. Follow instructions on the kit for best results.

Credit: www.youtube.com
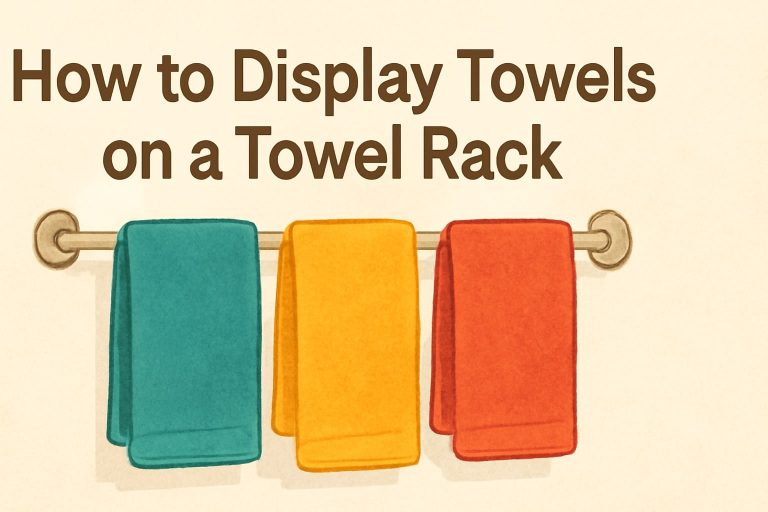
Cleaning And Finishing Touches
Removing a towel rack is easy with a few tools. Start by unscrewing the mounting brackets from the wall. Gently pull the rack away, ensuring not to damage the wall.
Clean Wall Surface
Remove any dustand debrisfrom the wall. Use a soft, damp cloth for this. Make sure the surface is smoothand clean. Check for any remaining sticky residue. If sticky spots remain, gently scrub them. A mild soap solution can help. Let the wall dry completely before proceeding. A dry surface is important for the next steps.
Repaint Or Refinish Area
Look at the wall color. Is the paint scratched or faded? If so, a fresh coat of paint will help. Choose a color that matches the rest of the wall. Use a small brush for precision. Apply the paint evenly. Wait for the paint to dry completely. Once dry, check for any uneven spots. Paint again if needed for a smooth finish. This will make the wall look new again.
Frequently Asked Questions
How Do You Safely Remove A Towel Rack?
To safely remove a towel rack, first ensure you have the necessary tools. Unscrew the mounting brackets carefully using a screwdriver. Gently pull the rack away from the wall. If needed, use a utility knife to cut through any paint or caulk to avoid wall damage.
What Tools Are Needed For Towel Rack Removal?
You’ll need a screwdriver, utility knife, and possibly a stud finder. A screwdriver will help remove screws. A utility knife can cut through paint or caulk. A stud finder is useful if the rack is mounted on wall studs.
Can I Remove A Towel Rack Without Damaging Walls?
Yes, you can remove a towel rack without damaging walls. Use a utility knife to cut through paint or caulk. Unscrew the mounting brackets carefully. Gently pull the rack away from the wall. This approach minimizes potential damage to the wall surface.
How To Patch Holes After Towel Rack Removal?
To patch holes, clean the area first. Use spackle or joint compound to fill the holes. Smooth it out with a putty knife. Once dry, sand the area lightly. Finally, repaint the patched area to match the rest of the wall.
Conclusion
Removing a towel rack from the wall is simple. Start by gathering necessary tools. Unscrew the brackets gently. Be careful to avoid damaging the wall. Use a putty knife to remove any adhesive. Fill any holes with wall putty. Sand it smooth for a clean finish.
Paint over the area if needed. Always ensure the wall is dry before painting. These steps make the process easy and straightforward. Anyone can follow them. Happy DIY-ing, and enjoy your refreshed space!

Home Improvement Specialist & Writer at HomeFixio
Caden Rutherford is a seasoned home improvement specialist with extensive hands-on experience in residential construction, renovations, and design. With a keen eye for detail and a passion for transforming spaces, Caden shares practical advice and expert solutions to enhance the functionality and beauty of homes. As a writer for HomeFixio, Caden combines technical knowledge with creative flair, providing readers with informative guides on everything from structural improvements to aesthetic upgrades, empowering homeowners to achieve their ideal living spaces.