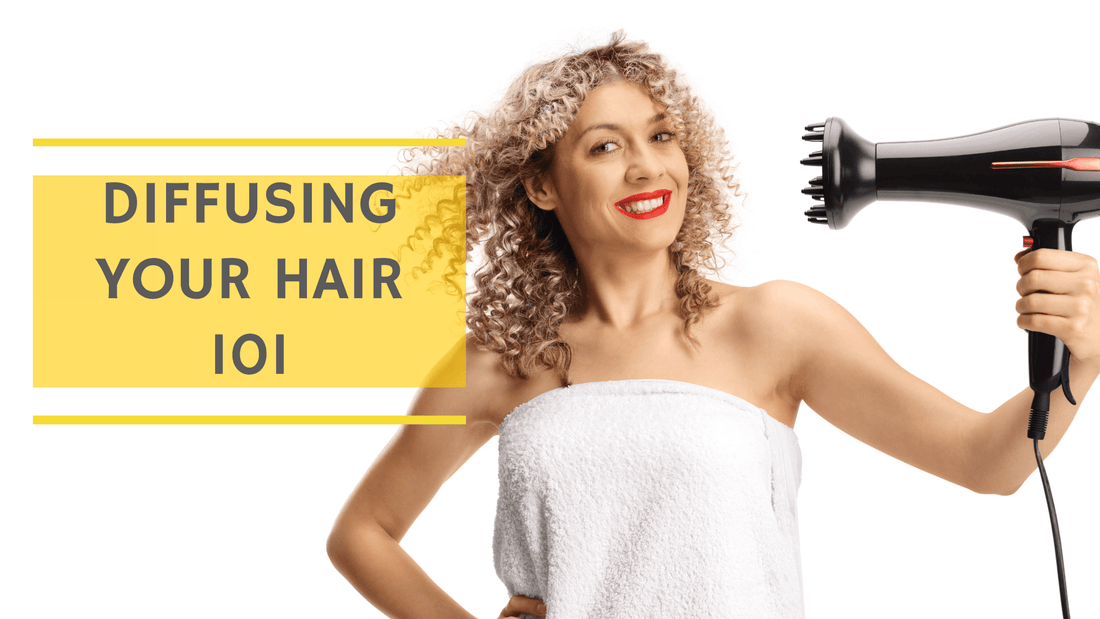
How Long Does It Take to Diffuse Hair: Quick Guide
Have you ever wondered how long it really takes to diffuse your hair to get that perfect, bouncy look? You’re not alone.
Whether you’re rushing out the door or planning a relaxing self-care day, knowing the right time to spend can save you frustration and help you achieve the style you want. You’ll discover exactly how long it takes to diffuse different hair types and learn simple tips to speed up the process without damaging your hair.
Keep reading, because your next flawless hairstyle could be just minutes away.
Credit: theorganibrands.com
Factors Affecting Diffusing Time
Diffusing time varies due to several key factors. These elements influence how quickly your hair dries and the results you get. Understanding these can help you adjust your technique for the best outcome.
Hair Type And Texture
Curly hair usually takes longer to diffuse than straight hair. Coarser textures hold more moisture and need extra time to dry. Fine hair dries faster but may require gentler heat to avoid damage.
Hair Length And Thickness
Long hair takes more time to dry than short hair. Thick hair traps moisture and slows the drying process. Thin hair allows air to pass through quickly, reducing diffusing time.
Diffuser Settings And Heat Levels
Higher heat speeds up drying but can cause frizz or damage. Low heat is safer for delicate hair but takes longer. Using the right diffuser speed and heat balances drying time and hair health.

Credit: www.youtube.com
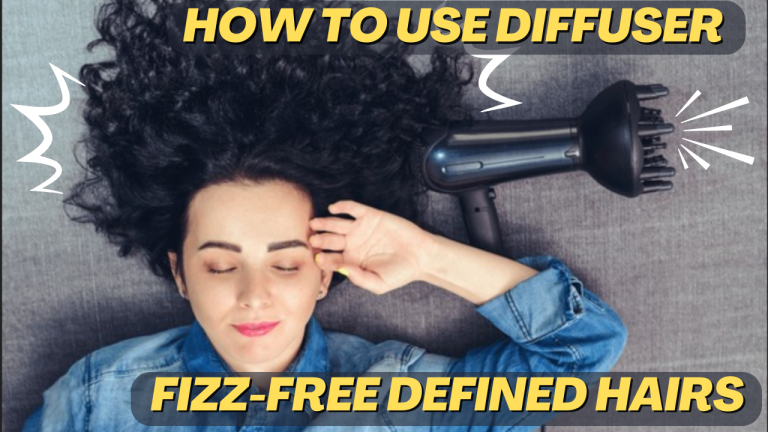
Step-by-step Diffusing Process
The diffusing process helps dry curly or wavy hair gently. It adds volume and reduces frizz. Following the right steps can save time and improve hair texture. Each step prepares your hair for the next, ensuring a smooth drying experience.
Preparing Hair For Diffusing
Start with clean, damp hair. Use a leave-in conditioner or curl cream to add moisture. Avoid soaking hair; it should be damp, not wet. Detangle hair gently with a wide-tooth comb or fingers. This prevents breakage and helps curls form better.
Sectioning Hair
Divide hair into sections to diffuse evenly. Use clips or hair ties to hold sections apart. Smaller sections dry faster and get more volume. Work on one section at a time for better control. This approach reduces drying time and improves curl definition.
Using The Diffuser Correctly
Attach the diffuser to the hair dryer. Set the dryer to low or medium heat. High heat can damage hair or cause frizz. Place hair into the diffuser bowl gently. Lift the diffuser towards your scalp without moving it too much. Hold for a few seconds before moving to another section. Repeat until hair feels dry but not over-dried.
Average Diffusing Times
Understanding the average time it takes to diffuse your hair can save you from unnecessary heat exposure and help you plan your styling routine better. Diffusing times vary based on hair length because longer hair holds more moisture and requires extra care to dry evenly. Knowing what to expect for your hair length lets you adjust your technique and avoid over-drying or frizz.
Short Hair
Short hair typically takes the least time to diffuse—usually between 5 to 10 minutes. Because the strands are close to the scalp and have less volume, the heat reaches all areas quickly.
If you find your hair is still damp after 10 minutes, try lifting sections with your fingers rather than rushing with higher heat. This gentle approach speeds up drying without roughening your hair texture.
Medium Length Hair
For medium length hair, expect to spend about 15 to 20 minutes diffusing. This length often requires you to pause and reposition the diffuser to target all areas evenly.
Have you noticed that your hair feels dry on top but damp underneath? This uneven drying happens often with medium hair. Moving the diffuser gently underneath helps prevent that problem.
Long Hair
Long hair demands the most time, often between 20 to 30 minutes or more, depending on thickness. Because moisture sits deep within the strands, patience is key to achieving a fully dried look without heat damage.
Try dividing your hair into sections to diffuse each part thoroughly. This step often cuts down total drying time and reduces the risk of frizz.
Tips To Speed Up Diffusing
Speeding up the diffusing process can save you time and protect your hair from excessive heat damage. Small adjustments to your routine make a big difference in drying efficiency. Let’s look at practical tips that help you dry your curls faster without sacrificing their natural bounce and shine.
Choosing The Right Products
Your product choices directly affect how quickly your hair dries under a diffuser. Use lightweight leave-in conditioners or curl creams that don’t weigh down your hair. Avoid heavy oils or butters before diffusing—they slow down drying by coating strands.
Look for products with quick-dry formulas or those designed to enhance air flow around curls. Gel or mousse with a light hold can help shape your curls while speeding up drying time. Have you noticed how some products leave your hair feeling damp longer? Switching to fast-absorbing ones can change that.
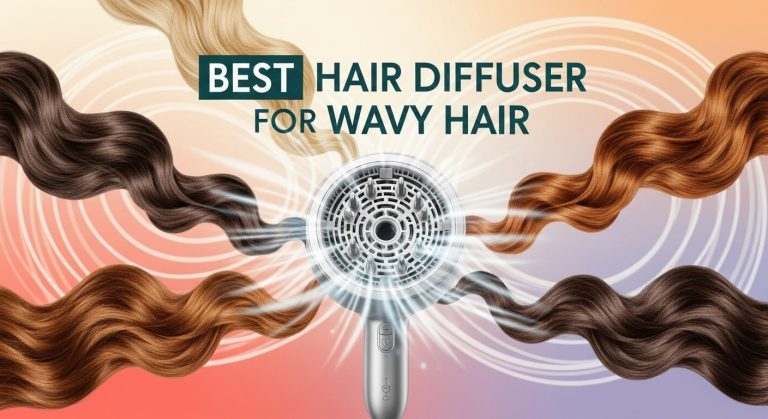
Optimal Diffuser Techniques
How you use the diffuser matters just as much as the heat setting. Start by drying on low heat and low speed to minimize frizz. Then, gradually increase to medium heat if your hair allows it.
Try cupping sections of your hair in the diffuser and holding them close to your scalp. This traps heat and air where curls form, drying faster. Avoid moving the diffuser constantly; instead, hold it steady for a few seconds per section.
Do you tilt your head or keep it upright? Tilting your head forward exposes more roots and helps air circulate better, which can speed up drying.
Avoiding Common Mistakes
Many people rush by using high heat or speed, but this can cause frizz and damage. Resist the urge to blast your hair with hot air—it often prolongs drying by creating uneven moisture levels.
Another mistake is diffusing dripping wet hair. Pat your hair gently with a microfiber towel or cotton T-shirt first to remove excess water. Starting with less water reduces drying time significantly.
Are you combing your hair before diffusing? Detangle gently with fingers or a wide-tooth comb before drying. This prevents knots and allows heat to reach all strands evenly.
Maintaining Hair Health During Diffusing
Diffusing your hair can enhance natural texture and reduce frizz, but it’s easy to damage your strands if you’re not careful. Maintaining hair health during diffusing is key to keeping your locks strong and shiny. You want to enjoy beautiful curls without sacrificing moisture or causing breakage.
Heat Protection Strategies
Protecting your hair from heat is essential before you start diffusing. Always apply a heat protectant spray or cream to shield your strands from direct heat damage. Look for products with ingredients like silicone or natural oils that form a barrier without weighing your hair down.
Do you know how high your diffuser’s temperature setting is? Using a low to medium heat setting reduces the risk of overheating your hair. Also, keep the diffuser moving rather than holding it in one spot to prevent hot spots that cause damage.
Moisturizing And Conditioning
Diffusing can dry out your hair, so it’s important to hydrate it well beforehand. Use a deep conditioner or a leave-in conditioner to lock in moisture. This helps your curls stay defined and soft after drying.
Try adding natural oils like argan or coconut oil to your routine to boost hydration. These oils can penetrate your hair shaft and provide lasting moisture. How often do you treat your hair with a mask or deep conditioner?
Avoiding Over-drying
It’s tempting to dry your hair completely with a diffuser, but over-drying can lead to brittleness and split ends. Stop diffusing when your hair is about 80-90% dry and let it air dry the rest of the way. This reduces heat exposure and keeps your hair healthier.
Pay attention to how your hair feels during drying. If it starts to feel rough or straw-like, it’s time to pause. Your hair needs time to recover between heat styling sessions, so give it breaks to maintain its strength and shine.
Credit: www.wondercurl.com
Frequently Asked Questions
How Long Does It Take To Diffuse Curly Hair?
Diffusing curly hair usually takes 15 to 30 minutes. The time varies based on hair thickness and length. Using a low heat setting speeds drying and reduces frizz. Patience ensures curls stay defined and healthy during diffusing.
Can Diffusing Damage Hair If Done Too Long?
Yes, diffusing for too long can cause heat damage. Overexposure dries out strands and leads to breakage. Always use a heat protectant and a low heat setting. Limit diffusing time to maintain hair health and shine.
What Factors Affect Hair Diffusing Time?
Hair length, thickness, and moisture level impact diffusing time. Longer and thicker hair takes more time to dry. Using a powerful dryer and diffuser attachment speeds the process. Applying styling products beforehand also influences drying duration.
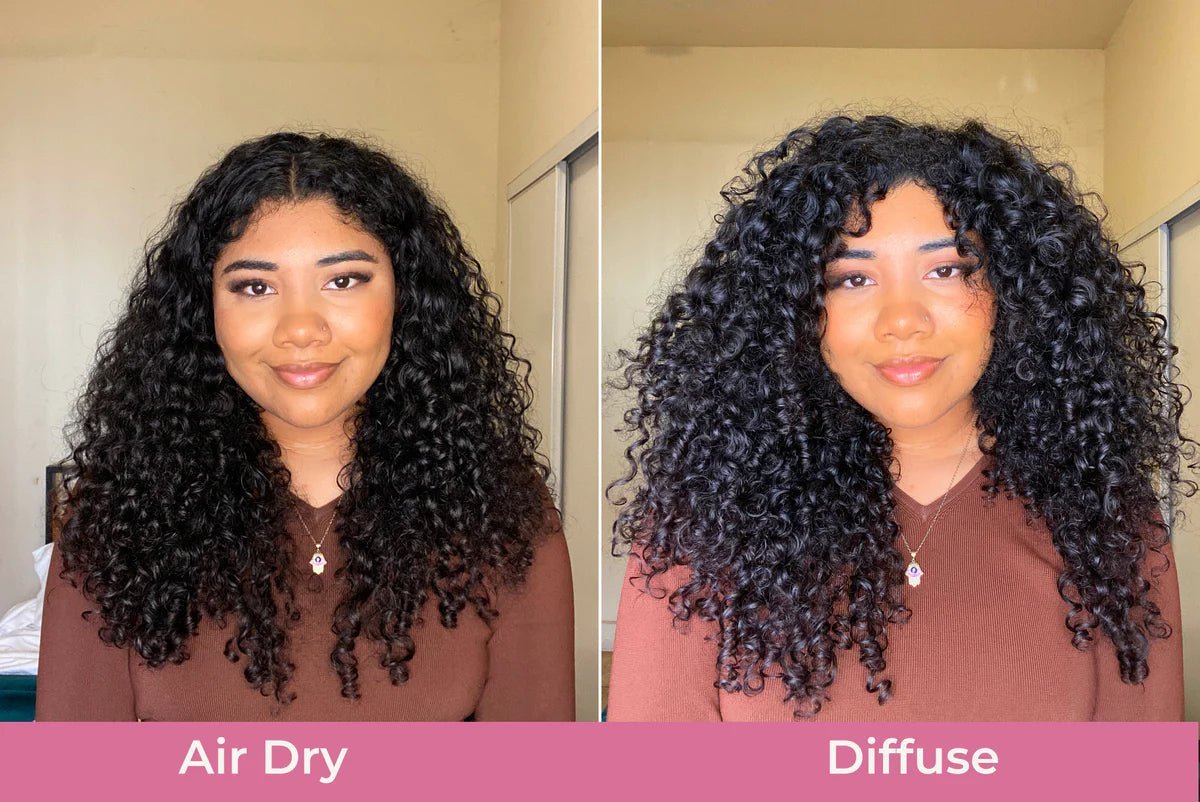
Is Diffusing Better Than Air Drying Hair?
Diffusing dries hair faster than air drying and adds volume. It helps reduce frizz and enhances natural curls. Air drying is gentler but takes longer and may cause flatness. Choose diffusing for quick styling and defined curls.
Conclusion
Diffusing hair usually takes about 15 to 30 minutes. The time depends on hair type and thickness. Thicker hair needs more time to dry fully. Using the right diffuser setting helps speed up the process. Patience matters for best results and less frizz.
Taking your time keeps hair healthy and shiny. Try different times to find what suits you best. Enjoy soft, natural curls without rushing. Diffusing can fit easily into your hair routine. A little care goes a long way.

Home Improvement Specialist & Writer at HomeFixio
Caden Rutherford is a seasoned home improvement specialist with extensive hands-on experience in residential construction, renovations, and design. With a keen eye for detail and a passion for transforming spaces, Caden shares practical advice and expert solutions to enhance the functionality and beauty of homes. As a writer for HomeFixio, Caden combines technical knowledge with creative flair, providing readers with informative guides on everything from structural improvements to aesthetic upgrades, empowering homeowners to achieve their ideal living spaces.