How to Wire a Wall Sconce: Step-by-Step Guide
Imagine transforming the ambiance of your room with just a flick of a switch. A wall sconce can do just that, offering a blend of style and functionality.
You might think wiring one is a daunting task, but it’s simpler than you expect. By learning how to wire a wall sconce yourself, you gain the power to customize your space while saving money. Plus, there’s a unique satisfaction in knowing you’ve done it with your own hands.
You’re just a few steps away from enhancing your home’s atmosphere with a personalized touch. Ready to dive in? Let’s guide you through the process in a straightforward, stress-free way.
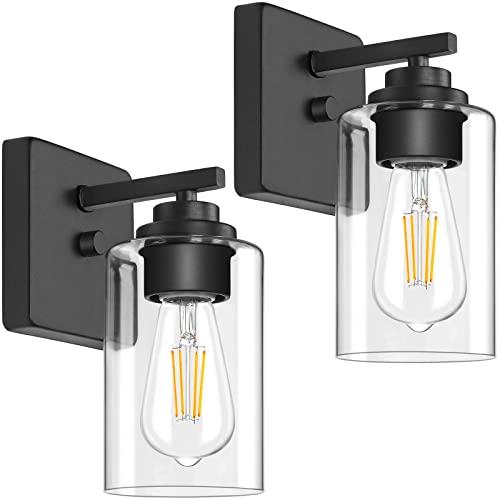
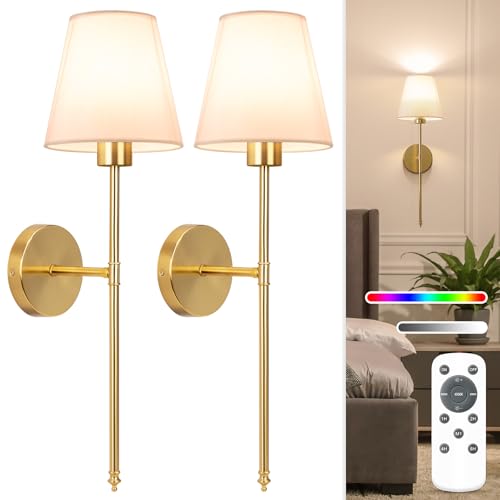
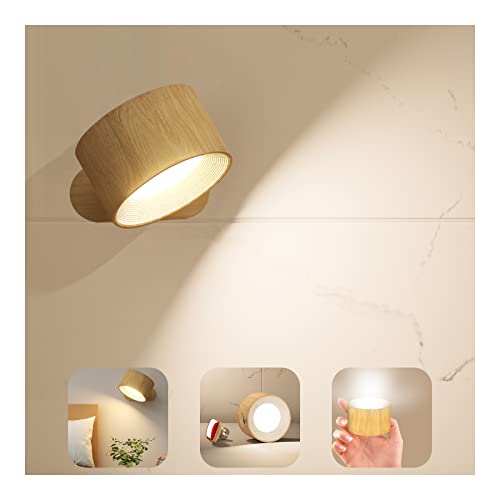
Choosing The Right Wall Sconce
Wall sconces come in many stylesand shapes. Some are simple, others are fancy. Battery-poweredsconces are easy to install. Hardwiredones need more work. There are plug-insconces too. They are convenient. Each type has its own pros and cons. Think about what you need. Choose the right one for your space.
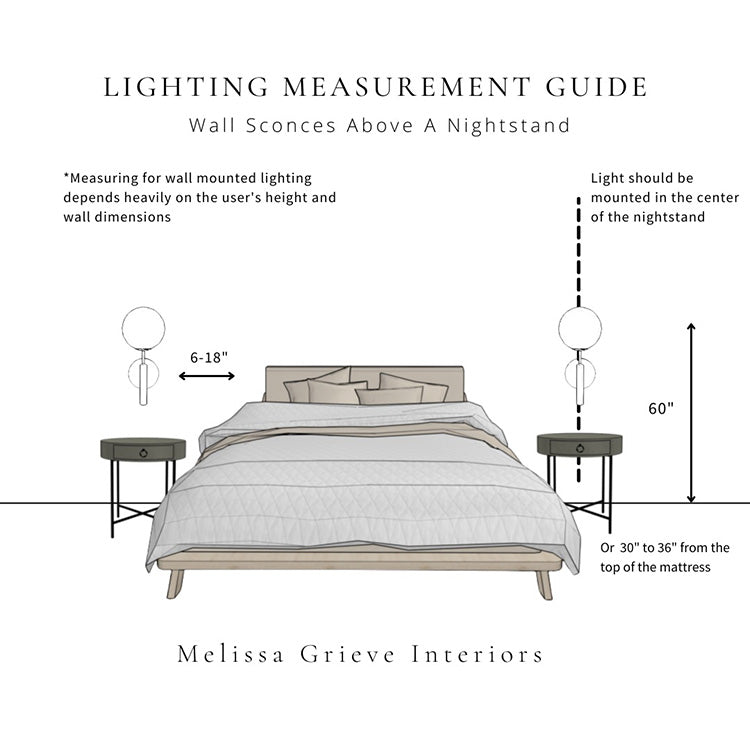
Placement is very important. Think about the height. Too high is not good. Too low is bad too. Consider the distancefrom other lights. Balance is key. Avoid placing near water. Safety comes first. Check the wall materialbefore drilling. Some walls are tough, others are soft. Plan carefully for the best look.
Style matters a lot. Match the sconce with your room decor. Traditional rooms need classic sconces. Modern rooms prefer sleek designs. Think about the color. Dark colors for cozy vibes. Bright colors for open spaces. Consider the material. Metal adds elegance. Glass offers simplicity. Choose what speaks to you.
:strip_icc()/wiring-sconce-wall-57050bbb-c18708d4bb7749a1b12ec37c985543cb.jpg)
Credit: www.bhg.com
Gathering Necessary Tools And Materials
Screwdrivers are a must-have. You will need a Phillips head and a flat-head. A voltage tester checks if wires are live. Get a wire stripper for clean cuts. Pliers help hold and twist wires.
You need the wall sconce itself. Also, get wire nuts to connect wires. Electrical tape helps secure connections. Make sure to have mounting brackets. Screws and anchors will hold everything tight.
Safety goggles protect your eyes. Gloves keep hands safe from cuts. A dust mask is useful if drilling. Always work with care and attention.
Preparing The Installation Area
Choosing the right spot for your wall sconce ensures perfect lighting. Clear the area of obstacles and check the wall’s condition. Confirm electrical access is nearby to prevent complications during installation.
Turning Off Power
Switch off the power at the circuit breaker. Safety is crucial. Use a voltage tester. Check the wires are dead. This prevents shocks. Always double-check before starting.
Locating Electrical Box
Find the electrical box on the wall. This is where wires connect. Use a stud finder. Ensure the box is secure. It must support the sconce’s weight. Mark the box location.
Checking Wall Structure
Inspect the wall structure. Walls can be drywall or plaster. Make sure it’s strong enough. Use a drill to test. Avoid areas with pipes. Look for studs or beams.
Mounting The Wall Sconce
Begin by locating the spot on the wall. Use a level to ensure straight lines. Next, mark the spots for the screws. Drill holes for the mounting bracket. Align the bracket with the holes. Secure it using screws. Make sure it is tight and secure. This prevents any wobbling.
Connect wires to the fixture. Match wire colors carefully. Wrap wires using wire nuts. Tuck excess wire inside the wall. Position the fixture over the bracket. Use screws to attach the fixture. Tighten screws to hold the fixture firmly. Always check that wires are not exposed.
Double-check the installation for safety. Gently pull on the fixture. It should not move. If it wiggles, tighten screws again. Make sure the fixture is straight. Check the light bulb placement. Ensure it is secure and not loose. Test the light to ensure it works properly.
Connecting The Wiring
Most homes have three main wire types. Black wires are hot and carry power. White wires are neutral and complete the circuit. Green or bare wires are ground wires for safety. Careful identification is important before connecting.
Ground wires are usually green or bare. Connect the ground wire to the green screw on the sconce. This step ensures safety. It prevents electric shock. Check if the wire is tight. Loose wires can be dangerous.
Attach the black wire from the wall to the black wire on the sconce. Then connect the white wire from the wall to the white wire on the sconce. Use wire nuts for a secure connection. Make sure no wires are exposed. Cover them well.
Testing The Installation
First, turn the power back on at the circuit breaker. Ensure all tools are clear from the area. Stand back and watch for any sparks or odd noises. Safety first! If all looks good, you can proceed.
Switch the sconce on. Check if the light glows brightly. If it does, you have done a great job. If not, there might be a problem.
If the light doesn’t work, check the bulb. A loose bulb can cause issues. Ensure all wires are connected correctly. Look for any damaged wires. If problems persist, consult an electrician. Safety is always the top priority.
Final Touches And Maintenance
Ensure the wall sconce is securely mounted and all wires are neatly tucked. Regularly check connections to maintain safety. Clean fixtures gently to keep them bright and dust-free.
Adjusting Light Position
Check if the sconce is straight. Adjust it gently if it’s not. Ensure light shines where you need it. You might need a small ladder. Turn the light on and off. This helps in seeing the position clearly.
Cleaning And Care Tips
Dust the sconce weekly. Use a soft, dry cloth for cleaning. Avoid using water or wet wipes. Check the bulb for dust too. Clean it gently. If you see any stains, use a gentle cleaner. Make sure to turn off the light before cleaning.
Regular Inspection
Inspect the sconce every month. Look for any loose parts. Tighten screws if needed. Check the bulb for flickering. Replace the bulb if it’s not working well. Ensure the switch works smoothly. This keeps your sconce safe and bright.

Credit: diy.stackexchange.com
:strip_icc()/installing-box-wall-sconce-f811a056-b291f0391da74ea598c7f151b6b64ac5.jpg)
Credit: www.bhg.com
Frequently Asked Questions
How Do I Safely Wire A Wall Sconce?
To safely wire a wall sconce, first turn off the power. Use a voltage tester to ensure no electricity flows. Connect the wires from the sconce to the wall’s electrical box. Match the colors: black to black, white to white, ground to ground.
Secure connections with wire nuts, then restore power.
What Tools Are Needed For Wiring A Sconce?
You’ll need a screwdriver, wire stripper, voltage tester, and wire nuts. A drill may be necessary for mounting. Ensure you have electrical tape for secure connections. Preparation is key; having all tools ready will make the installation smoother and safer.
Can I Install A Wall Sconce Myself?
Yes, you can install a wall sconce yourself. Ensure you follow safety guidelines and have the necessary tools. If you’re unsure, consult a professional. Proper installation requires understanding electrical connections and safely handling tools. Always prioritize safety and double-check your work.
How Do I Choose The Right Sconce?
Choose a sconce based on style, size, and function. Consider the room’s decor and lighting needs. Ensure the sconce fits the space and provides adequate light. Check compatibility with your electrical system. The right choice enhances room aesthetics and functionality.
Conclusion
Installing a wall sconce can brighten any room. Safety is essential. Use the right tools. Follow instructions carefully. Check the wiring, ensuring secure connections. Turn off electricity before starting. This prevents accidents. Double-check your work for peace of mind. Proper installation enhances lighting and decor.
It adds style and functionality. Now, enjoy the warm glow of your new fixture. Remember, patience and careful planning lead to success. With practice, wiring becomes easier. Don’t rush the process. Take your time, and soon you’ll be proud of your skillful handiwork.
A well-lit space awaits!

Home Improvement Specialist & Writer at HomeFixio
Caden Rutherford is a seasoned home improvement specialist with extensive hands-on experience in residential construction, renovations, and design. With a keen eye for detail and a passion for transforming spaces, Caden shares practical advice and expert solutions to enhance the functionality and beauty of homes. As a writer for HomeFixio, Caden combines technical knowledge with creative flair, providing readers with informative guides on everything from structural improvements to aesthetic upgrades, empowering homeowners to achieve their ideal living spaces.