How to Delete Bones in Blender: Simplify Your Workflow
Are you struggling with unwanted bones in your Blender project? Whether you’re tidying up your animation rig or just trying to simplify your workflow, knowing how to delete bones in Blender can be a game-changer.
Imagine finally having the clean, efficient setup you’ve always wanted, without the clutter that slows you down. In this guide, you’ll discover simple, step-by-step instructions to easily remove those pesky bones. You’ll gain the confidence to streamline your projects, boosting your productivity and creativity.
Keep reading to unlock the secrets that will transform your Blender experience.

Credit: www.reddit.com
Preparation Steps
Begin by opening Blender and selecting the armature in Object Mode. Switch to Edit Mode and choose the bones you want to delete. Press X on your keyboard, then select Delete Bones to remove them.
Preparation steps are crucial before deleting bones in Blender. Ensuring your project is safe and organized can prevent potential errors.Backup Your Project
Always save a copy of your work. This ensures you can restore your project if something goes wrong. Open Blender, and use the ‘Save As’ option. Choose a different name for the backup file. Store it in a safe location, like an external drive or cloud storage. This step is vital. It protects your hard work and provides peace of mind.Identify Unnecessary Bones
Review your armature structure carefully. Look for bones that do not contribute to your model’s animation or pose. Select the bones you want to remove. Use Blender’s selection tools for accuracy. Double-check these selections. Make sure you do not delete essential bones. Proper identification reduces errors and streamlines the deletion process.Accessing Edit Mode
Accessing Edit Mode in Blender is a fundamental step for anyone looking to modify their 3D models, especially when dealing with armatures and bones. Whether you’re a beginner or a seasoned Blender artist, understanding how to switch modes effectively can enhance your workflow and creativity. Let’s dive into the essentials of accessing Edit Mode and the nuances of navigating your armature.
Switching To Edit Mode
To begin editing bones, you need to switch to Edit Mode. This is where you can make structural changes to your armature. Simply select your armature in Object Mode. Then, press Tabon your keyboard or use the dropdown menu in the top-left corner to switch to Edit Mode. You’ll see your bones highlighted and ready for manipulation.
Remember, Edit Mode is your playground for structural modifications. Here you can add, delete, or alter the bones as needed. It’s like opening the hood of your 3D model and tweaking the engine. Every change you make in this mode directly affects the skeletal structure of your model.
Navigating The Armature
Once you’re in Edit Mode, navigating the armature becomes crucial. You can select individual bones by right-clicking them. Use Shift + Right Clickto select multiple bones. Adjusting your view with the middle mouse button will help you get a better perspective.
- Zoom in and out to focus on specific areas.
- Rotate your view to see the bones from different angles.
- Pan across your model for a comprehensive look.
Efficient navigation can save you time and prevent errors. Think of it as exploring a map; you need to know where each landmark is located to make your journey smoother.
Have you ever struggled with bone placement and wished for a more intuitive way to navigate? Why not try experimenting with the view settings to find what works best for you? Small adjustments can make a big difference in your editing precision.
Selecting Bones For Deletion
Deleting bones in Blender requires careful selection. Efficiently choosing the right bones is crucial for a clean workflow. This section will guide you through selecting bones for deletion.
Using The Selection Tools
Blender offers various selection tools to pinpoint bones. Use the box select tool to quickly highlight multiple bones. The circle select tool is useful for precise selection. Toggle these tools by pressing the appropriate shortcut keys.
Multi-select Techniques
Multi-selection saves time and effort. Hold the shift key to select multiple bones. You can also use the lasso tool for freeform selection. Combine these techniques to efficiently manage bone selection. Remember to deselect any unwanted bones to avoid accidental deletion.
Deleting Bones
Deleting bones in Blender can be a vital step in refining your 3D models, especially when you need to simplify a rig or correct a mistake. Whether you’re an experienced animator or a beginner, understanding how to efficiently remove bones will enhance your workflow and save you time. Let’s explore how to execute this task effectively.
Executing The Delete Command
First, ensure you’re in Edit Mode, as this is where you can modify the armature. Select the bones you wish to delete by right-clicking on them. Once selected, press the Deletekey or use the Xkey on your keyboard, and choose Delete Bonesfrom the menu that appears.
This action will immediately remove the selected bones from your armature. Make sure you have selected the correct bones to avoid deleting anything unintentionally. Double-check your selection to prevent any mishaps in your model.
Handling Parent-child Relationships
Deleting bones can affect the hierarchy of your armature. If a parent bone is deleted, its child bones may lose their reference, impacting animations. Before deleting, examine the bone structure to understand any dependencies.
Consider reassigning child bones to a different parent if necessary. This ensures the continuity of movements and keeps your rig functional. Always keep an eye on the Outliner to visualize these relationships clearly.
Have you ever deleted a bone and noticed unexpected changes in your model? Understanding these relationships can prevent such surprises and keep your project on track.
Post-deletion Checks
Deleting bones in Blender might seem straightforward, but your task doesn’t end there. After clearing unwanted bones, it’s crucial to ensure your model’s integrity and functionality remains intact. These post-deletion checks help maintain the quality and precision of your animation work. They also prevent future headaches caused by unnoticed errors. Are you ready to dive into these essential checks?
Verifying Bone Structures
After deleting bones, examine the remaining structure meticulously. Use the Bone Heat Weightingfeature to ensure that your mesh is properly assigned to the existing bones. This prevents unexpected behavior during animations. Zoom in and rotate your model to detect any hidden anomalies. Your model should still hold its form without any distortions. Have you considered how a misplaced bone might affect your final animation?
Adjusting Animations And Constraints
Bone deletion often requires recalibrating animations and constraints. Review your Action Editorto see how animations are affected. Adjust keyframes and make sure transitions remain smooth and natural. It’s also important to check Inverse Kinematics (IK)constraints. They might need tweaking to align with the new bone structure. What steps will you take to ensure your animations flow seamlessly?
Optimizing Workflow
Optimizing your workflow in Blender can save you time and effort. Especially when working with complex models, efficiency is key. Deleting bones in Blender requires a streamlined approach to armature management. It ensures smoother processes and better results. Let’s explore how you can achieve this.
Streamlining Armature Management
Organize your armature for a cleaner workspace. Begin by selecting the armature in Object Mode. Switch to Edit Mode to view individual bones. Identify unnecessary bones that clutter the workspace. Select each unwanted bone and press the delete key. This action removes them from your armature.
Maintaining a clean armature enhances focus. It reduces confusion and improves productivity. Keep only essential bones for a streamlined workflow.
Utilizing Bone Layers
Bone layers are crucial for armature organization. They help categorize bones effectively. Access bone layers by entering Pose Mode. Use the bone layers panel in the Properties window. Assign different bones to various layers based on function.
For example, group all control bones on one layer. Place mechanical bones on another layer. This method simplifies your armature structure. Easily toggle layers to view specific bone groups. It minimizes distractions and optimizes your workflow.
Troubleshooting Common Issues
Deleting bones in Blender can sometimes lead to unexpected issues. These problems might complicate your workflow or cause errors in your animation. Understanding how to troubleshoot common issues will help maintain your project’s integrity and save time.
Restoring Deleted Bones
Accidentally deleting bones can disrupt your rig. To restore them:
- Use the ‘Undo’ option. Press Ctrl+Z to revert changes.
- Check the ‘Edit Mode’ for any hidden bones. They might be hidden rather than deleted.
- Recreate the bone using Blender’s ‘Add Bone’ feature. Match its position with the surrounding bones.
Resolving Rigging Errors
Rigging errors occur when bones are deleted improperly. To resolve them:
- Ensure all vertices are assigned correctly. Use ‘Weight Painting’ to verify vertex groups.
- Check the armature modifier. It must link to the correct bone structure.
- Examine the bone hierarchy. Ensure parent-child relationships are intact.
Credit: www.youtube.com

Credit: www.reddit.com
Frequently Asked Questions
How To Make Bones Disappear In Blender?
In Blender, select the bones in Pose Mode. Press “H” to hide them. To make them visible again, press “Alt + H”. Use this for a cleaner workspace while editing.
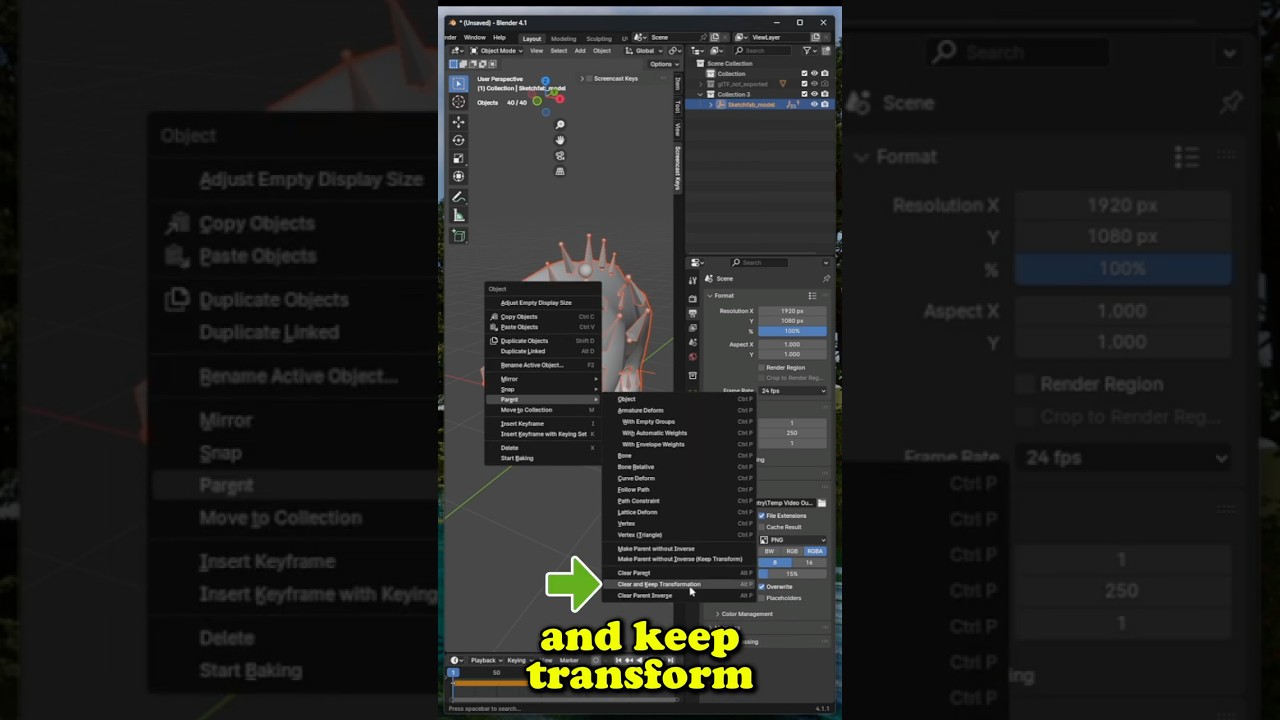
How To Clear Parent Bones In Blender?
To clear parent bones in Blender, select the armature. Press Alt+P, then choose “Clear Parent. ” This removes the bone hierarchy.
How Do I Delete Pieces In Blender?
Select the piece in Blender. Press the “X” key or “Delete” key. Confirm the deletion prompt.
How Do I Delete Armatures In Blender?
To delete armatures in Blender, select the armature object in Object Mode. Press the “Delete” key or use the “X” key, then confirm the deletion. Ensure you’re not in Edit Mode when performing this action for effective removal.
Conclusion
Deleting bones in Blender is a straightforward task. Follow the steps carefully. Start by selecting the bone. Press the delete key to remove it. Double-check your work to avoid mistakes. Practice makes the process easier. Mistakes happen, but you can undo them.
Experiment with different approaches. Understanding these basics helps improve your Blender skills. Keep exploring Blender’s features. The more you practice, the better you’ll get. Happy animating!

Home Improvement Expert & Senior Writer at HomeFixio
Eliot Granger is a seasoned home improvement expert with years of experience transforming living spaces. Specializing in everything from kitchen renovations to bathroom upgrades, Eliot shares his knowledge through practical, insightful articles. His passion for creating functional, beautiful homes drives him to offer expert tips and solutions for every corner of your house. As a trusted writer for HomeFixio, Eliot is dedicated to helping homeowners make informed decisions and achieve precision in their projects.