How to Fix Soap Dispenser Spring: Quick DIY Guide
Is your soap dispenser refusing to cooperate? You press down, but instead of a satisfying squirt of soap, you get nothing.
The culprit could very well be a faulty spring. But don’t worry, you’re not alone in this common household dilemma. Fixing a soap dispenser spring might sound like a job for a handyman, but with a few simple steps, you can tackle it yourself.
Imagine the convenience and satisfaction of having a fully functional soap dispenser without the need for a pricey replacement. In this guide, you’ll discover straightforward solutions that put you back in control, saving you time, money, and frustration. Keep reading to learn how to restore your soap dispenser to its former glory, so you can keep your hands clean and your bathroom or kitchen running smoothly.

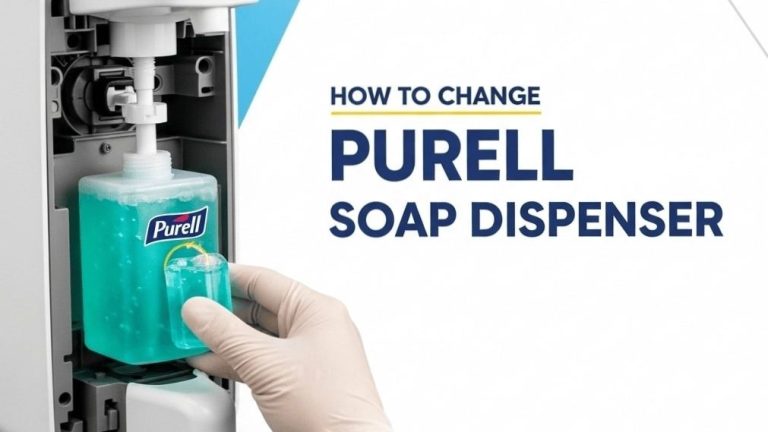
Credit: www.instructables.com
Common Soap Dispenser Issues
Soap dispensers often face issues with their springs. Fixing a stuck or broken spring is simple. Begin by removing the pump and checking for blockages. Clean thoroughly, ensuring no soap residue remains. Reassemble and test the dispenser. A functional spring ensures smooth soap flow.
Identifying Spring Problems
Soap dispenser springs can break. Springs help push the soap out. A broken spring means no soap comes out. This is a big problem. Check the spring first. It may look bent or twisted. Listen for strange noises. A faulty spring might squeak. Feel for resistance. If the pump feels loose, it may have a spring issue.
Signs Of A Faulty Spring
Soap does not come out easily. The pump feels loose or floppy. Strange sounds when pushing the pump. These are signs of a bad spring. Check for any broken pieces. Look inside the dispenser. You might see bits of spring. Replace the spring if broken. This will fix the problem.
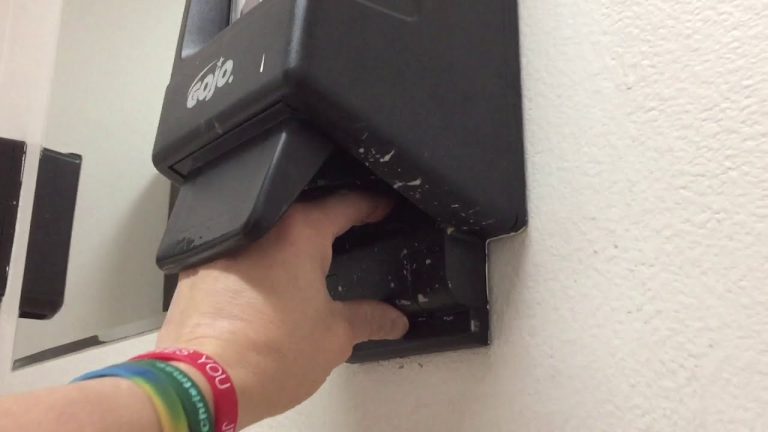
Credit: www.youtube.com
Tools And Materials Needed
You will need some basic tools. Screwdriver is important. It helps open the soap dispenser. A small wrench is needed. It tightens any loose parts. Needle-nose pliers are helpful too. They grip small items well. Safety gloves protect your hands. Always wear them when fixing things.
Buy a replacement spring. It must fit your soap dispenser. Check the size before buying. Lubricant is useful. It makes the spring move smoothly. Consider getting cleaning cloths. They wipe away dirt and old grease. Soap solution is needed. It tests if the dispenser works after fixing.
Step-by-step Repair Process
Start by removing the soap dispenser from its place. Take off the top and any other loose parts. Be careful not to break anything. Use a screwdriver if needed. Check the inner parts and look for the spring. Keep all parts safely aside.
Look at the spring closely. Check for damage or rust. A broken spring won’t work well. If it’s bent, try to straighten it. Clean the spring if it’s dirty. Make sure it’s shiny and smooth.
Find a new spring if the old one is broken. Use the same size and type for replacement. Place the spring back where it belongs. Ensure it fits snugly. If the spring is fine, put it back carefully. Test the dispenser to see if it works now.
Reassembling The Dispenser
Place the spring inside the soap dispenser. Ensure the spring fits snugly. Check the alignment with the pump. A proper fit is crucial for smooth operation. Align the pump with the dispenser body. Press down firmly to secure it.
Ensuring Proper Fit
Test the spring’s tension. It should not be too loose. The spring should push the pump up easily. If it feels tight, recheck the fit. A correct fit ensures the dispenser works well.
Testing The Functionality
Press the pump a few times. Observe the soap flow. It should dispense smoothly. If soap does not come out, recheck the assembly. Ensure there are no blockages. Clean the dispenser if needed.
Preventive Maintenance Tips
Fixing a soap dispenser spring can be straightforward with a few preventive maintenance tips. First, check for obstructions hindering the spring’s movement. Then, gently clean the spring and surrounding area to ensure smooth operation. Regular inspections help keep your dispenser functioning efficiently.
Regular Cleaning Suggestions
Soap dispensers need regular care. Clean them with warm water. Use a soft cloth. Avoid harsh chemicals. They harm the dispenser. Check for soap build-up. It can block the spring. A clean dispenser works best. Wipe the outside too. Keep it shiny and bright.
Avoiding Common Mistakes
Never force the spring. It may break. Do not overfill the dispenser. Too much soap is bad. Avoid pressing too hard. Be gentle. Inspect the spring often. Look for rust or damage. A broken spring means trouble. If unsure, ask for help. Simple steps keep your dispenser safe.
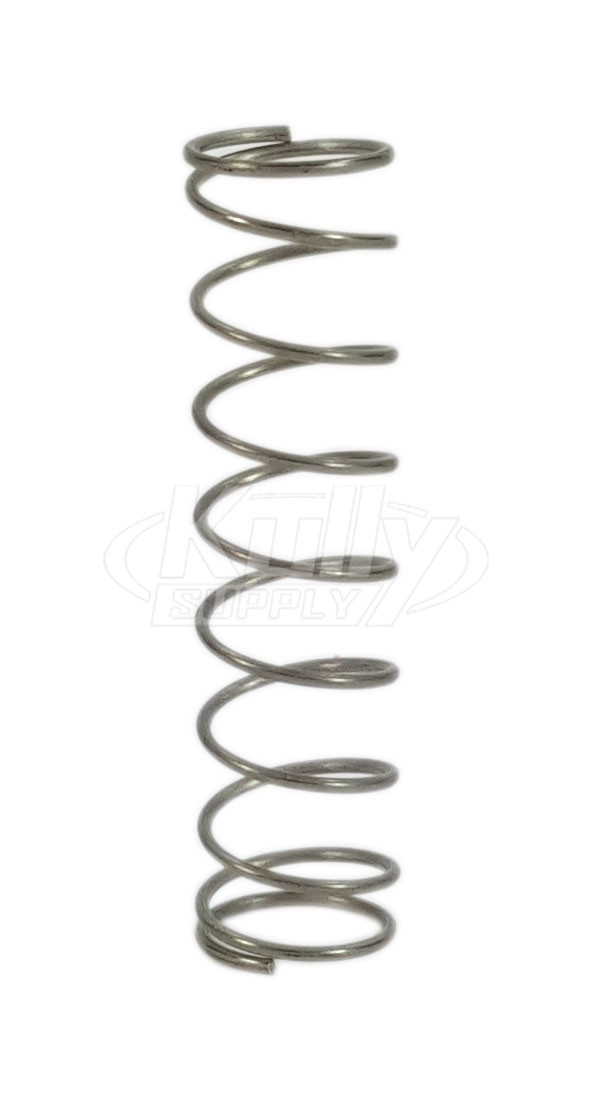
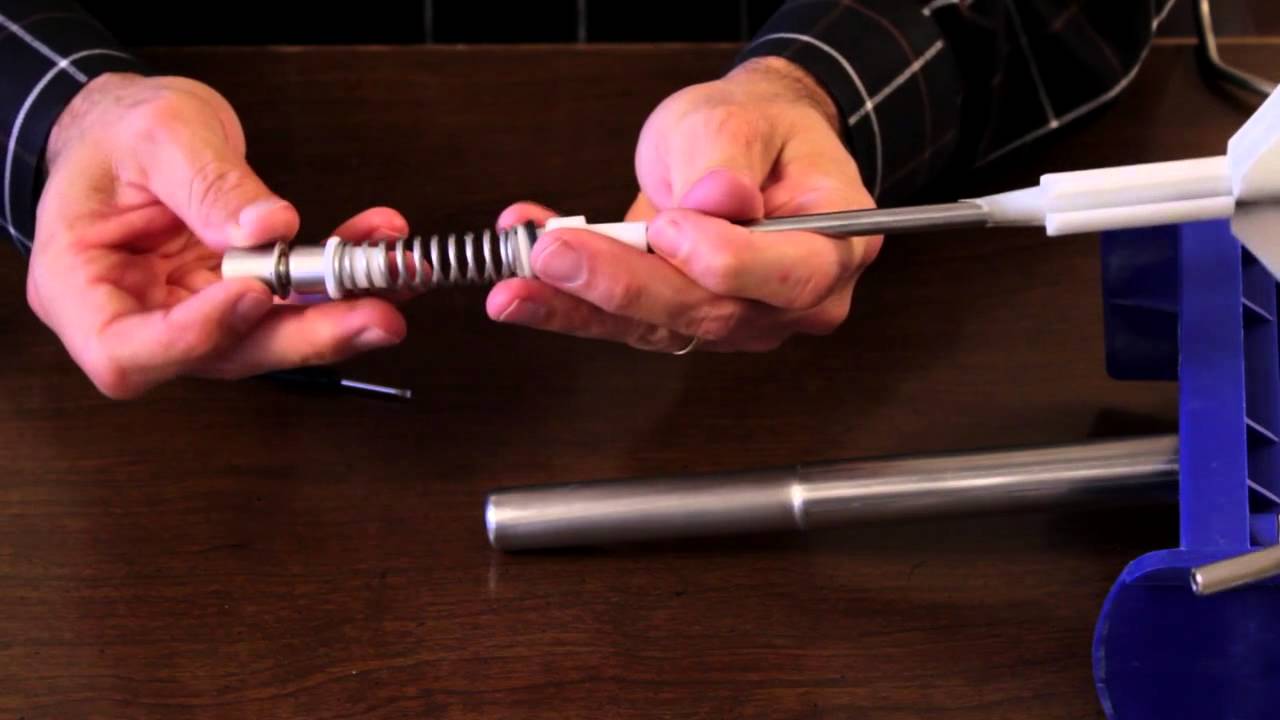
Credit: www.kullysupply.com
When To Seek Professional Help
Complex repairscan be tricky. A soap dispenser spring might seem simple. But sometimes, it is not. If a spring is broken or missing, fixing it is hard. A professional can help. They have the right tools. They know what to do. Professionals can fix the problem fast.
Warranty considerationsare important. Some soap dispensers come with a warranty. Fixing it yourself might void the warranty. Always check the warranty terms first. If the dispenser is still under warranty, contact the manufacturer. They might offer a free repair or replacement. Keeping the warranty valid is crucial for future issues.
Frequently Asked Questions
How Do I Fix A Soap Dispenser Spring?
To fix a soap dispenser spring, first, remove the pump. Check the spring for damage or misalignment. Gently adjust or replace the spring if needed. Reassemble the pump and test its functionality. Regular maintenance can prevent future issues.
Why Is My Soap Dispenser Not Pumping?
A soap dispenser may not pump due to a clogged nozzle or a faulty spring. Check for blockages and clean the nozzle. Inspect the spring for damage or misalignment. Adjust or replace components as necessary to restore functionality. Regular cleaning helps prevent such issues.
How Often Should I Clean My Soap Dispenser?
You should clean your soap dispenser every month. Regular cleaning prevents clogs and keeps the mechanism working efficiently. Use warm water and mild soap to clean. Regular maintenance ensures longevity and optimal performance of the dispenser.
What Causes A Soap Dispenser Spring To Break?
A soap dispenser spring can break due to frequent use or corrosion. Over time, wear and tear weaken the spring. Exposure to moisture can cause rust, leading to breakage. Regular maintenance and gentle use can prolong the spring’s lifespan.
Conclusion
Fixing a soap dispenser spring is simple and quick. Start with the right tools. Follow step-by-step instructions carefully. Ensure all parts fit properly. Regular maintenance prevents future issues. A well-functioning dispenser saves time and effort. Clean the dispenser regularly. It helps remove soap build-up.
Always check for loose parts. Tighten them as needed. Replace worn-out springs promptly. This ensures smooth operation. Enjoy hassle-free soap dispensing daily. Keep your hands clean and germ-free. A small fix can make a big difference. Remember to be gentle with the parts.
Happy fixing!

Home Improvement Specialist & Writer at HomeFixio
Caden Rutherford is a seasoned home improvement specialist with extensive hands-on experience in residential construction, renovations, and design. With a keen eye for detail and a passion for transforming spaces, Caden shares practical advice and expert solutions to enhance the functionality and beauty of homes. As a writer for HomeFixio, Caden combines technical knowledge with creative flair, providing readers with informative guides on everything from structural improvements to aesthetic upgrades, empowering homeowners to achieve their ideal living spaces.