How to Refinish a Bathroom Vanity Cabinet: Step-by-Step Guide
Are you tired of looking at your worn-out bathroom vanity cabinet? Does it seem like it’s dragging down the entire look of your bathroom?
Imagine transforming that old, tired piece into a stunning focal point without spending a fortune. Refinishing your bathroom vanity cabinet is easier than you might think, and it can breathe new life into your space. In this guide, you’ll discover simple steps and insider tips to achieve a professional finish with ease.
Whether you’re aiming for a modern refresh or a classic touch, this process will empower you to create a space you’ll love. Stay with us, and uncover the secrets to a flawless DIY transformation that not only revitalizes your bathroom but also adds value to your home.
Preparation And Planning
Refinishing a bathroom vanity cabinet requires careful preparation and planning. These steps ensure a smooth and successful transformation. Before starting, consider the space and the desired look. Planning helps avoid surprises during the process.
Gathering Necessary Tools
A successful refinishing project starts with the right tools. Gather sandpaper, paintbrushes, and a screwdriver. You will need a drop cloth to protect the floor. A drill might be necessary for removing hardware. Make sure you have safety goggles and gloves. These protect you during the process.
Choosing The Right Materials
Selecting the right materials is crucial for a lasting finish. Decide on the type of paint or stain you prefer. Consider water-resistant options suitable for bathrooms. Choose a primer that matches your paint or stain. Make sure it adheres well to the cabinet. Opt for a sealant to protect the finish. This keeps the vanity looking fresh for years.
Removing The Vanity Cabinet
Refinishing a bathroom vanity cabinet begins with the careful removal of the vanity cabinet. Clear the area around the cabinet to make space for easy removal. Unscrew bolts and detach the plumbing to free the cabinet from the wall.
Removing a bathroom vanity cabinet may seem daunting. But with the right steps, it’s simple. This task involves careful planning and execution. You’ll need to disconnect plumbing and detach the vanity. Let’s explore these tasks in detail.Disconnecting Plumbing Fixtures
First, turn off the water supply. This prevents leaks and mess. Find the valves under the sink. Turn them clockwise to shut off the water. Next, disconnect the water lines. Use a wrench to loosen the nuts. Keep a bucket nearby. It catches any water drips. After that, remove the P-trap. This is the curved pipe under the sink. Unscrew it with your hands or a wrench. Be prepared for water in the trap. Dispose of it properly. Finally, disconnect the faucet. Use a basin wrench to unscrew the nuts. Lift the faucet off the sink. Set it aside safely.Safely Detaching The Vanity
Start by removing the countertop. Use a utility knife to cut any sealant. Gently lift the countertop off. Ask for help if it’s heavy. Next, locate the screws securing the vanity. These are usually at the back and base. Use a screwdriver to remove them. If there are nails, use a pry bar. Carefully pull the vanity away from the wall. Be gentle to avoid damage. Have someone assist if the vanity is large. Finally, inspect the area. Ensure no hardware or debris remains. Your vanity is now ready for refinishing.Stripping Old Finish
Stripping the old finish is a crucial step in refinishing a bathroom vanity cabinet. This process removes the existing layers of paint or varnish. It helps prepare the surface for a fresh new look. The right approach ensures the new finish adheres properly and looks great. Let’s explore two effective methods for removing the old finish.
Using Chemical Strippers
Chemical strippers are powerful and effective for removing old finishes. They dissolve paint and varnish, making it easy to scrape off. First, apply the stripper with a brush. Follow the manufacturer’s instructions carefully for best results. Wait until the finish starts to bubble. Then, use a scraper to remove the loosened paint or varnish. Always wear gloves and goggles for protection. Ensure the area is well-ventilated during this process.
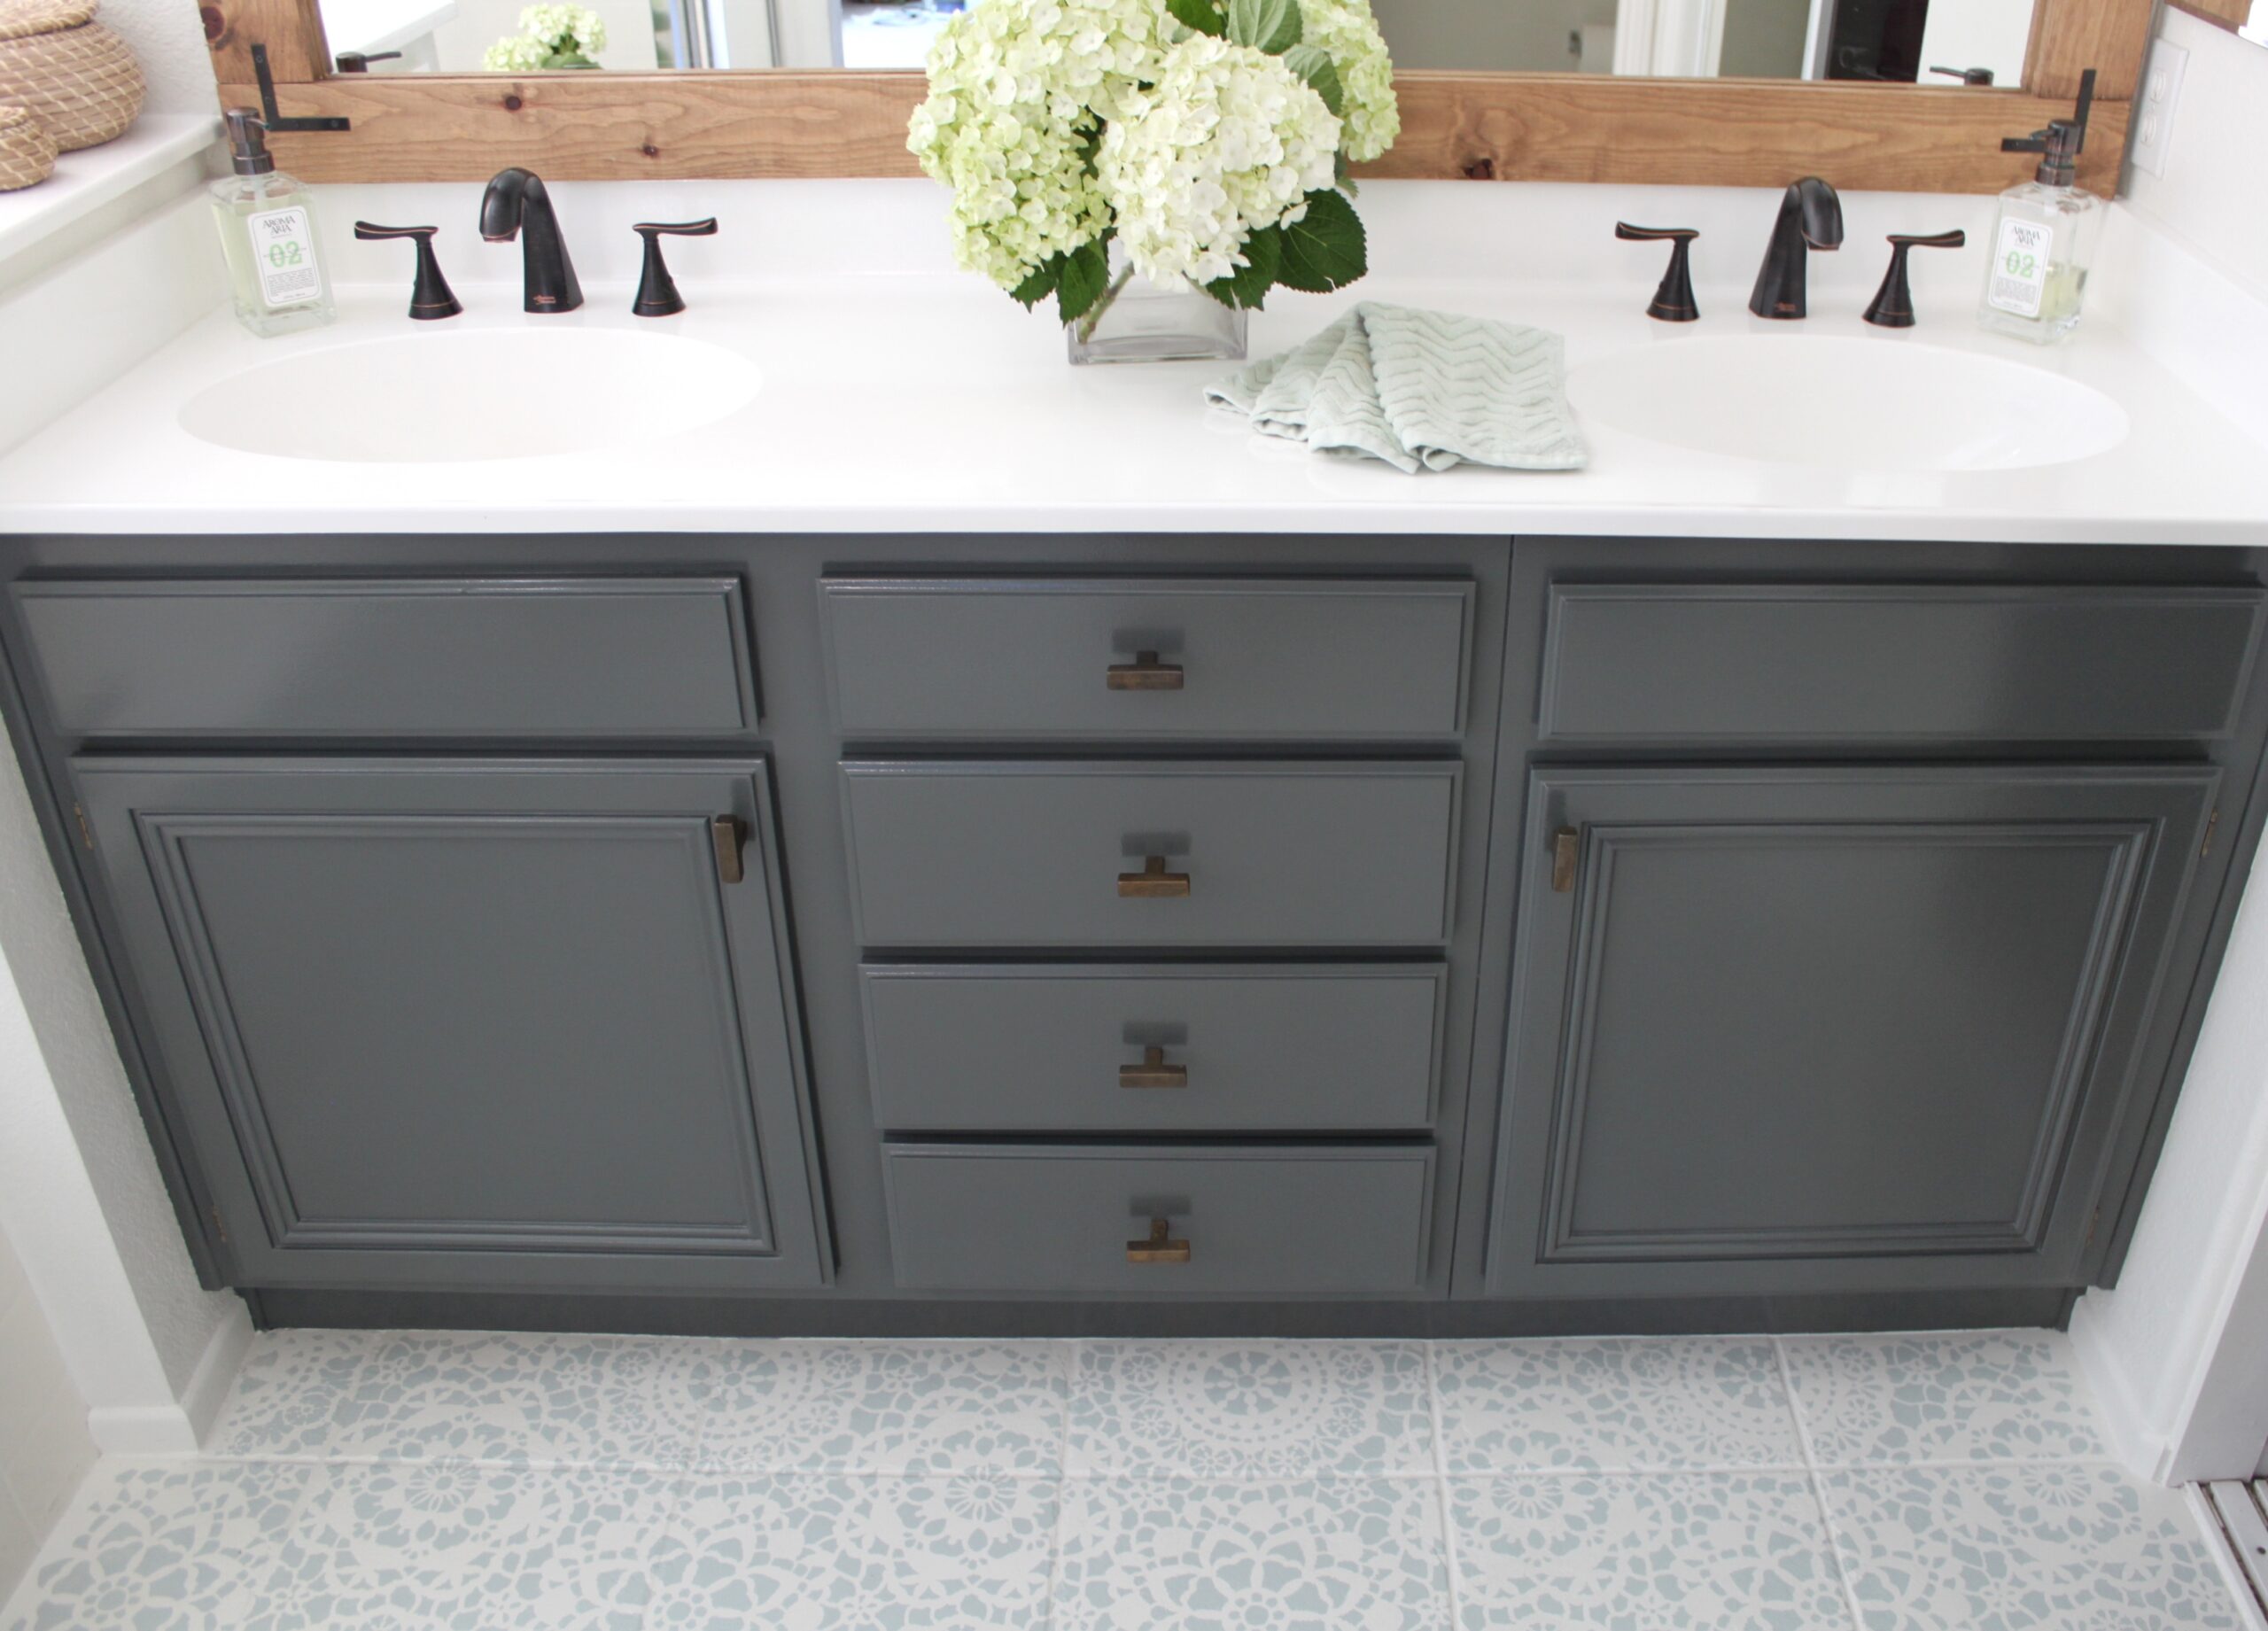
Sanding Techniques
Sanding offers an alternative to chemical strippers. It involves manually removing the old finish with sandpaper. Start with coarse grit sandpaper to remove the bulk of the finish. Then, use finer grit sandpaper for a smooth finish. This method requires patience and effort. But it provides more control over the process. Always sand along the wood grain for the best results. Wear a mask to avoid inhaling dust particles.
Credit: domesticblonde.com
Repairing And Patching
Repairing and patching your bathroom vanity cabinet is a crucial step in the refinishing process. It’s where you transform imperfections into a smooth and polished surface, ready for the next stage. Whether it’s a minor scratch or a significant crack, addressing these issues ensures your cabinet’s longevity and aesthetics. Let’s dive into the practical steps to mend your vanity with finesse.
Fixing Damaged Areas
Begin by thoroughly inspecting your vanity for any damaged areas. Is there a section where the wood is chipped or a corner that’s lost its charm? Identify these spots first. Sometimes, your cabinet just needs a little TLC to shine again.
Use sandpaper to smooth out uneven surfaces. This simple tool can work wonders in preparing the area for patching. You might even find joy in the transformation as you sand away years of wear.
Consider how these repairs can add to the overall look. A well-repaired cabinet not only looks better but can also increase the value of your home. Don’t underestimate the power of a little repair work.
Filling Holes And Cracks
Once damaged areas are smoothed, it’s time to tackle holes and cracks. Use wood filler to fill these imperfections. Choose a filler that matches your cabinet’s material for a seamless finish.
Apply the filler using a putty knife. Spread it evenly to ensure it bonds well. A smooth application will make the next steps much easier and will enhance the final look.
Allow the filler to dry completely before proceeding. This patience pays off by ensuring a sturdy surface. Ever wondered why some refinishing projects fail? Often, it’s due to rushing through the drying process.
Repairing and patching might seem daunting, but it’s an empowering part of refinishing your vanity. What repairs will you tackle to breathe new life into your bathroom? The journey of fixing and patching is a rewarding one, full of potential and transformation.
Priming The Surface
Priming is crucial for a flawless bathroom vanity finish. It prepares the surface for paint. This step ensures durability and a smooth result. Without proper priming, paint may peel or chip. Let’s explore how to prime effectively.
Selecting The Right Primer
Choose a primer that matches your cabinet material. Wood, laminate, or metal need specific primers. Water-based primers work well for wood. Oil-based primers suit metal and laminate. Check the label for compatibility.
Consider the primer’s color. A white primer brightens light paint shades. Dark primers enhance deep colors. Test a small spot first. Ensure the primer adheres well. This prevents future peeling.
Applying Primer Evenly
Use a brush or roller for application. Brushes reach corners and edges. Rollers cover large areas fast. Start from the top. Move downward in smooth, even strokes.
Apply thin coats. Thick layers may bubble or crack. Let each coat dry fully before adding another. Follow drying times on the primer label. This ensures proper adhesion.
Check for missed spots. Touch up if necessary. Ensure a uniform surface before painting. Proper priming enhances the final look. It also extends the cabinet’s lifespan.
Painting Or Staining
Transform your bathroom vanity cabinet with a fresh coat of paint or stain. Choose paint for a bold look or stain for a natural finish. Both options enhance beauty and protect the surface, ensuring a lasting transformation.
Refinishing your bathroom vanity cabinet can breathe new life into your space without the hefty price tag of a complete remodel. One of the most transformative steps in this process is deciding whether to paint or stain. Each option offers a distinct look and feel, leaving you with the creative freedom to personalize your bathroom. But how do you choose between painting or staining, and what techniques should you use to achieve the best results? Let’s dive into these questions and explore practical insights.Choosing Paint Or Stain
When deciding between paint or stain, consider the style and mood you want to create. Paint offers a solid, vibrant color that can make a bold statement or complement existing decor. It’s perfect if you want a clean, modern look. On the other hand, stain highlights the natural beauty of the wood grain, providing a warm, rustic feel. This option is great if you love the natural look and want to enhance the wood’s character. Think about the durability and maintenance of each option. Painted surfaces can be easier to clean and are more forgiving when it comes to hiding imperfections. Stains, however, tend to be more durable over time and require less upkeep if the wood is properly sealed. Which would better suit your lifestyle and maintenance preferences?Techniques For Application
If you decide to paint, start with a high-quality primer to ensure a smooth surface and long-lasting finish. Opt for a semi-gloss or gloss paint for durability and easy cleaning. Use a brush for corners and a roller for larger, flat surfaces to avoid brush strokes. Remember to apply thin coats and let each layer dry completely to achieve a polished look. For staining, preparation is key. Sand the cabinet thoroughly to ensure the stain penetrates evenly. Choose a stain color that suits your style and test it on a small area first. Apply the stain with a clean cloth, following the wood grain, and wipe off any excess. Allow it to dry completely before applying a clear sealant for protection. Have you ever thought about trying both? Combining paint and stain can create a unique two-tone effect, making your vanity a standout feature in your bathroom. Consider painting the cabinet frame and staining the doors, or vice versa, for a striking contrast. Refinishing your bathroom vanity is a rewarding project that lets you unleash your creativity. Whether you paint for a modern vibe or stain for a natural touch, the result will be a refreshed space that feels uniquely yours.Sealing And Protecting
Refreshing a bathroom vanity cabinet involves sealing and protecting its surface. Start by sanding to remove old finish, then apply a waterproof sealant. This ensures durability against moisture and daily use, keeping the cabinet looking new and vibrant.
Sealing and protecting your bathroom vanity cabinet is a crucial step to ensure its longevity and maintain its fresh look. After you’ve put in the effort to refinish your cabinet, you want it to withstand the daily wear and tear of a bathroom environment. Water, humidity, and frequent use can quickly diminish your hard work if the right protective measures aren’t in place. But how do you ensure that your vanity stays looking pristine for years to come?Applying Protective Coatings
Begin by selecting a high-quality sealant specifically designed for bathroom surfaces. These products are formulated to resist moisture, which is a constant challenge in bathrooms. Apply the sealant in thin, even layers using a brush or roller. This ensures that it penetrates the wood and forms a strong barrier against water and stains. Allow each coat to dry thoroughly before applying the next. This patience pays off in a durable, long-lasting finish.Ensuring Durability
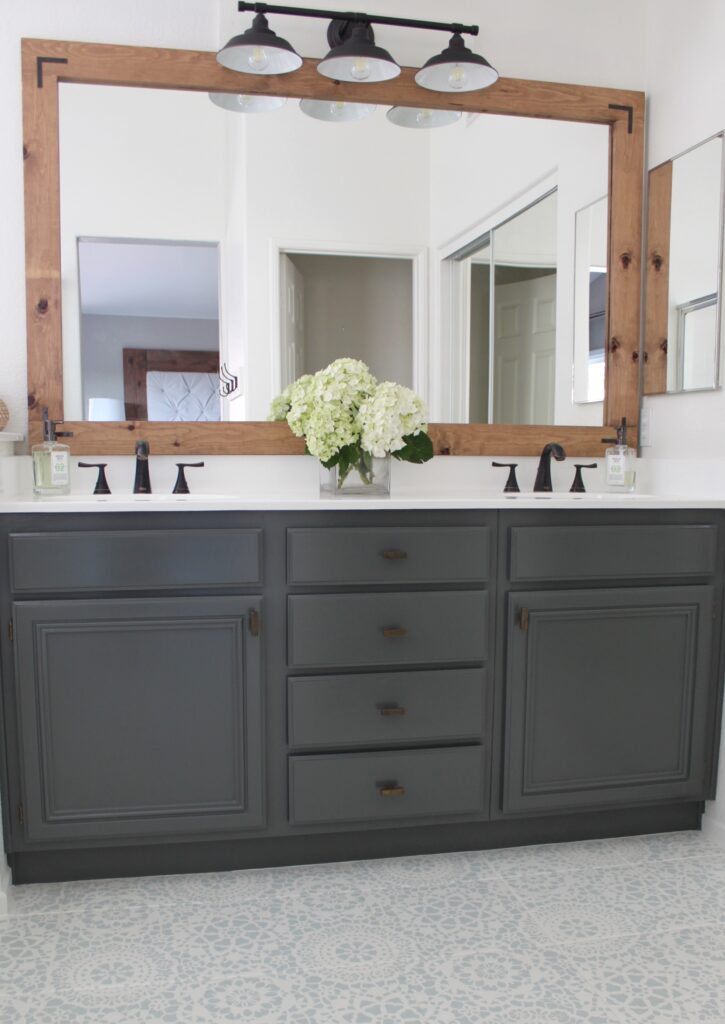
Consider the type of finish that best suits your lifestyle and aesthetic. A glossy finish may look sleek but can show scratches more easily. A matte finish, on the other hand, might hide imperfections better. Regular maintenance is key. Wiping the cabinet with a damp cloth and avoiding harsh chemicals will help maintain the sealant’s integrity. Have you ever noticed that some furniture just seems to last longer? Often, it’s because the owners take small, consistent steps to protect it. This approach can make all the difference in your bathroom, too. Don’t overlook the edges and corners of your cabinet. These areas are prone to wear and can compromise the entire finish if left unprotected. By focusing on these details, you can enjoy a beautiful, functional bathroom vanity that stands the test of time.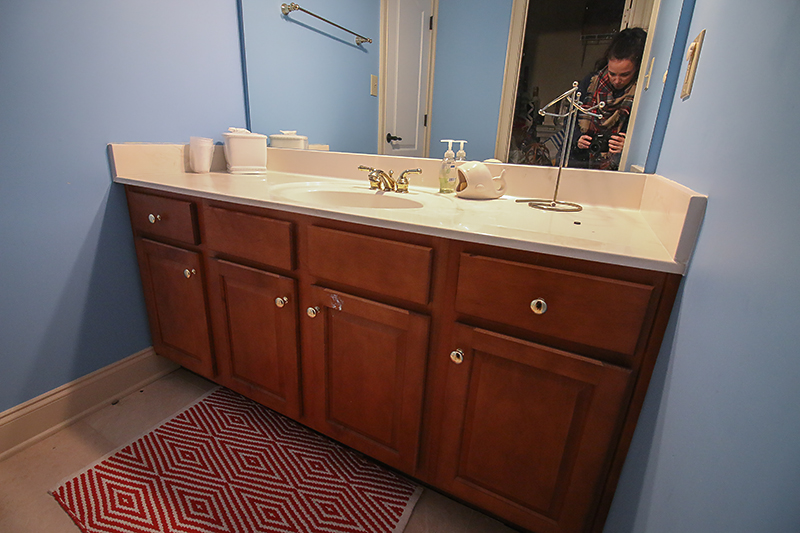
Credit: www.bowerpowerblog.com
Reinstalling The Vanity Cabinet
Revamp your bathroom space by refinishing the vanity cabinet. Start by removing old paint and sanding the surface. Apply primer, then coat with fresh paint for a brand-new look. Reinstall the cabinet, ensuring it aligns perfectly for a polished finish.
Enjoy a refreshed bathroom without a major renovation.
Refinishing a bathroom vanity cabinet can breathe new life into your space. Once you’ve successfully painted, stained, or sealed your vanity cabinet, it’s time to reinstall it. This step is crucial to ensure everything functions correctly and looks great. With the right approach, you can achieve a seamless fit that enhances your bathroom’s overall aesthetic.Securing The Vanity In Place
Begin by positioning the vanity cabinet in its designated spot. Ensure it’s level and aligns with any wall markings or previous placements. Use a spirit level to confirm the cabinet is perfectly balanced. Next, secure the vanity to the wall using screws. Opt for sturdy screws that are suitable for your wall type—drywall, tile, or wood. This will prevent wobbling and ensure longevity. Consider using wall anchors if you’re dealing with drywall. They provide extra support and prevent any future mishaps. Have you ever had a cabinet tilt unexpectedly? It’s a reminder of the importance of secure fittings.Reconnecting Plumbing
Start by inspecting the plumbing connections—are they clean and unobstructed? Any debris can lead to leaks or blockages. Reconnect the pipes carefully, making sure each connection is snug. Use plumbing tape to secure the threads and prevent leaks. This is especially important if your bathroom is prone to humidity. Test the faucet and drain for any leaks once everything is connected. It’s better to address minor leaks now than face water damage later. Imagine the inconvenience of a surprise leak when you’re rushing out the door! By focusing on these details, your vanity will look fantastic and function seamlessly.Final Touches And Clean-up
Apply the final touches by carefully sanding rough edges and applying a protective finish. Clean up any dust and debris to reveal your refreshed bathroom vanity cabinet. This step ensures a polished look, enhancing the overall appeal of your bathroom space.
Refinishing your bathroom vanity cabinet is a rewarding project, but it’s the final touches and clean-up that truly bring your hard work to life. Imagine stepping into your bathroom and feeling that sense of satisfaction from a job well done. In this section, we’ll focus on adding hardware and cleaning the workspace to ensure your vanity looks polished and pristine.Adding Hardware
When you’re at the stage of adding hardware, you’re essentially dressing up your vanity. Choose knobs or handles that complement your cabinet’s new finish. Consider the style of your bathroom; maybe sleek chrome for a modern look, or vintage brass for a rustic charm. While installing, ensure that everything lines up perfectly. Misaligned hardware can detract from the overall look. Use a template or measure carefully to achieve precision. Remember, hardware isn’t just functional; it’s a statement piece that can elevate your entire bathroom aesthetic.Cleaning The Workspace
After spending time on your project, cleaning up might seem like a chore, but it’s essential. A clean workspace reflects your dedication to the craft. Start by gathering all your tools and materials, placing them back in their designated spots. Dispose of waste responsibly, particularly any chemical products used during refinishing. A quick vacuum or sweep will remove any dust or debris. Take a moment to wipe down surfaces, ensuring there’s no lingering residue that might damage your new finish. Ask yourself, how does a clean workspace impact your next project? A tidy environment not only helps in preventing accidents but also sets the stage for future creativity. Embrace the clean-up as the final step in transforming your bathroom space into a haven of elegance.
Credit: www.bowerpowerblog.com
Frequently Asked Questions
How Do I Prepare A Vanity For Refinishing?
To prepare a vanity, first remove hardware and clean the surface. Sand the cabinet lightly to create a smooth base. Repair any cracks or imperfections with wood filler. Wipe away dust with a damp cloth. Lastly, ensure the area is well-ventilated before starting the refinishing process.
What Materials Do I Need To Refinish?
You’ll need sandpaper, wood filler, primer, paint or stain, and a clear sealant. Additional materials include paintbrushes, rollers, and a drop cloth. Ensure you also have safety gear like gloves and a mask. These materials ensure a smooth and durable finish for your vanity.
How Long Does Refinishing Take?
Refinishing a vanity typically takes a weekend. This includes preparation, drying, and curing times. Actual time may vary based on your specific project and materials. Be patient and allow each coat to dry thoroughly. Rushing the process can lead to a less durable finish.
Can I Refinish Without Sanding?
Yes, you can refinish without sanding by using a bonding primer. This primer adheres well to glossy surfaces. Ensure the vanity is clean and free of grease before applying. However, sanding provides the best long-term results. It helps the new finish adhere better and last longer.
Conclusion
Refinishing a bathroom vanity cabinet is a rewarding project. It freshens up your space without heavy costs. You need patience and attention to detail. Start by cleaning and sanding. Choose the right paint for lasting results. Apply evenly and let dry completely.
Add new hardware for a modern touch. Enjoy the new look and feel proud of your work. Your bathroom will feel brand new and inviting. Remember, small changes make a big difference. Dive into your project with confidence. You can achieve a stunning transformation!

Home Improvement Specialist & Writer at HomeFixio
Caden Rutherford is a seasoned home improvement specialist with extensive hands-on experience in residential construction, renovations, and design. With a keen eye for detail and a passion for transforming spaces, Caden shares practical advice and expert solutions to enhance the functionality and beauty of homes. As a writer for HomeFixio, Caden combines technical knowledge with creative flair, providing readers with informative guides on everything from structural improvements to aesthetic upgrades, empowering homeowners to achieve their ideal living spaces.