How to Paint Bathroom Vanity: Transform with Ease
Are you tired of looking at your dull bathroom vanity every morning? Imagine transforming it into a stunning focal point without breaking the bank.
Painting your bathroom vanity can be a game-changer, offering a fresh, vibrant look that breathes new life into your space. This guide will show you how to do it step-by-step, even if you’re not a DIY expert. You’ll discover the secrets to choosing the right paint, prepping surfaces like a pro, and applying it flawlessly.
Ready to give your bathroom a makeover that sparks joy every time you step in? Let’s dive in and unlock the potential hiding in your vanity!
Choosing The Right Paint
Choosing the right paint for your bathroom vanity can transform the space. The right paint can create a fresh and clean look. It can also protect the vanity from moisture and wear. Picking the perfect paint involves understanding types of paints and selecting appealing colors.
Types Of Paint For Bathroom Vanities
Bathroom vanities need paint that can withstand moisture. Acrylic paint is a popular choice. It is durable and resists water. Another option is oil-based paint. It offers a smooth finish and high resistance to moisture. Chalk paint provides a matte look, ideal for a vintage style. Consider the finish, too. Semi-gloss and gloss finishes are easy to clean and maintain.
Selecting Colors For A Fresh Look
Colors can set the tone of your bathroom. Light colors make small spaces feel larger. White, cream, and pastel shades offer a clean and airy feel. Bold colors like navy or teal can add a dramatic flair. Neutral colors such as grey or beige provide a timeless look. Consider your bathroom’s overall theme and style. Choose colors that complement existing fixtures and decor.

Credit: www.youtube.com
Preparing Your Vanity
Preparing your bathroom vanity is a crucial step in ensuring a smooth painting process. A well-prepped vanity enhances paint adhesion and longevity. Start with a clean surface to achieve professional results.
Cleaning And Sanding
Begin by removing all items from the vanity. Use a mild cleaner to wipe down surfaces. This removes dust, grime, and oils. Rinse thoroughly and let it dry completely. Once dry, sand the vanity using fine-grit sandpaper. Sanding creates a rough surface, helping paint adhere better. Wipe away sanding dust with a damp cloth.
Repairing Damage
Inspect the vanity for any damage. Look for scratches, dents, or holes. Use wood filler to mend these imperfections. Apply the filler smoothly using a putty knife. Allow it to dry as per the instructions. Once dry, sand the repaired areas to ensure a smooth finish. A well-repaired surface ensures a flawless paint application.
Gathering Essential Tools
Painting your bathroom vanity gives it a fresh look. Before you start, gather the right tools. This ensures the job is done smoothly and efficiently. Essential tools make the task easier and more enjoyable.
Brushes And Rollers
Choose quality brushes and rollers for the best finish. Brushes are ideal for corners and edges. They offer precision and control. Rollers cover larger, flat surfaces quickly. Look for smooth rollers for a sleek finish. A 2-inch brush works well for small details.
Protective Gear
Safety is crucial during any painting task. Wear protective gear to avoid accidents. Use gloves to protect your hands from paint. Goggles keep paint splatters out of your eyes. Wear a mask to avoid inhaling paint fumes. Cover your clothes with old garments or aprons.
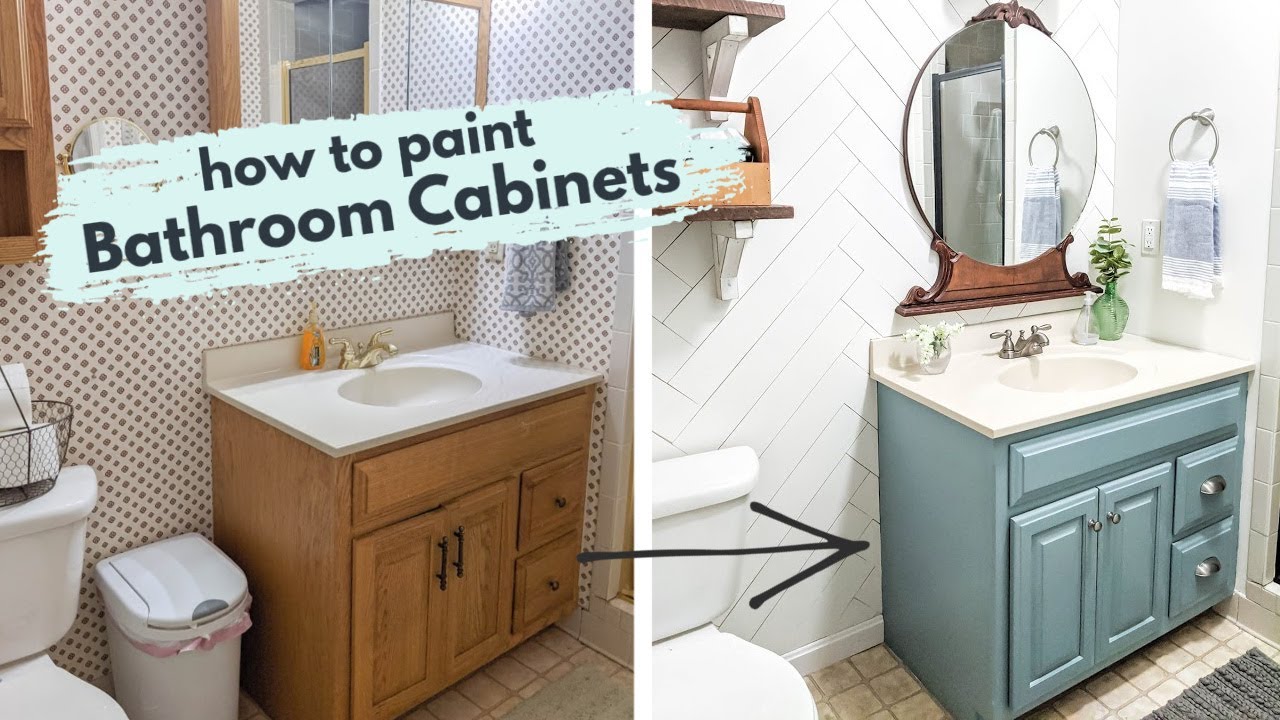
Credit: www.youtube.com
Primer Application
Painting a bathroom vanity can transform your space with minimal effort. One crucial step that you shouldn’t overlook is the application of primer. Primer sets the foundation for a flawless finish, ensuring your paint adheres well and lasts longer. It’s like prepping for a big event; missing it can lead to unexpected blunders. So, let’s dive into the essentials of primer application to make your vanity look spectacular.
Why Primer Matters
Primer plays a pivotal role in the painting process. It ensures the paint sticks properly, preventing peeling and chipping over time. Without primer, you risk an uneven and unappealing finish.
Imagine spending hours painting only to see imperfections emerge after a few weeks. Primer creates a smooth surface, filling in minor scratches and imperfections. It also blocks stains and odors, especially in humid areas like bathrooms.
Have you ever painted a surface only to find the color looks dull or uneven? This often happens when primer is skipped. Primer allows the paint color to pop, maintaining its vibrancy for years to come.
Applying Primer Evenly
Applying primer evenly is crucial for a professional-looking finish. Start by choosing a high-quality brush or roller to ensure smooth application. A poor-quality tool can leave streaks or bubbles, ruining the look.
Before you begin, clean the surface thoroughly. Dust and grime can interfere with primer adhesion, leading to an uneven coat. Once clean, apply primer in thin layers. Thick coats can cause drips and take longer to dry.
Consider using a primer specifically designed for bathroom surfaces. These are formulated to withstand moisture and humidity. This small detail can make a big difference in the longevity of your paint job.
Have you ever wondered why some paint jobs look amateurish? Often, it’s because the primer wasn’t applied correctly. Take the time to apply it evenly, and you’ll reap the rewards with a stunning vanity.
Are you ready to see your bathroom vanity shine with a new look? Proper primer application is the secret ingredient to ensure your efforts pay off beautifully.
Painting Techniques
Transform your bathroom vanity with simple painting techniques. Start by cleaning the surface thoroughly. Choose a suitable primer to ensure the paint adheres well. Apply paint in thin, even coats for a smooth finish. Consider using a brush for detailed areas and a roller for larger surfaces.
Painting your bathroom vanity can transform the entire space. But the secret lies in mastering the right techniques. Whether you’re a seasoned painter or a weekend DIY enthusiast, understanding the nuances of applying paint can make all the difference in achieving a professional-looking finish. Consider your tools, methods, and the desired outcome to guide your approach. Let’s dive into some practical painting techniques to help you get the job done right.Using Brushes Vs. Rollers
Choosing between brushes and rollers can be tricky. Brushes offer precision and control, especially in tight corners or detailed areas. They are ideal for those intricate parts of your vanity, ensuring smooth and even coverage. On the other hand, rollers are great for covering large areas quickly and efficiently. They reduce the risk of visible brush strokes and can help you achieve a more uniform appearance. If you crave speed and consistency, rollers might be your go-to tool. Why not try both? You can use a brush for edges and details, and a roller for broader surfaces. This combination can provide the best of both worlds and might be the key to a flawless finish.Achieving A Smooth Finish
A smooth finish is what separates a DIY look from a professional one. Start with proper surface preparation. Sand your vanity to remove any old paint or gloss, and wipe it clean to eliminate dust. Use a primer. It creates a perfect base for your paint, helping it adhere better and last longer. Plus, it can enhance the final color, making it vibrant and uniform. When painting, apply thin coats. Thick layers can lead to drips or uneven textures. Patience is your friend here; allow each coat to dry completely before adding the next. Have you ever noticed how some painted surfaces look flawless, while others show streaks or bubbles? This often comes down to technique. Use long, even strokes, and keep a steady hand. If you’re using a roller, avoid pressing too hard; let the tool do the work for you. Finally, consider the finish. Matte, semi-gloss, or high-gloss can dramatically alter the appearance. Think about how each finish will complement your bathroom’s design. Would a glossy look add sophistication, or is a matte finish more your style? Painting a bathroom vanity is more than just changing its color. It’s an opportunity to express your personal style and enhance the overall feel of your space. What techniques will you use to create a masterpiece?Adding A Protective Coating
Painting your bathroom vanity is only part of the process. Protecting the finish is crucial. A protective coating ensures the paint lasts longer. It shields against moisture, stains, and daily wear. This step enhances durability and keeps the vanity looking fresh.
Without a proper sealant, paint can chip or fade. Moisture can seep into the wood. This can cause damage over time. Adding a protective layer is essential.
Types Of Sealants
Several sealants are available. Polyurethane is one popular option. It provides a strong, clear finish. It can be oil-based or water-based. Oil-based is more durable but takes longer to dry.
Water-based dries faster and has less odor. Polycrylic is another choice. It works well on light-colored paints. Wax is a softer option. It offers a matte finish. Each type has its benefits.
Applying Sealant Properly
Clean the vanity surface first. Make sure it’s free from dust and debris. Use a clean cloth for this step. Stir the sealant thoroughly before use.
Apply the sealant with a brush or roller. Use long, even strokes. Avoid applying too much at once. Let the first coat dry completely. Check the product for drying times.
Once dry, lightly sand the surface. This helps the next coat adhere better. Apply a second coat for added protection. Let it dry fully before using the vanity.
Reassembling The Vanity
Transform your bathroom by painting the vanity. Choose colors that complement your space. Sand, prime, and apply paint evenly. Sealing ensures durability and a fresh look.
Reassembling your bathroom vanity marks a crucial stage in your painting project. After the paint has dried, it’s time to bring everything together. This step requires patience and attention to detail. Proper reassembly ensures the vanity functions well and looks great.Reinstalling Hardware
Start by gathering all the hardware you removed. Handles, knobs, and hinges should be clean and ready. Align each piece to its original position. Use a screwdriver to reattach the screws securely. Ensure each hinge is aligned properly. This prevents misalignment and ensures smooth operation. Consider replacing old hardware for a fresh look. New knobs or handles can make a big difference.Final Touches
Inspect the paint job closely. Look for any missed spots or uneven areas. Touch up these areas with a small brush. Check the cabinet doors for smooth opening and closing. Adjust hinges if necessary. Ensure the paint is dry before placing items on the vanity. Add decorative elements like a vase or a soap dish. These details enhance the overall appearance. Finally, step back and admire your work. A freshly painted vanity can transform your bathroom space.Maintenance Tips
You’ve transformed your bathroom vanity with a stunning paint job, and now, maintaining that fresh look is key to ensuring longevity. Keeping your newly painted surface in tip-top shape doesn’t have to be a chore. With a few simple maintenance tips, you can keep your bathroom vanity looking as vibrant as the day you painted it.
Cleaning Painted Surfaces
Regular cleaning is essential for preserving the beauty of your painted vanity. Use a soft cloth and mild soap to wipe down surfaces. Avoid harsh chemicals; they can strip paint and ruin your hard work.
Think about the last time you cleaned your vanity. Did you use abrasive cleaners? If so, you might have noticed some dull spots. Stick to gentle cleaning methods to keep the finish intact.
Occasionally, dust can settle on surfaces. A quick wipe with a damp cloth can prevent buildup. Keep the vanity looking fresh and inviting.
Preventing Future Damage
Protect your paint from future damage by being mindful of water exposure. Water can seep into cracks and cause peeling. Ensure your vanity is dry after use.
Consider adding a small mat or tray under toiletries. This can catch drips and prevent stains or water damage.
Ever noticed small scratches or chips? Touching them up quickly can prevent further peeling. Keep a small jar of your paint color handy for these minor repairs.
Imagine your vanity a year from now. Will it still look as good as it does today? With these maintenance tips, the answer is yes!

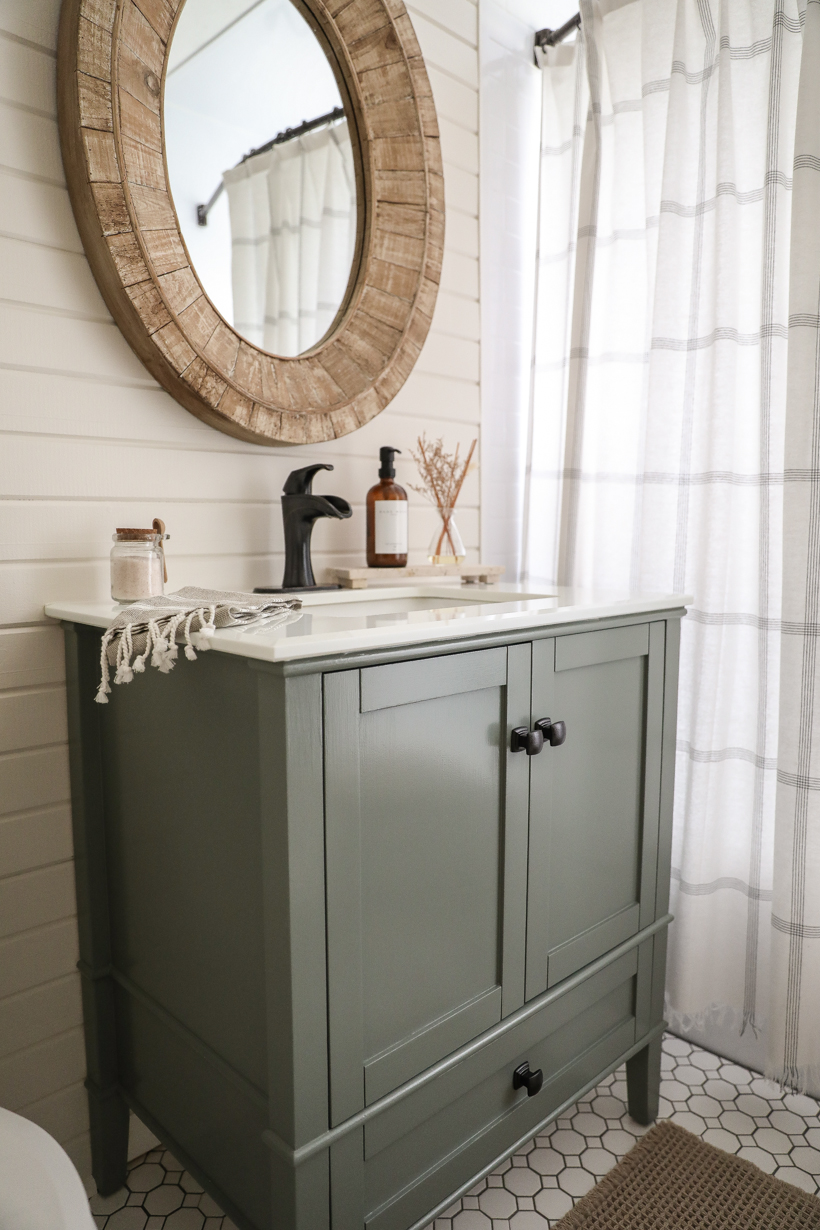
Credit: lizpacini.com
Frequently Asked Questions
What Paint Type Is Best For Bathroom Vanity?
The best paint for a bathroom vanity is durable, moisture-resistant, and easy to clean. Consider using semi-gloss or satin finish. These finishes offer excellent protection against moisture and humidity. They also provide a smooth surface that’s easy to wipe down, keeping your vanity looking fresh and vibrant.
How Do I Prep A Vanity For Painting?
Start by removing hardware and cleaning the surface with a mild detergent. Sand the vanity lightly to create a smooth surface. Apply a primer to ensure better paint adhesion. This preparation ensures the paint adheres properly and lasts longer, providing a professional-looking finish.
Can I Paint Over A Laminate Vanity?
Yes, you can paint over laminate with proper preparation. Sand the surface lightly and apply a suitable primer for laminate. Using a high-quality paint will ensure the best results. This process helps the paint adhere effectively, transforming your laminate vanity into a stylish, updated piece.
How Long Does Painted Vanity Last?
A well-painted vanity can last several years with proper care. Using high-quality paint and primer extends its lifespan. Regular cleaning and avoiding harsh chemicals help maintain its appearance. This ensures your bathroom vanity remains beautiful and functional over time, enhancing your bathroom’s overall aesthetics.
Conclusion
Painting your bathroom vanity is a simple way to refresh your space. Follow the steps carefully for best results. Choose the right paint for durability and style. Clean and prep the surface thoroughly before starting. Use even strokes for a smooth finish.
Allow enough drying time between coats. Your patience and effort will pay off. Enjoy your updated bathroom look! A freshly painted vanity can uplift your bathroom’s vibe. This project is both rewarding and budget-friendly. Now, step back and admire your handiwork.
Your bathroom feels new and inviting.

Home Improvement Specialist & Writer at HomeFixio
Caden Rutherford is a seasoned home improvement specialist with extensive hands-on experience in residential construction, renovations, and design. With a keen eye for detail and a passion for transforming spaces, Caden shares practical advice and expert solutions to enhance the functionality and beauty of homes. As a writer for HomeFixio, Caden combines technical knowledge with creative flair, providing readers with informative guides on everything from structural improvements to aesthetic upgrades, empowering homeowners to achieve their ideal living spaces.