
How to Install a Bathroom Vanity Top: Step-by-Step Guide
Are you tired of your outdated bathroom look? Installing a new vanity top can breathe fresh life into your space, making it look modern and stylish.
But here’s the thing: you don’t need to be a professional to do it. Imagine the satisfaction of transforming your bathroom with your own hands. This guide will walk you through the simple steps to install a bathroom vanity top, saving you both time and money.
By the end, you’ll have a chic bathroom centerpiece that you can proudly say you installed yourself. Curious about how easy it can be? Let’s dive in and get your bathroom looking fabulous!

Credit: www.woodshopdiaries.com
Choosing The Right Vanity Top
Choosing the right vanity top is crucial for your bathroom’s style. It sets the tone and enhances the functionality of the space. The right vanity top blends aesthetics with durability. This ensures the bathroom remains both beautiful and practical. Let’s dive into the key factors: material options and size and style considerations.
Material Options
Material plays a huge role in the longevity of a vanity top. Marble offers a luxurious feel but requires regular maintenance. Granite is durable and resists stains well. Quartz is non-porous and easy to clean. Laminate is affordable and comes in various colors. Consider the moisture levels in your bathroom. This affects which material is best. Some materials handle moisture better than others. Always choose a material that suits your lifestyle.
Size And Style Considerations
Size affects how the vanity fits in your bathroom. Measure the space carefully before buying. Ensure the vanity top fits without crowding the room. Style impacts how well the vanity matches your existing decor. Modern styles offer sleek lines and minimalist designs. Traditional styles provide warmth with intricate details. Think about how the vanity will complement other fixtures. The right style should enhance, not overpower, the room. Consider storage needs and how the vanity accommodates them. Choose wisely to balance form and function.
Gathering Tools And Materials
Installing a bathroom vanity top requires the right tools and materials. Proper preparation ensures a smooth installation process. Before starting, gather everything you need. This prevents interruptions and saves time. Let’s dive into what you’ll need to get started.
Essential Tools
Having the right tools is crucial for a successful installation. First, grab a tape measure. This helps ensure accurate measurements. Next, get a level. It ensures your vanity top is even. A drill is also necessary. You’ll need it for securing the vanity. Don’t forget a screwdriver. It’s useful for tightening screws. A utility knife is handy for trimming materials. Lastly, have a caulk gun on hand. It’s essential for sealing edges.
Required Materials
Gathering the right materials is equally important. Start with the vanity top itself. Ensure it fits your space. You’ll need silicone caulk. It seals the vanity to the wall. Purchase a matching backsplash if needed. It protects your walls from water. Have screws and brackets ready. They help secure the vanity. Plumber’s tape is also useful. It ensures tight connections in plumbing. Finally, have a clean cloth nearby. It’s great for wiping excess caulk.
Preparing The Bathroom Space
Preparing your bathroom space is essential for installing a new vanity top. A clean and organized area ensures a smooth installation process. Follow these steps to ready your space for the new vanity top.
Removing The Old Vanity Top
First, detach the old vanity top. Turn off the water supply to prevent leaks. Use a wrench to disconnect the plumbing pipes. Carefully remove the old top by unscrewing the fasteners. Lift the top gently to avoid damage. Dispose of the old vanity top responsibly.
Cleaning The Area
Next, clean the area thoroughly. Remove any debris or old caulk. Use a damp cloth to wipe surfaces. Ensure the cabinet is clean and dry. Check for any damages or repairs needed. A clean area prepares the space for the new vanity top.
Installing The Vanity Top
Discover the steps to install a bathroom vanity top effortlessly. Begin by measuring the area accurately to ensure a perfect fit. Secure the vanity top onto the cabinet, aligning it carefully.
Installing a bathroom vanity top is an exciting project that can transform your space into a sleek and functional area. Whether you’re upgrading your bathroom or building a new one, installing the vanity top is a crucial step. It’s more than just placing a slab on a cabinet—it’s about ensuring stability, functionality, and style. Ready to dive into this DIY adventure? Let’s get started with positioning and securing your vanity top for a flawless finish.Positioning The Top
Start by carefully placing the vanity top onto the cabinet base. Ensure that the top aligns perfectly with the edges of the cabinet. This alignment is not only aesthetic but also practical; it prevents water from seeping into unwanted areas. Have you ever found yourself balancing a heavy item only to realize it’s slightly off-center? It’s frustrating! To avoid this, use a measuring tape to double-check the placement. Adjust the position until the vanity top sits snugly and evenly, minimizing gaps. Consider the backsplash if your vanity top includes one. Make sure it fits neatly against the wall, providing a seamless look. Have you thought about using a level tool to ensure everything is straight and even? It’s a game-changer in avoiding a lopsided finish.Securing The Vanity Top
Once you’re satisfied with the positioning, it’s time to secure the vanity top. You’ll need a silicone adhesive to bind it firmly to the cabinet. Apply the adhesive generously along the edges where the vanity top meets the cabinet. Press down gently on the vanity top to ensure it adheres well. The silicone will create a waterproof seal, which is essential in a bathroom environment. Have you ever encountered water damage because of an improperly sealed vanity? It’s a costly mistake to avoid. Allow the silicone to dry completely, following the manufacturer’s instructions for drying time. It’s tempting to rush this step, but patience here ensures a long-lasting installation. Are you ready to admire your handiwork? Once dry, your vanity top is secure and ready for use. Installing a bathroom vanity top is a rewarding task that enhances your bathroom’s look and functionality. By positioning and securing it correctly, you ensure a stable and stylish addition to your home. Dive in, and enjoy the transformation!Connecting Plumbing Fixtures
Installing a bathroom vanity top can transform the look of your bathroom. Once you’ve placed your vanity top, the next crucial step involves connecting plumbing fixtures. This process ensures that your sink functions properly without leaks. Plumbing can seem daunting, but with a little guidance, you’ll find it manageable. Let’s explore some practical steps to get your bathroom vanity up and running.
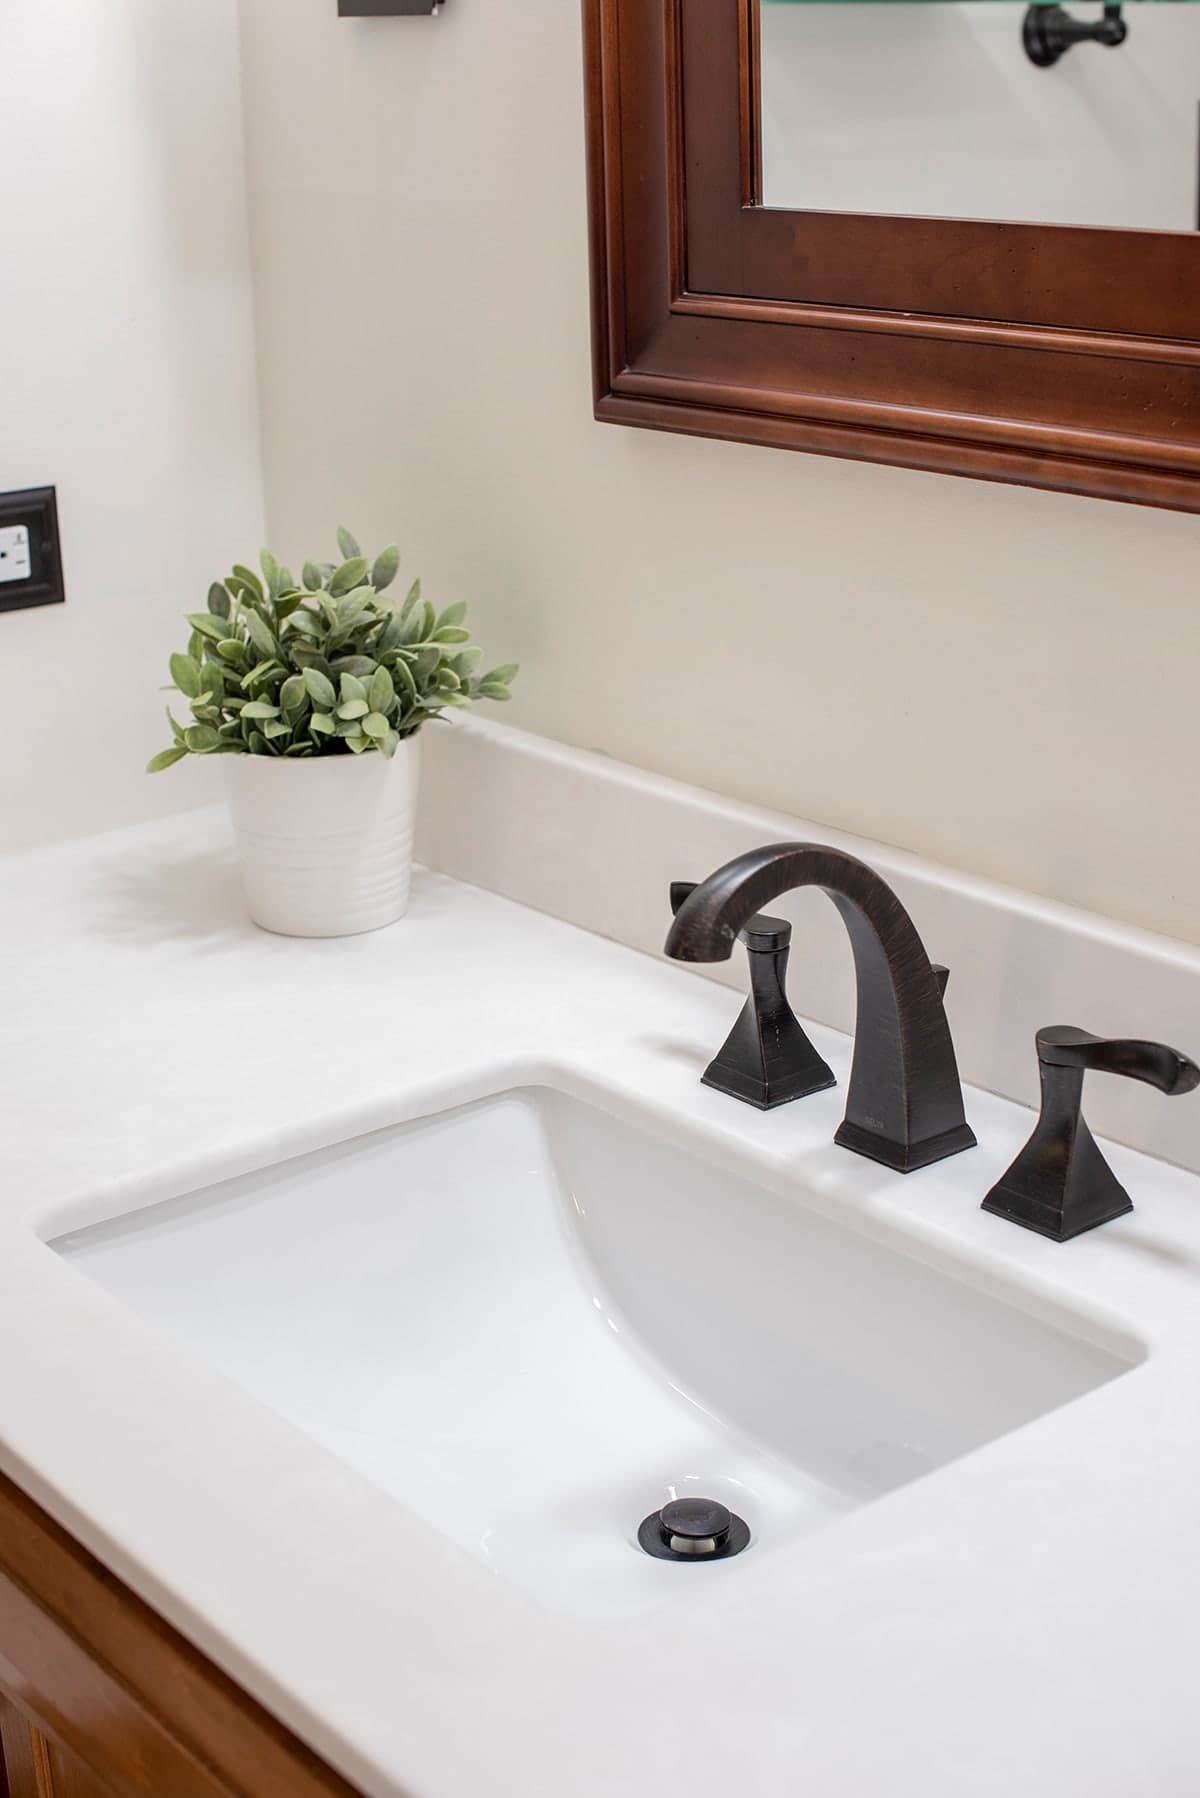
Attaching The Faucet
The faucet is the centerpiece of your vanity top. Ensure you have the correct tools and materials before starting. A wrench, plumber’s tape, and silicone sealant are essential.
Start by placing the faucet on the designated holes on the vanity top. Secure it tightly using nuts and washers. Double-check that it’s straight; crooked faucets can lead to water leaks.
Apply plumber’s tape to the threads of the faucet connections. This helps prevent water from seeping through the gaps. Why risk water damage when a simple tape can save the day?
Finally, use silicone sealant around the base of the faucet to ensure a watertight seal. This step is crucial, especially if you’ve experienced water seeping issues in the past.
Connecting The Drain
The drain connection is your next task. Begin by inserting the drain body into the sink’s hole. Make sure the rubber washer is in place to prevent leaks.
Secure the drain body beneath the sink using a locknut. A tight fit here is essential to avoid any unpleasant water pooling around the vanity.
Attach the P-trap to the drain body. This essential component keeps sewer gases at bay. Ensure all connections are tight and secure. Have you ever had to deal with a smelly bathroom due to improper drain connections?
Once everything is connected, test for leaks. Run water through the faucet and observe the drain area. A small drip might seem harmless, but it can lead to bigger issues over time.
Installing a bathroom vanity top can be straightforward when you know the steps. With attention to detail, your new vanity can offer a fresh start in your bathroom. So, are you ready to tackle this project and enjoy the satisfaction of a job well done?

Credit: www.youtube.com
Final Touches
Ensure the vanity top fits securely on the cabinet. Align the edges and adjust any misplacements. Tighten screws and apply sealant to prevent water damage. Clean the surface for a polished finish.
Installing a bathroom vanity top is a rewarding DIY project that can transform your bathroom’s look and functionality. As you near the end of this task, it’s crucial to focus on the final touches. These steps ensure that your vanity not only looks great but also functions perfectly for years to come. Let’s dive into the last details that make all the difference.Sealing Edges
Sealing the edges of your vanity top is essential to prevent water from seeping into unwanted areas. Use a high-quality silicone sealant designed for bathrooms. It’s waterproof and mold-resistant, providing the protection you need. Apply a thin, even bead of sealant along the edges where the vanity meets the wall. A caulking gun can help you maintain control and precision. After applying, use a wet finger or a caulking tool to smooth out the sealant for a clean finish. Have you ever experienced water damage because of poorly sealed edges? It’s a hassle you can easily avoid by taking a few extra minutes to do this step right.Checking For Leaks
Once the sealant is applied, it’s time to check for leaks. Turn on the faucet and let the water run for a few minutes. Observe the area under the sink and around the edges for any signs of water escaping. Use a flashlight to inspect dark or hard-to-see areas. If you notice any leaks, tighten connections or apply additional sealant as needed. Have you ever found a small leak that turned into a big problem? By catching leaks early, you save time, money, and frustration. Remember, these final touches not only enhance the aesthetic of your bathroom but also ensure the longevity and durability of your vanity installation. Taking the time to seal edges and check for leaks can prevent future headaches and keep your bathroom looking pristine.Maintenance Tips
Keeping your bathroom vanity top in good condition is essential. Regular maintenance ensures it remains beautiful and functional for years. Follow these simple maintenance tips to keep your vanity top looking fresh and new.
Cleaning Recommendations
Use a mild soap and warm water for daily cleaning. Avoid harsh chemicals that can damage the surface. Gently wipe with a soft cloth to prevent scratches. For stubborn stains, a mixture of baking soda and water works well. Rinse thoroughly to remove any residue.
Preventing Damage
Be cautious with heavy or sharp objects. They can easily scratch or chip the surface. Use coasters or trivets under hot tools like curling irons. This protects the vanity from heat damage. Avoid placing hair dye or other staining substances directly on the surface.
Seal your vanity top if it’s made of natural stone. Sealing helps prevent stains and extends the life of the material. Regularly check for any wear and reseal as needed.
Credit: www.cravingsomecreativity.com
Frequently Asked Questions
What Tools Do I Need To Install A Vanity Top?
You’ll need basic tools like a drill, screwdriver, level, and silicone sealant. A tape measure ensures proper alignment. Safety goggles protect your eyes during installation. A utility knife might be useful for trimming excess sealant. Having these tools ready ensures a smooth installation process and optimal results.
How Do I Prepare The Vanity Base?
Start by cleaning the vanity base thoroughly, removing debris and dust. Ensure the surface is level and stable. Check the plumbing connections and make necessary adjustments. Preparing the base properly helps in achieving a secure fit for the vanity top and prevents future issues.
Can I Install The Vanity Top Myself?
Yes, installing a vanity top is a manageable DIY project. Ensure you follow the manufacturer’s instructions carefully. Double-check measurements and alignments for accuracy. With the right tools and preparation, you can successfully install it yourself, saving costs and enhancing your bathroom’s look.
How Do I Seal The Vanity Top?
Apply a bead of silicone sealant along the edges of the vanity top. Use a caulking gun for precision. Press gently to ensure the sealant adheres well. Allow it to cure as per the manufacturer’s instructions. Proper sealing prevents water damage and ensures the longevity of your vanity.
Conclusion
Installing a bathroom vanity top can transform your space. Follow the steps carefully. You’ll need the right tools and patience. Measure twice, cut once. Secure it properly to avoid future issues. Take your time sealing the edges. This prevents water damage.
Enjoy the satisfaction of a job well done. A beautiful vanity top enhances your bathroom’s look. You’ll appreciate your effort every day. Share your experience with friends. They might want to try it too. Remember, practice makes perfect. With each project, confidence grows.
Happy renovating!

Home Improvement Specialist & Writer at HomeFixio
Caden Rutherford is a seasoned home improvement specialist with extensive hands-on experience in residential construction, renovations, and design. With a keen eye for detail and a passion for transforming spaces, Caden shares practical advice and expert solutions to enhance the functionality and beauty of homes. As a writer for HomeFixio, Caden combines technical knowledge with creative flair, providing readers with informative guides on everything from structural improvements to aesthetic upgrades, empowering homeowners to achieve their ideal living spaces.


