How to Install Toilet Paper Holder Without Screws?
Ever found yourself staring at your bathroom wall, wondering how to install a toilet paper holder without turning it into a DIY disaster? You’re not alone.
The thought of drilling holes can be daunting, especially if you’re renting or simply want to avoid the mess and hassle. But what if you could install a toilet paper holder quickly and easily, without a single screw? Imagine transforming your bathroom in minutes, with no tools required.
Sounds too good to be true? Keep reading, because we’re about to show you the secret to a screw-free solution that not only saves you time but keeps your walls pristine. Ready to discover how simple it can be? Let’s dive in!
Choosing The Right Adhesive
Choosing the right adhesive for your toilet paper holder is crucial. The wrong choice can lead to a messy situation where your holder might fall off the wall. You need an adhesive that is strong enough to hold the weight, yet gentle enough to not damage the wall surface.
When I first installed my toilet paper holder without screws, I underestimated the importance of the adhesive. The holder fell off within a week, leaving marks on the wall. But I learned from my mistake, and now I’m sharing those insights with you.
Understanding Adhesive Types
There are various adhesives you can use, each with its own pros and cons. Double-sided tape is easy to use but might not be strong enough for heavier holders. Epoxy adhesives are powerful but require careful application.
Consider Wall Surface
Your wall surface plays a big role in choosing the right adhesive. Smooth surfaces like tiles work well with adhesives. Textured walls might need stronger, specialized adhesives for better grip.
Weight Capacity Matters
Check the weight capacity of the adhesive. Some adhesives are designed for lightweight objects, while others can handle heavier items. Ensure your choice matches the weight of your toilet paper holder.
Easy Removal
Think about future removal. Some adhesives can be a hassle to remove and might damage the wall. Opt for an adhesive that offers easy removal without leaving residue behind.
Environment Considerations
Consider the bathroom environment. Humidity and moisture can affect adhesive performance. Choose an adhesive that withstands bathroom conditions for long-lasting results.
What experiences have you had with adhesives? Did you learn any lessons from your attempts? Share your stories in the comments below. Your insights could help others make the right choice!
Preparing The Wall Surface
Start by cleaning the wall with a damp cloth to remove dust and grease. Ensure the surface is smooth and dry for the adhesive to stick properly. This preparation helps in securely installing the toilet paper holder without screws.
Preparing the wall surface is a crucial step when you’re installing a toilet paper holder without screws. A clean and dry wall ensures the adhesive sticks effectively, preventing your holder from slipping off. Think of this as the foundation of your project—get it right, and you’re halfway there!Cleaning The Area
Begin by clearing any dust or grime from the wall. Use a damp cloth with mild soap to wipe the surface. Make sure there’s no residue left behind, as this can weaken the adhesive’s grip. Once the surface is clean, consider using a bit of rubbing alcohol on a cloth. This will help remove any oils that might be invisible to the eye but could affect the adhesive. Have you ever noticed how even tiny particles can ruin a project? It’s the same here.Drying The Surface
After cleaning, let the wall dry completely. Moisture is the enemy of adhesives, so patience is key. A quick swipe with a dry towel can help speed up the process. You might be tempted to use a hairdryer to hurry things along. It’s a quick trick many DIY enthusiasts swear by. However, ensure the surface is cool before applying adhesive, as heat can affect its performance. Are you ready to transform your bathroom with a screw-free solution? Remember, a little preparation goes a long way. Embrace these steps, and you’ll have a sturdy holder in no time.Marking The Placement
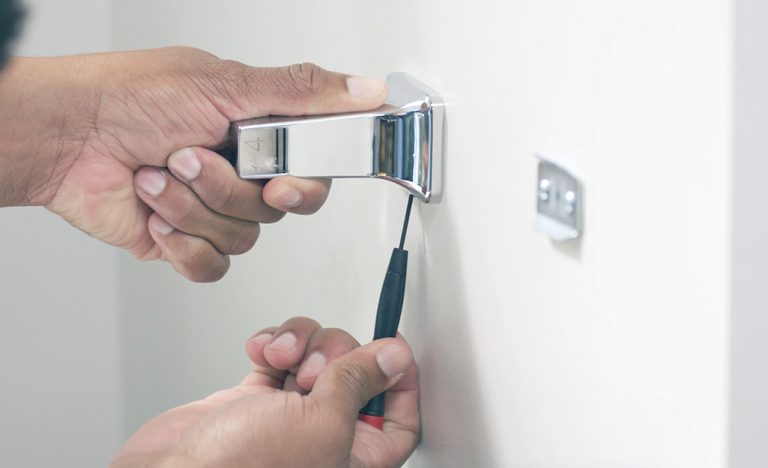
Select the ideal spot for your toilet paper holder by measuring from the floor and nearby fixtures. Ensure accessibility and comfort. Mark the placement using a pencil to guide adhesive application, ensuring a secure installation without screws.
When it comes to installing a toilet paper holder without screws, marking the placement is a crucial step. This process ensures that your holder will be functional and aesthetically pleasing. Imagine the frustration of a crooked or inconveniently placed holder; it can disrupt the harmony of your beautifully designed bathroom. Let’s delve into the details of getting that perfect spot right with some handy tips.Measuring The Height
Begin by measuring the height from the floor to where you want the holder to be. The standard height is about 26 inches from the floor. However, consider the height of your family members. Are you all tall, or do you have little ones? Adjust the height accordingly so everyone can reach comfortably. A great tip is to do a little test with a piece of tape where you plan to install the holder. This temporary mock-up helps you visualize and tweak the height before committing.Centering The Holder
Think about the ease of grabbing the toilet paper roll. You want the holder to be within easy reach when seated. The typical placement is about 8 to 12 inches in front of the toilet seat, centered with your toilet bowl. To make it more precise, use a level to ensure it is perfectly horizontal. This step avoids the annoyance of a roll that unravels unevenly due to a tilted holder. Consider the space available on either side of the toilet. Ensure the holder doesn’t obstruct other elements, like a vanity or cabinet. Take a moment to imagine yourself reaching for the roll. Will it be smooth and easy, or a contortionist act? Adjust accordingly. Marking the placement may seem straightforward, but getting it right takes a little thought and planning. Once you’re confident with the height and centering, you’re ready to move on to the next step of installation. Happy DIY-ing!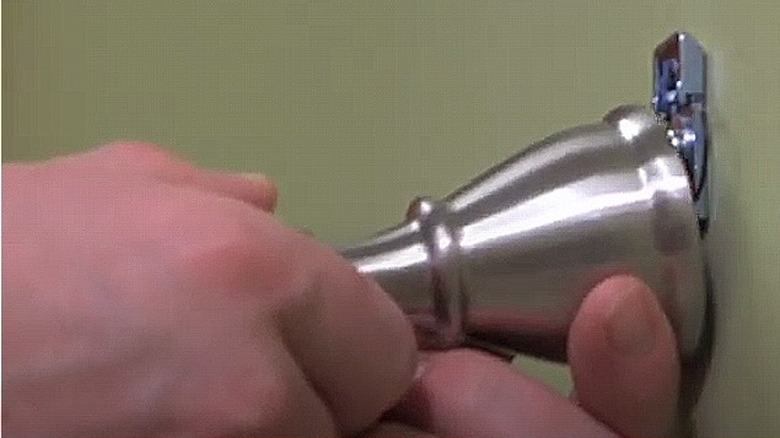
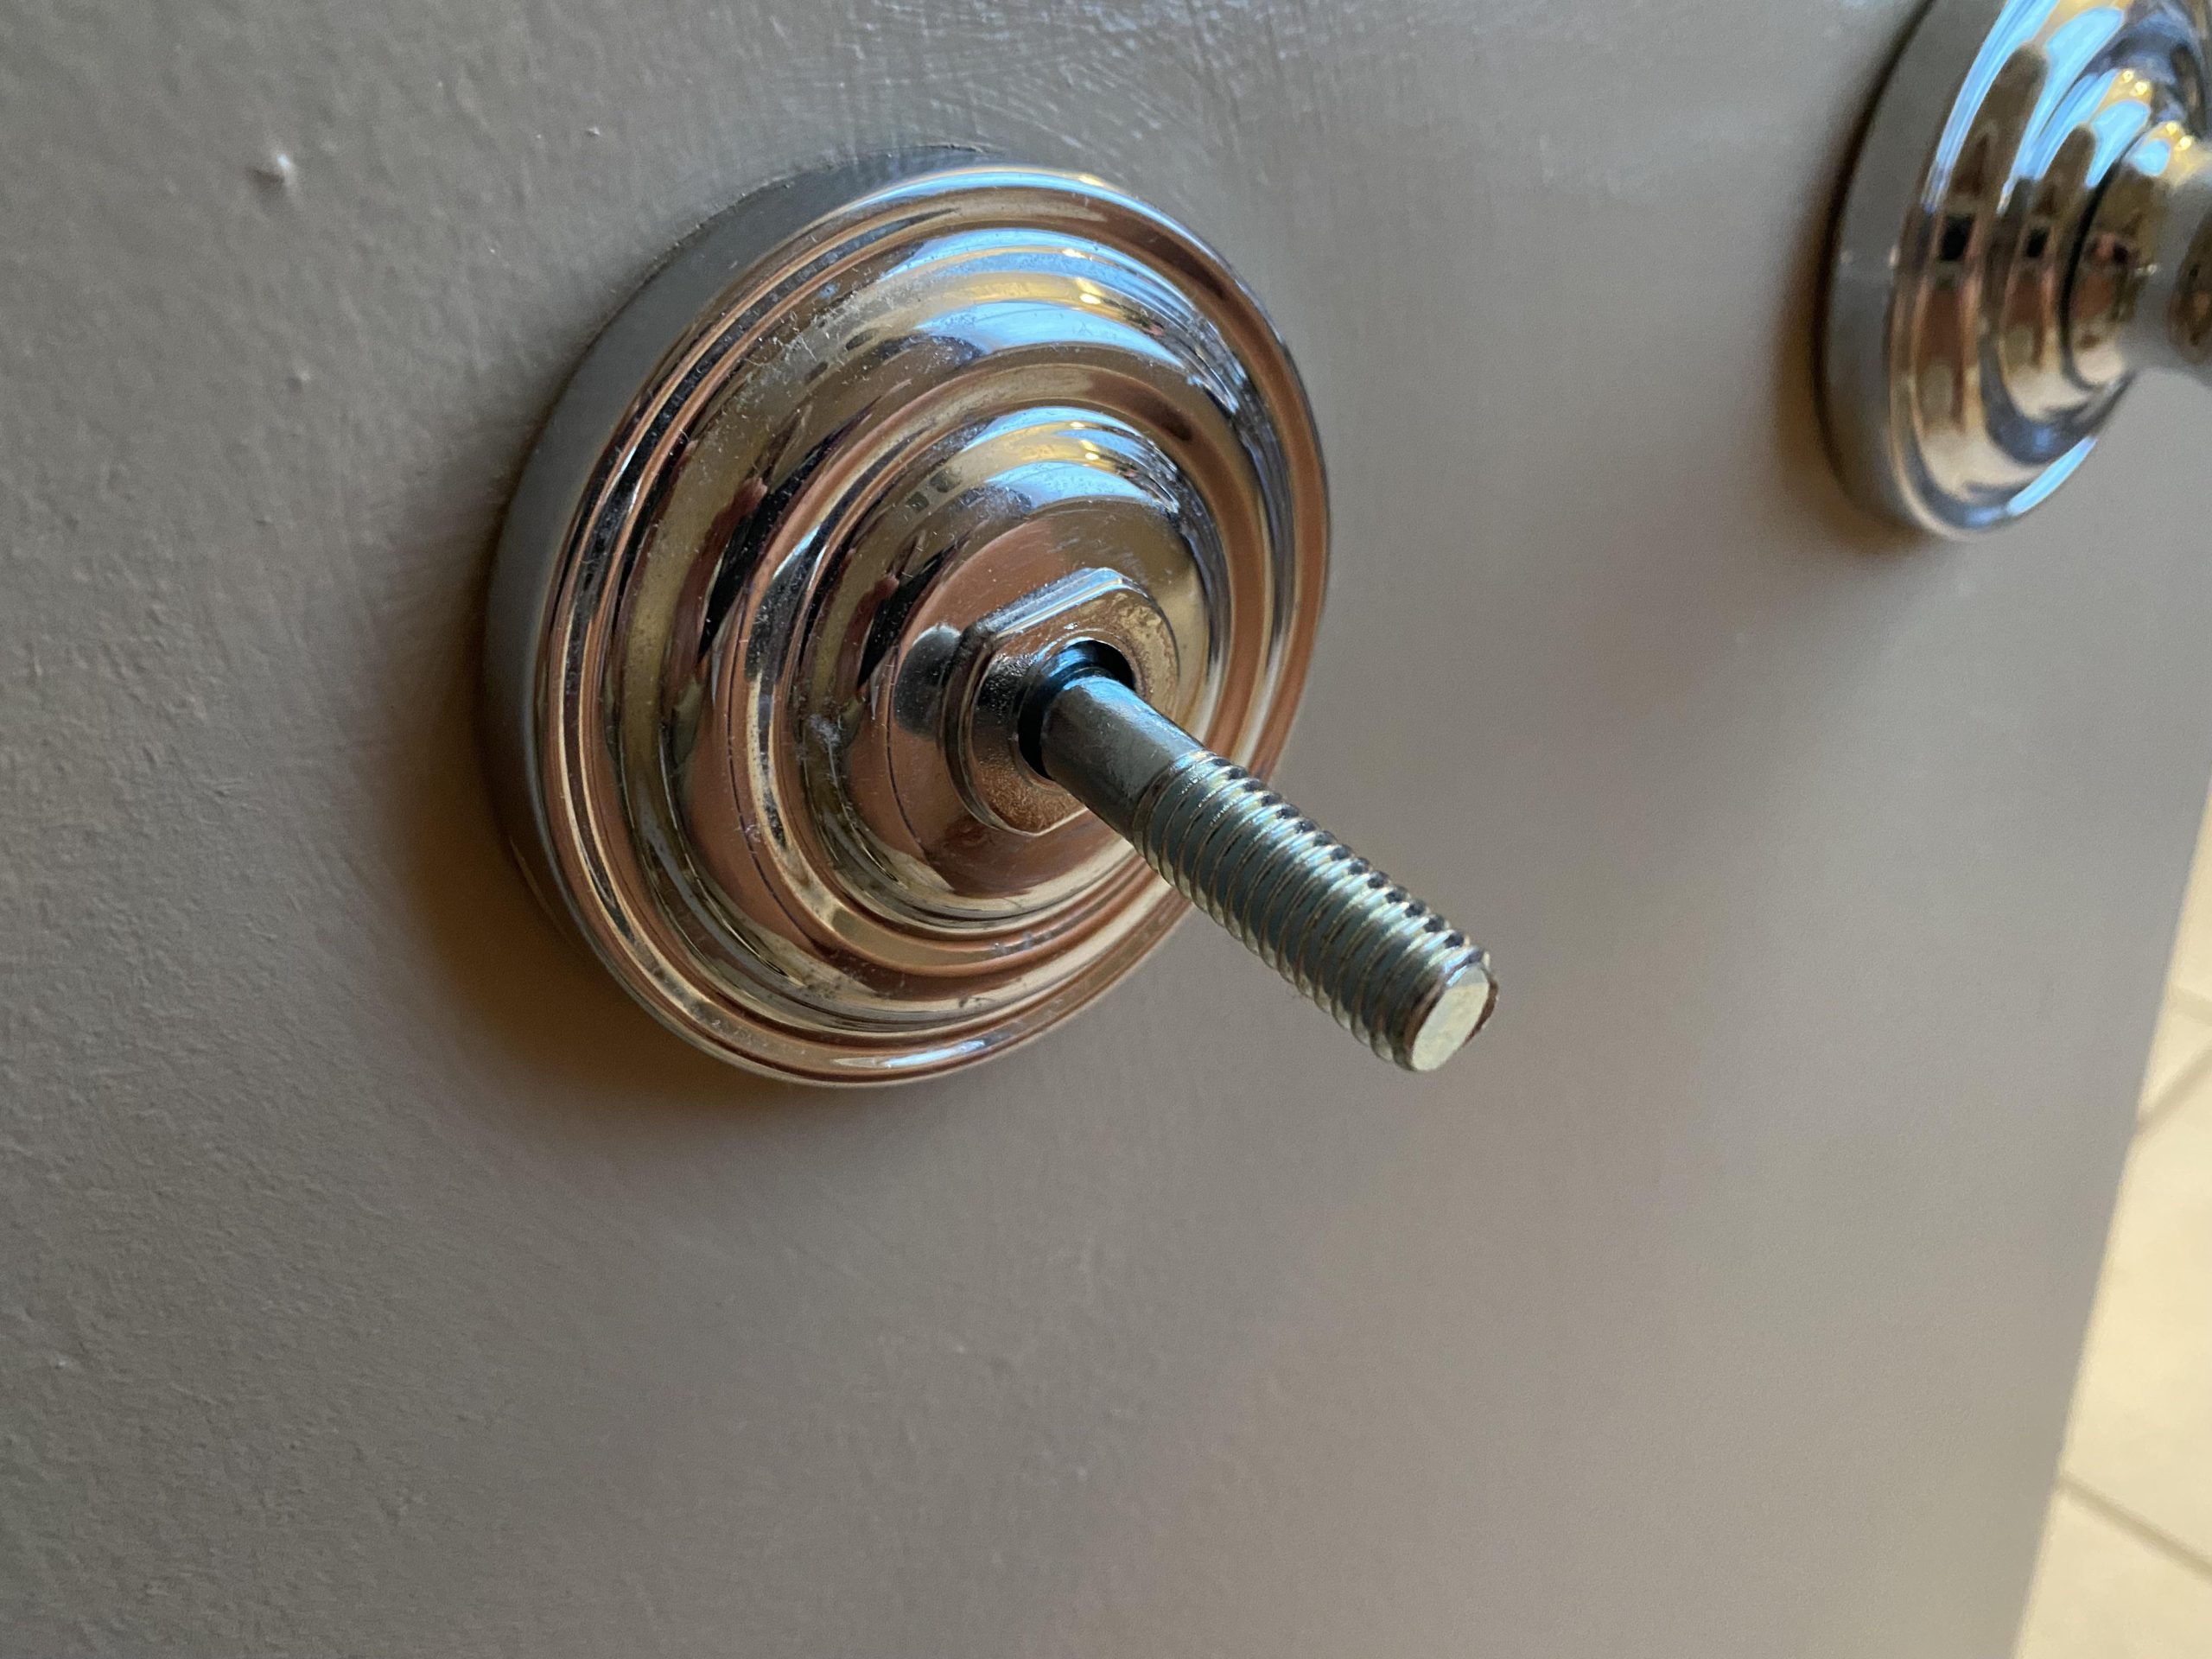
Credit: www.housedigest.com
Applying The Adhesive
Installing a toilet paper holder without screws is a practical choice. This method suits renters and those not keen on drilling. The key step in this installation process is applying the adhesive. This ensures the holder stays firmly attached to the wall, providing hassle-free use.
Types Of Adhesives
Various adhesives work well for this task. Double-sided tapes are popular for their ease of use. These tapes offer strong bonding strength and can hold the holder securely. Another option is mounting putty. It’s useful because it molds to the surface, providing a custom fit. Liquid adhesives like silicone or epoxy are also effective. They create a strong bond, ideal for heavier holders.
Proper Application Techniques
Begin with a clean surface. This ensures the adhesive bonds properly. Use alcohol or a mild cleaner to wipe the area. Next, measure and mark the spot for the holder. This helps in accurate placement, preventing errors. Apply the adhesive evenly on the holder’s back. Cover all contact points for a firm grip. Press the holder firmly against the wall. Hold for several seconds to ensure a secure bond. Allow the adhesive to cure fully before use. This prevents the holder from detaching under pressure.
Securing The Holder
Securing a toilet paper holder without screws can be simple. You can achieve a sturdy installation with the right technique and tools. This guide will help you press firmly and ensure stability for a lasting hold.
Pressing Firmly
Start by cleaning the surface where the holder will sit. Dirt can affect adhesion. Place the holder in the desired spot and apply pressure. Press firmly to activate the adhesive backing. This helps create a strong bond with the wall.
Use your palm to evenly distribute the pressure. Hold for about 30 seconds. This initial press is crucial for securing the holder. A firm press prevents future detachment.
Ensuring Stability
Check the holder after pressing. It should stay in place without movement. If it shifts, repeat the pressing step. Consider the weight of the toilet paper. A heavier roll needs a stronger hold.
Test the stability by gently pulling on the holder. It should resist the pull. If it moves, the adhesive may need more curing time. Allow it to sit undisturbed for a few hours.
Some holders have adjustable grips. Use these to tighten the hold further. This ensures the holder remains stable over time.
Allowing Time To Set
Allowing time for the adhesive to set is crucial when installing a toilet paper holder without screws. The setting period ensures the adhesive bond holds firmly, keeping your holder in place. Rushing this step can lead to a weak bond and a falling holder. Let’s discuss the recommended duration and how to check the adhesive bond.
Recommended Duration
Allow the adhesive to set for at least 24 hours. This timeframe allows the adhesive to dry and strengthen. During this period, avoid disturbing the holder. Keep the area around the holder dry and free from moisture. Ensure the room has adequate ventilation to aid drying.
Checking Adhesive Bond
After 24 hours, gently test the holder’s stability. Apply light pressure to ensure it holds firm. If it moves, give it more time to set. A firm bond should not shift or detach. Inspect the edges for any peeling or loose areas. If present, consider reapplying adhesive to those spots. Ensuring a strong bond now prevents future issues.
Testing The Installation
Ensure the toilet paper holder stays secure by gently pulling on it after installation. This checks its stability without screws. Adjust if needed for a firm hold.
Once you’ve attached your toilet paper holder without screws, it’s crucial to ensure it’s securely in place and ready for use. Testing the installation helps confirm that your holder can handle daily wear and tear. This step is often overlooked, but spending a few extra minutes now can save you from future mishaps.Load Bearing Test
Start by gently pulling on the holder to see if it remains in place. Gradually increase the force to mimic real-life usage. If it stays put, you’ve done a great job. But what if it wobbles or comes off? This could indicate that the adhesive needs more time to set or that the surface wasn’t cleaned thoroughly before installation.Adjustments If Needed
Noticed some instability? Don’t worry—small adjustments can often fix the problem. Carefully remove the holder and inspect the adhesive backing. Is it dirty or uneven? A fresh adhesive strip or some additional adhesive might be needed. Consider whether the surface was too rough or too smooth. Different adhesives work better on different surfaces. Is there a type of adhesive that you’ve had success with in the past? Use that experience to guide your choice here. Testing the installation is not just about checking for stability. It’s an opportunity to learn what works best for your home. By taking the time to test, you ensure that your toilet paper holder is both functional and durable, ready for many uses to come.
Credit: www.youtube.com
Maintenance Tips
Ensuring your toilet paper holder stays in place is crucial. Regular maintenance extends its lifespan. It also ensures a tidy bathroom. Below are simple tips to keep your holder in perfect condition.
Regular Cleaning
Clean the holder weekly to avoid dust build-up. Use a soft cloth and mild soap. This keeps the holder looking new. Avoid abrasive cleaners. They can damage the surface. Also, ensure the area around the holder is dry. Moisture can weaken adhesive strength.
Checking Adhesive Integrity
Inspect the adhesive monthly. This prevents the holder from falling unexpectedly. Look for loose edges or peeling. Press down gently to secure any loose parts. If you notice significant damage, consider replacing the adhesive. Strong adhesive ensures reliability and safety.

Credit: www.reddit.com
Frequently Asked Questions
How To Attach Toilet Paper Holder Without Screws?
To attach a toilet paper holder without screws, use adhesive mounting strips or a suction-based holder. Clean the surface first for strong adhesion. Follow the manufacturer’s instructions for best results. These methods are ideal for renters or if drilling is not an option.
Can Adhesive Holders Support Heavy Toilet Paper?
Yes, adhesive holders can support heavy toilet paper rolls. Choose high-quality adhesive strips designed for bathroom use. Ensure the surface is clean before attaching. Follow weight guidelines provided by the manufacturer to ensure durability and prevent falls.
Are Suction Toilet Paper Holders Reliable?
Suction toilet paper holders are reliable for smooth surfaces like tiles or glass. Ensure the surface is clean and dry before attaching. Periodically check the suction seal to maintain stability. They are convenient and can be easily repositioned or removed without damage.
What Surfaces Work For Adhesive Toilet Holders?
Adhesive toilet holders work well on smooth, clean surfaces like tiles, glass, or metal. Avoid textured or uneven surfaces for maximum adhesion. Clean the area thoroughly before application. Follow product instructions for best results and longevity of the holder.
Conclusion
Installing a toilet paper holder without screws is simple and effective. No need to drill holes. Just choose adhesive-backed options. Clean the surface well before sticking. Position the holder at a comfortable height. Press firmly to secure it. Wait a few hours before using.
These holders are reliable and neat. Perfect for renters or anyone avoiding damage. Enjoy easy installation and remove anytime without hassle. This method saves time and keeps walls intact. Try it and see the convenience for yourself!

Home Improvement Specialist & Writer at HomeFixio
Caden Rutherford is a seasoned home improvement specialist with extensive hands-on experience in residential construction, renovations, and design. With a keen eye for detail and a passion for transforming spaces, Caden shares practical advice and expert solutions to enhance the functionality and beauty of homes. As a writer for HomeFixio, Caden combines technical knowledge with creative flair, providing readers with informative guides on everything from structural improvements to aesthetic upgrades, empowering homeowners to achieve their ideal living spaces.