How to Replace Kitchen Sink Soap Dispenser: Easy Guide
Are you tired of dealing with a leaky or clogged kitchen sink soap dispenser? Replacing it might seem daunting, but it’s actually a simple task that can make your kitchen more functional and stylish.
Imagine the satisfaction of a perfectly working soap dispenser that fits your kitchen’s aesthetic! You’re not alone in wanting a quick and hassle-free fix, and we’re here to guide you through the process. By the end of this article, you’ll feel confident in your ability to replace your kitchen sink soap dispenser, saving both time and money.
Let’s dive in and transform that bothersome fixture into one of your kitchen’s most convenient features.

Credit: www.thehandymansdaughter.com
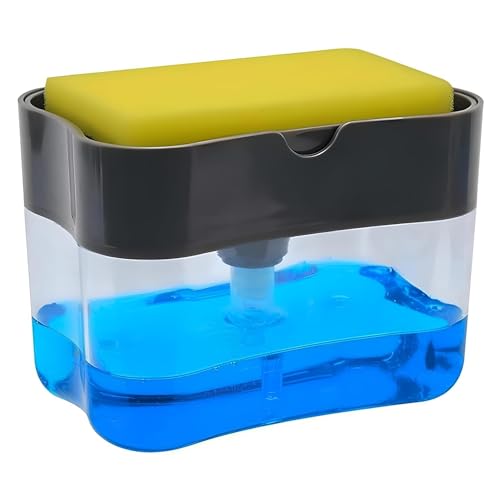
Tools And Materials Needed
Replacing a kitchen sink soap dispenser is simple with the right tools. Start with a wrench. It helps loosen the old dispenser. You will also need pliers. These are useful for gripping and turning parts. Screwdrivers come next. A flathead screwdriver works best. New soap dispenser is needed too. Pick one that fits your sink. Don’t forget sealant tape. It stops leaks. Lastly, have rags handy. They clean up spills. Each tool plays a part in making the task easy. Gather them before you begin. This saves time and effort.
Assessing Your Current Setup
Look at the sink. See if the new soap dispenser fits. Measure the hole size. Compare it with the new dispenser’s base. Ensure the dispenser matches the sink’s finish. This helps maintain a nice look. Check if the dispenser’s tube reaches the soap bottle. This ensures proper soap flow.
Find out how the current dispenser is installed. Some dispensers are screw-on while others snap-in. Unscrew or unclip it to remove. This helps understand the right type for the new dispenser. Look under the sink for attachments. Make sure the new dispenser can attach the same way. Knowing these details makes installation easier.
Removing The Old Soap Dispenser
The mounting nut holds the soap dispenser in place. Use a wrench to loosen it. Rotate the nut counterclockwise gently. Be careful not to damage the sink. Slow and steady wins the race here. Avoid using too much force. You don’t want to break the nut or the sink.
The soap bottle is under the sink. Turn it counterclockwise to detach. Make sure the bottle is empty. This prevents mess when removing. Keep a towel handy for any spills. Once loose, pull the bottle out. Now, it’s ready for a new dispenser.
Preparing The New Soap Dispenser
Replacing a kitchen sink soap dispenser involves simple steps. Begin by removing the old unit carefully. Next, secure the new dispenser in place, ensuring it fits snugly into the sink.
Assembling Components
Start by gathering all the partsof the soap dispenser. Check the package for the dispenser pump, bottle, and mounting ring. Make sure nothing is missing. Arrange these parts on a clean surface. Follow the instructionsin the manual. Connect the pump to the bottle. Attach the mounting ring securely. Ensure each piece fits together tightly. Avoid using broken parts. Replace any faulty pieces.
Ensuring Proper Fit
Test the fit of the soap dispenser. Place the dispenser in the sink hole. Ensure it fits snugly without wobbling. Tighten the mounting ring firmly. Check if the pump moves easily. Adjust the position if necessary. The bottle should hang straight. Confirm the dispenser is secure. Avoid loose connections. Make sure soap flows smoothly. Fix any leaks immediately.
Installing The New Soap Dispenser
Securing the Dispenseris an important step. Place the dispenser into the hole on the sink. Make sure it fits snugly. Take the washer and nut. These will hold the dispenser in place. Slide the washer onto the dispenser. Tighten the nut underneath the sink. Use your hand or a wrench. The dispenser should not move when touched. Check again to ensure it is tight. A loose dispenser can cause leaks.
Attaching the Soap Bottleis easy. Screw the bottle onto the dispenser. Turn it until it is tight. Fill the bottle with liquid soap. Do not overfill it. Leave space for air. Attach the pump to the top. Press the pump a few times. This helps the soap flow. Check if the soap comes out smoothly. Tighten the bottle if there is a leak. The soap dispenser is ready to use.
Testing The Installation
First, pour soap into the dispenser. Use a funnel if it’s easier. Fill the bottle slowly to avoid spills. Stop when the bottle is almost full. Screw the pump back onto the dispenser. Make sure it’s tight and secure. Press the pump a few times. Soap should come out smoothly. If not, check for blockages.
Look under the sink for any drips. Tighten connections if you see leaks. Check the bottle and pump. Make sure everything is snug. Wipe away any soap spills. Test the pump again. Press it to see if soap flows well. If there are no leaks, your job is done. Enjoy your new soap dispenser!
Troubleshooting Common Issues
Leaks can make a mess under the sink. First, check the dispenser bottle. Make sure it’s screwed on tight. Sometimes, the pump mechanism gets loose. Tighten it with your hand. Also, inspect the washer. A cracked washer causes leaks. Replace it if needed.
Don’t forget to check the tube. Sometimes it slips off the pump. Push it back in place. A quick fix saves a lot of trouble.
A sticky pump is frustrating. Clean the pump nozzle with warm water. Soap residue builds up over time. If the pump sticks, check for blockages. Use a toothpick to clear them.
Sometimes, the spring inside wears out. A new one makes the pump work well again. Regular cleaning keeps the pump smooth. A little maintenance goes a long way.
Credit: www.thehandymansdaughter.com
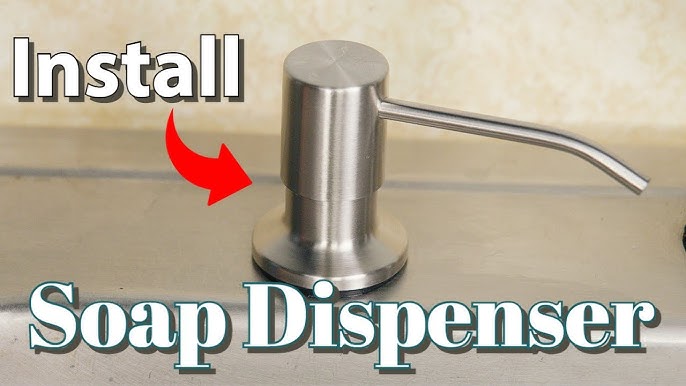
Maintenance Tips
Replacing a kitchen sink soap dispenser is straightforward. First, remove the old dispenser by loosening the mounting nut underneath. Install the new dispenser by securing it with the mounting nut, ensuring it’s tightly fitted.
Regular Cleaning
Clean the soap dispenser often. Use warm water and mild soap. Avoid harsh chemicals. They can damage the dispenser. Check for leaks. Tighten any loose parts. Wipe the dispenser with a soft cloth. Keep it dry to prevent rust.
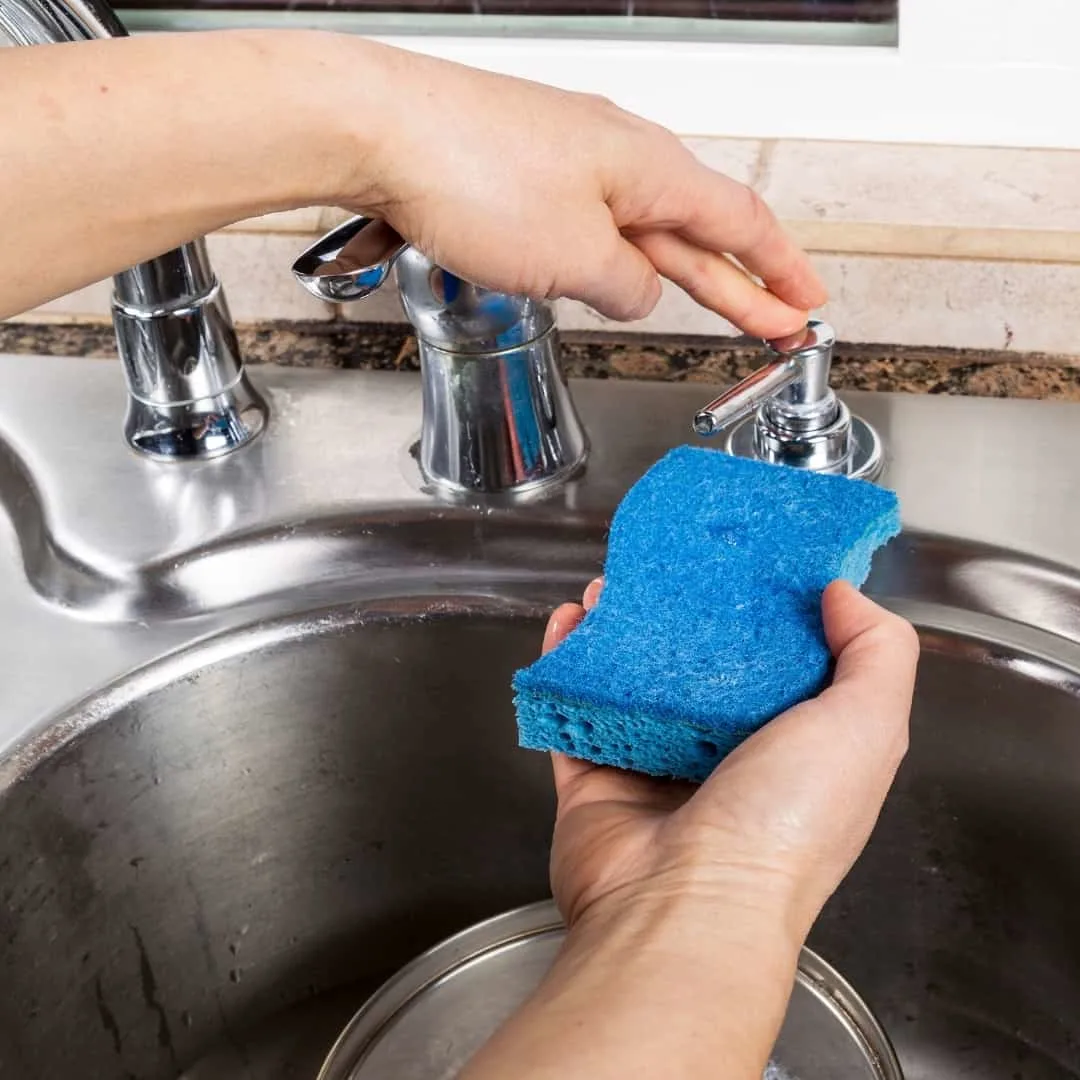
Preventing Clogs
Clogs make the dispenser hard to use. Use liquid soap only. Thick soap can cause clogs. Rinse the pump with hot water. This helps clear blockages. Check the nozzle for buildup. Clean it with a small brush. A clean dispenser works better.

Credit: www.youtube.com
Frequently Asked Questions
How To Remove Old Soap Dispenser?
To remove an old soap dispenser, start by unscrewing the top pump. Then, go under the sink and unscrew the retaining nut holding the dispenser in place. Once loose, lift the dispenser out from the top. Clean the area thoroughly before installing the new one.
Can I Replace A Soap Dispenser Myself?
Yes, replacing a soap dispenser is a simple DIY task. With basic tools like a wrench and screwdriver, you can easily install a new dispenser. Ensure to follow the manufacturer’s instructions for best results. This can save you money on professional installation fees.
What Tools Are Needed For Replacement?
For replacing a kitchen sink soap dispenser, you’ll need a wrench, screwdriver, and possibly pliers. These tools help in loosening and tightening parts. Having a clean cloth handy is also useful to clean spills or grime. Basic tools are sufficient for this straightforward task.
How To Choose A New Soap Dispenser?
When choosing a new soap dispenser, consider the size, design, and material. Ensure it matches your kitchen decor and fits your sink. Stainless steel and plastic are popular choices. Check compatibility with your sink’s hole size to avoid installation issues.
Conclusion
Replacing your kitchen sink soap dispenser is a simple task. With a few tools and steps, you can do it easily. First, gather all necessary materials. Then, follow the steps provided in this guide. Be patient and careful during the process.
Ensure everything is tight and secure. Test the new dispenser to confirm it’s working well. You’ll enjoy the convenience of a new soap dispenser in no time. Plus, it enhances your kitchen’s functionality. Remember to clean up any leftover debris.
Now, enjoy a fresh and efficient kitchen sink setup!

Home Improvement Specialist & Writer at HomeFixio
Caden Rutherford is a seasoned home improvement specialist with extensive hands-on experience in residential construction, renovations, and design. With a keen eye for detail and a passion for transforming spaces, Caden shares practical advice and expert solutions to enhance the functionality and beauty of homes. As a writer for HomeFixio, Caden combines technical knowledge with creative flair, providing readers with informative guides on everything from structural improvements to aesthetic upgrades, empowering homeowners to achieve their ideal living spaces.